First Corner
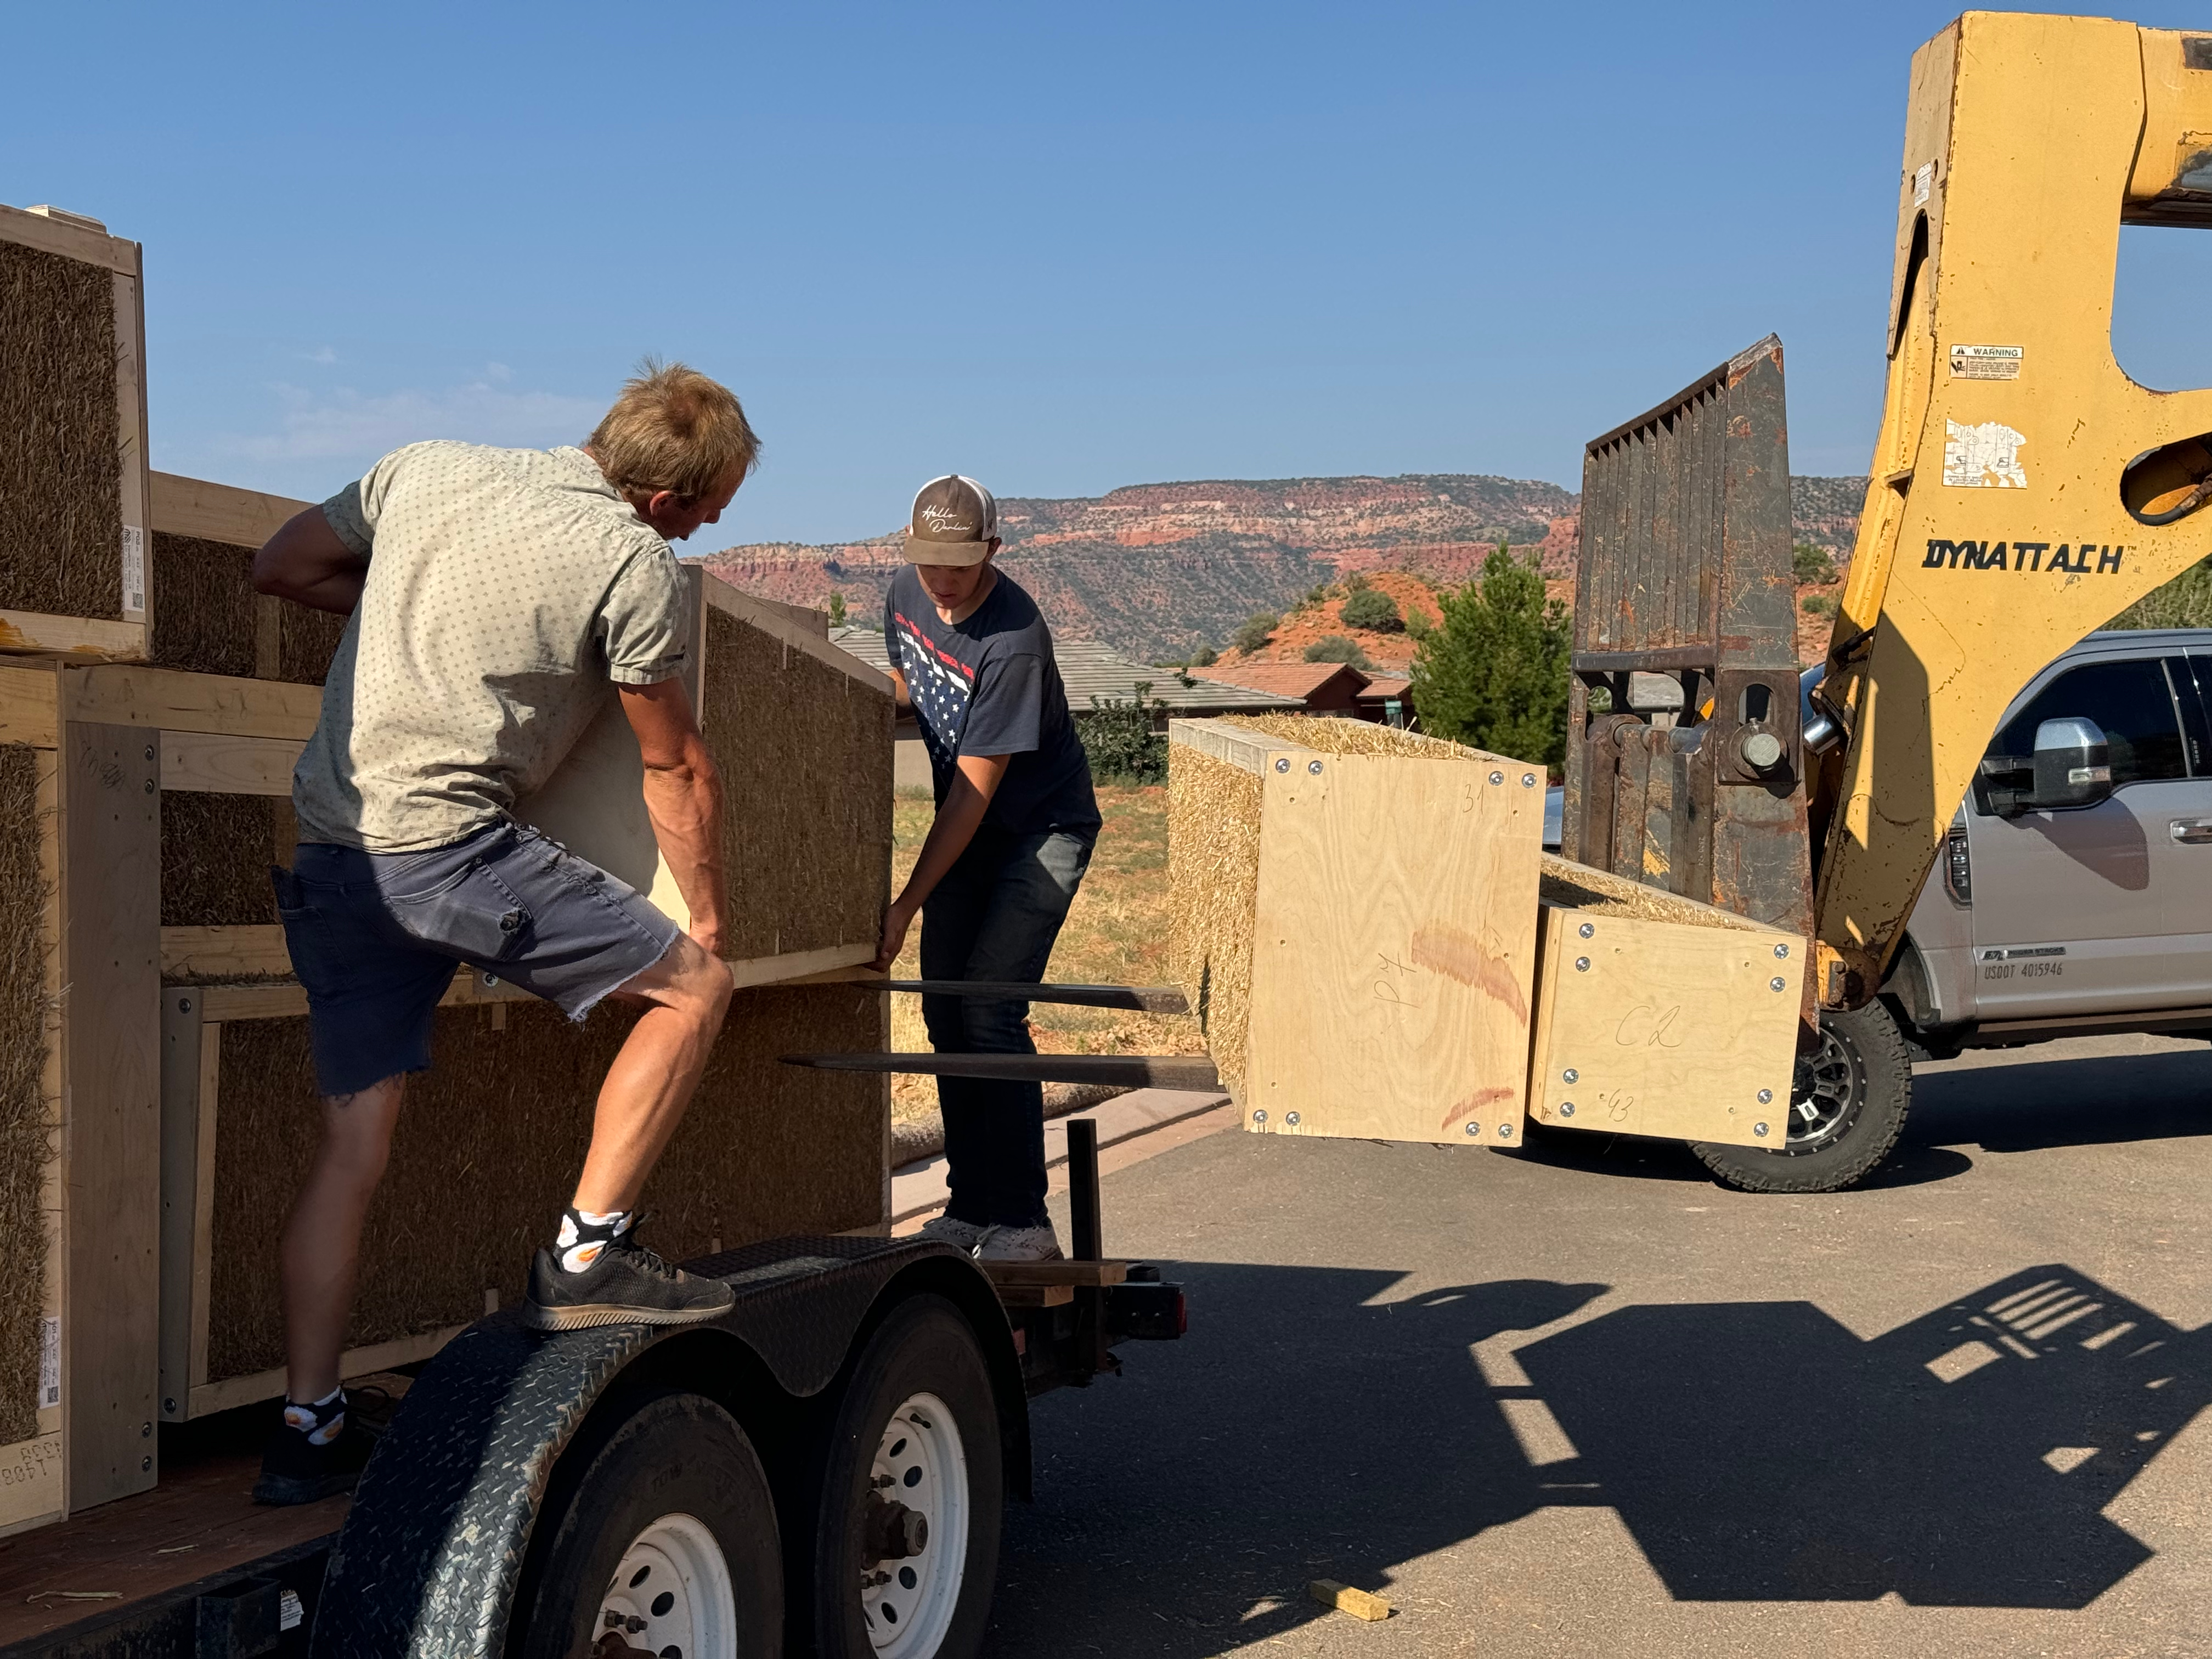
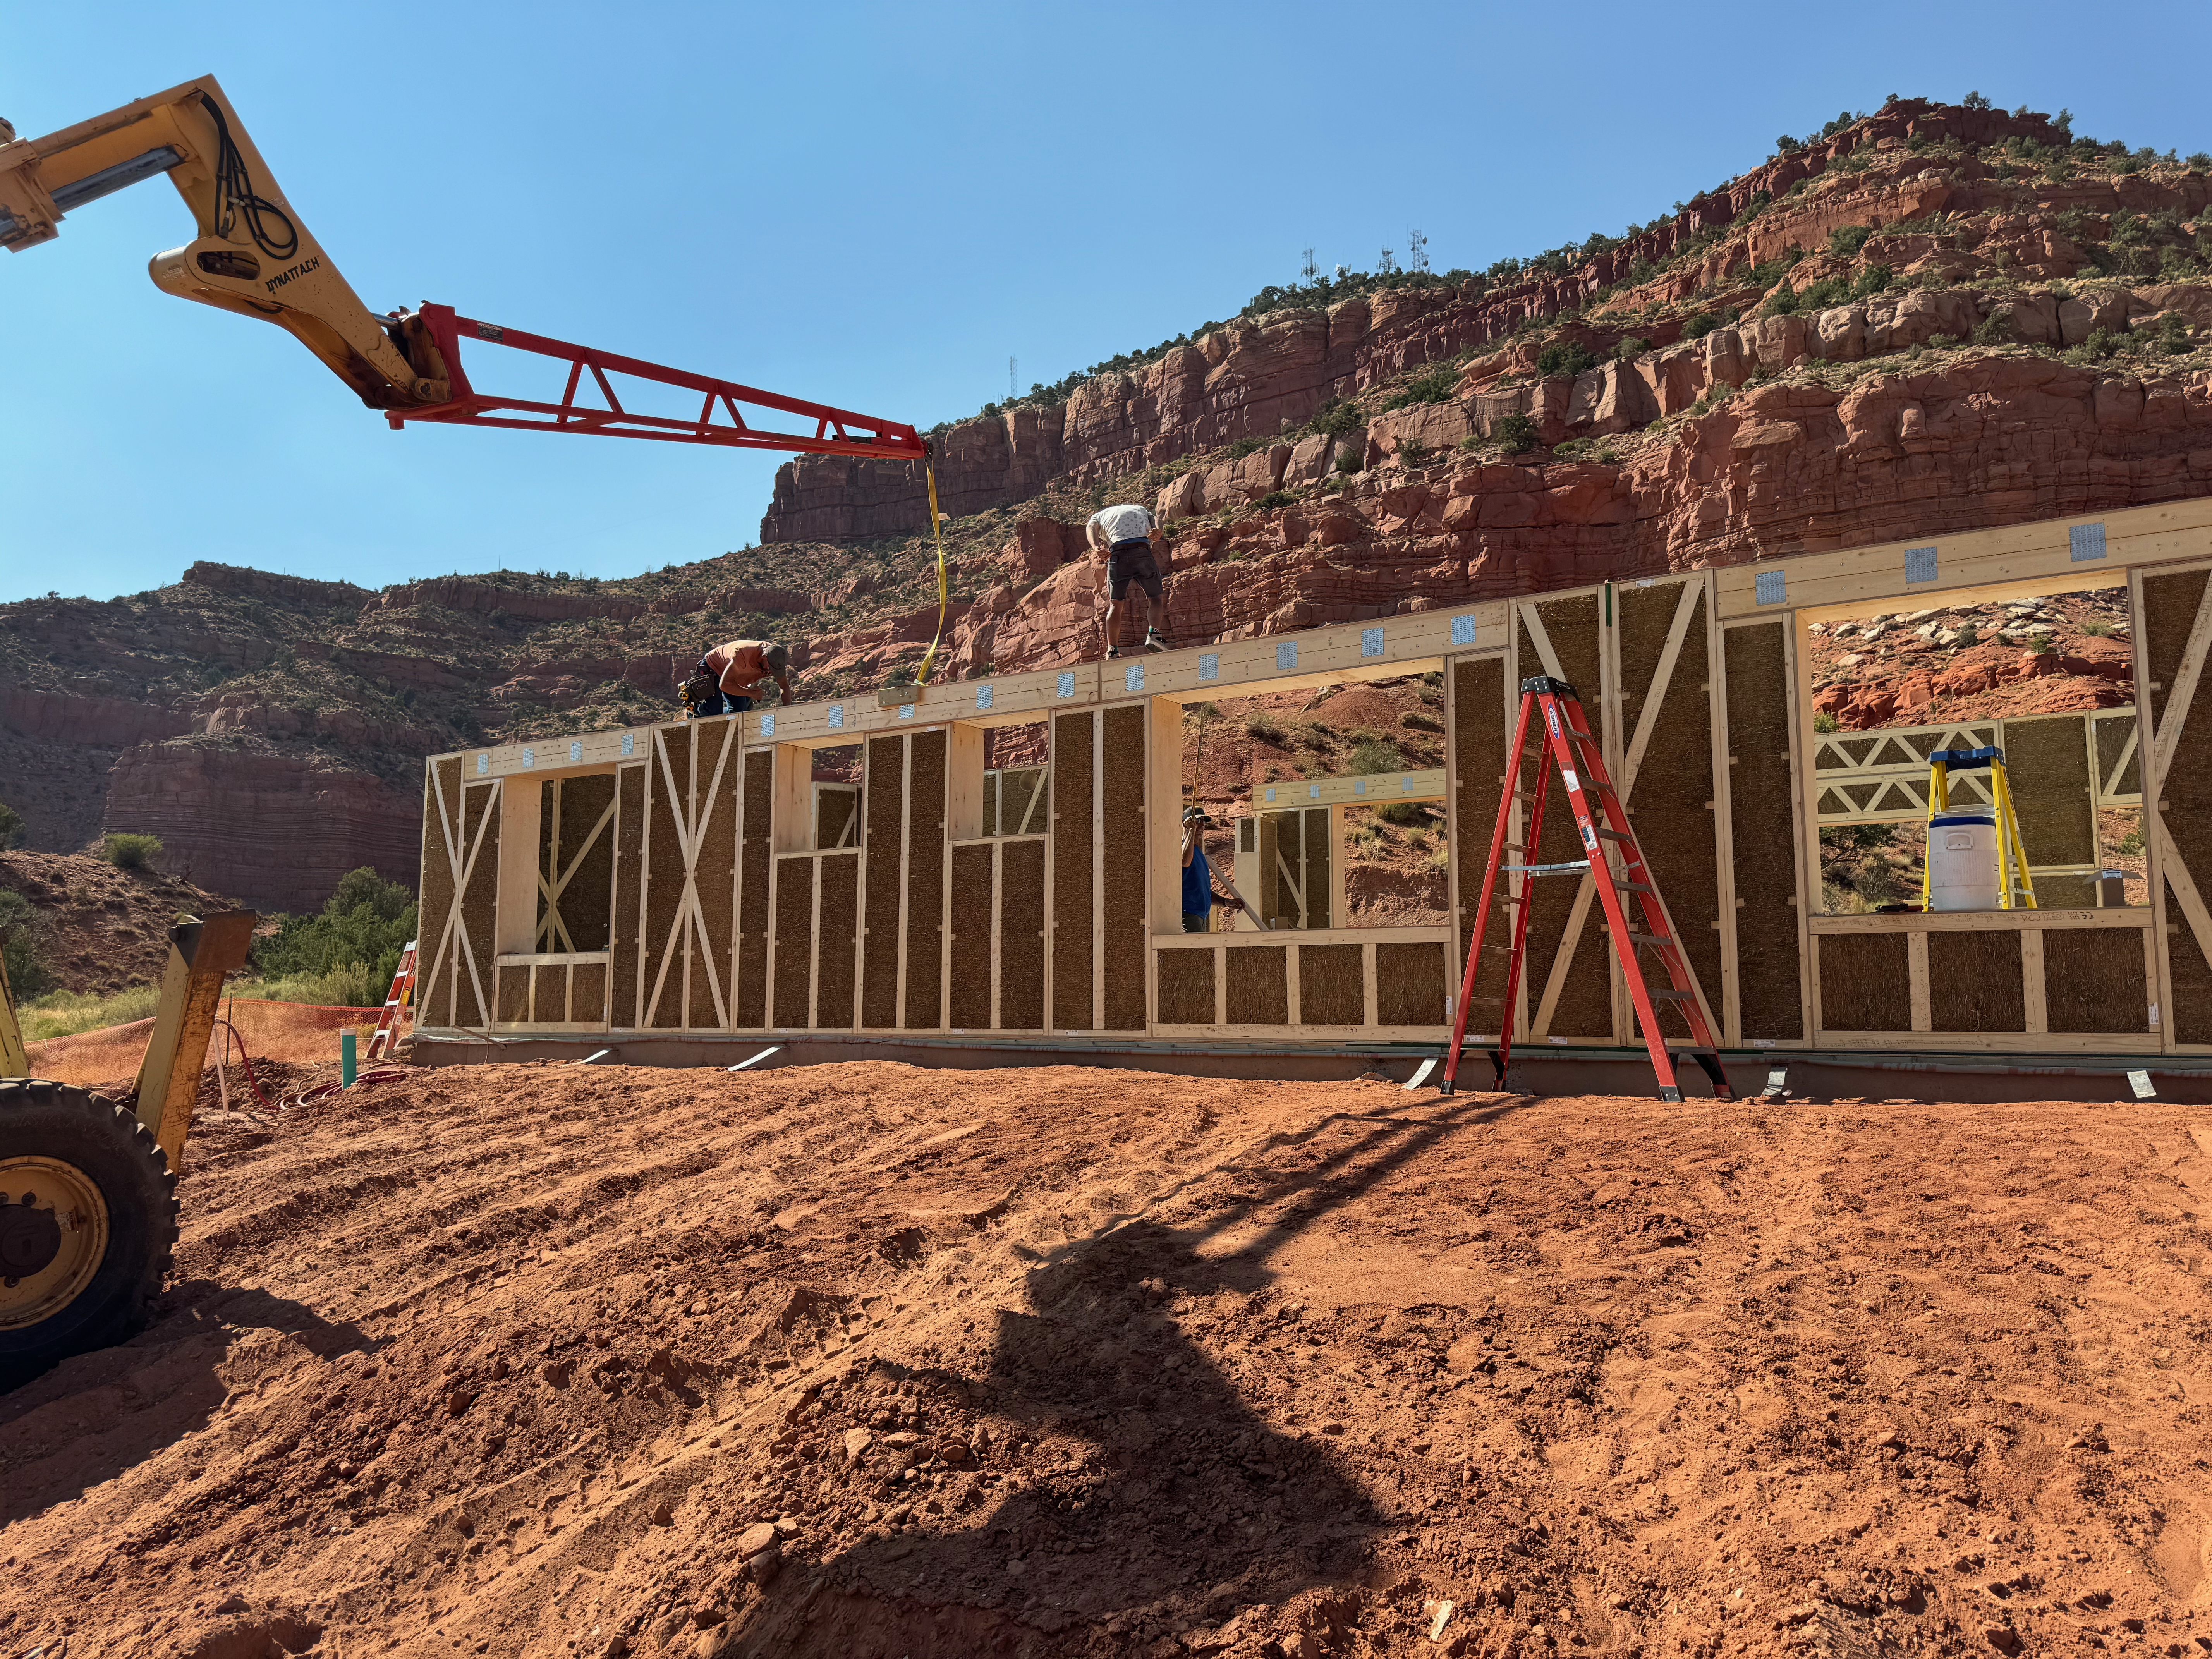
After a long trip from Lithuania, the EcoCocon wall panels finally arrived at the site.
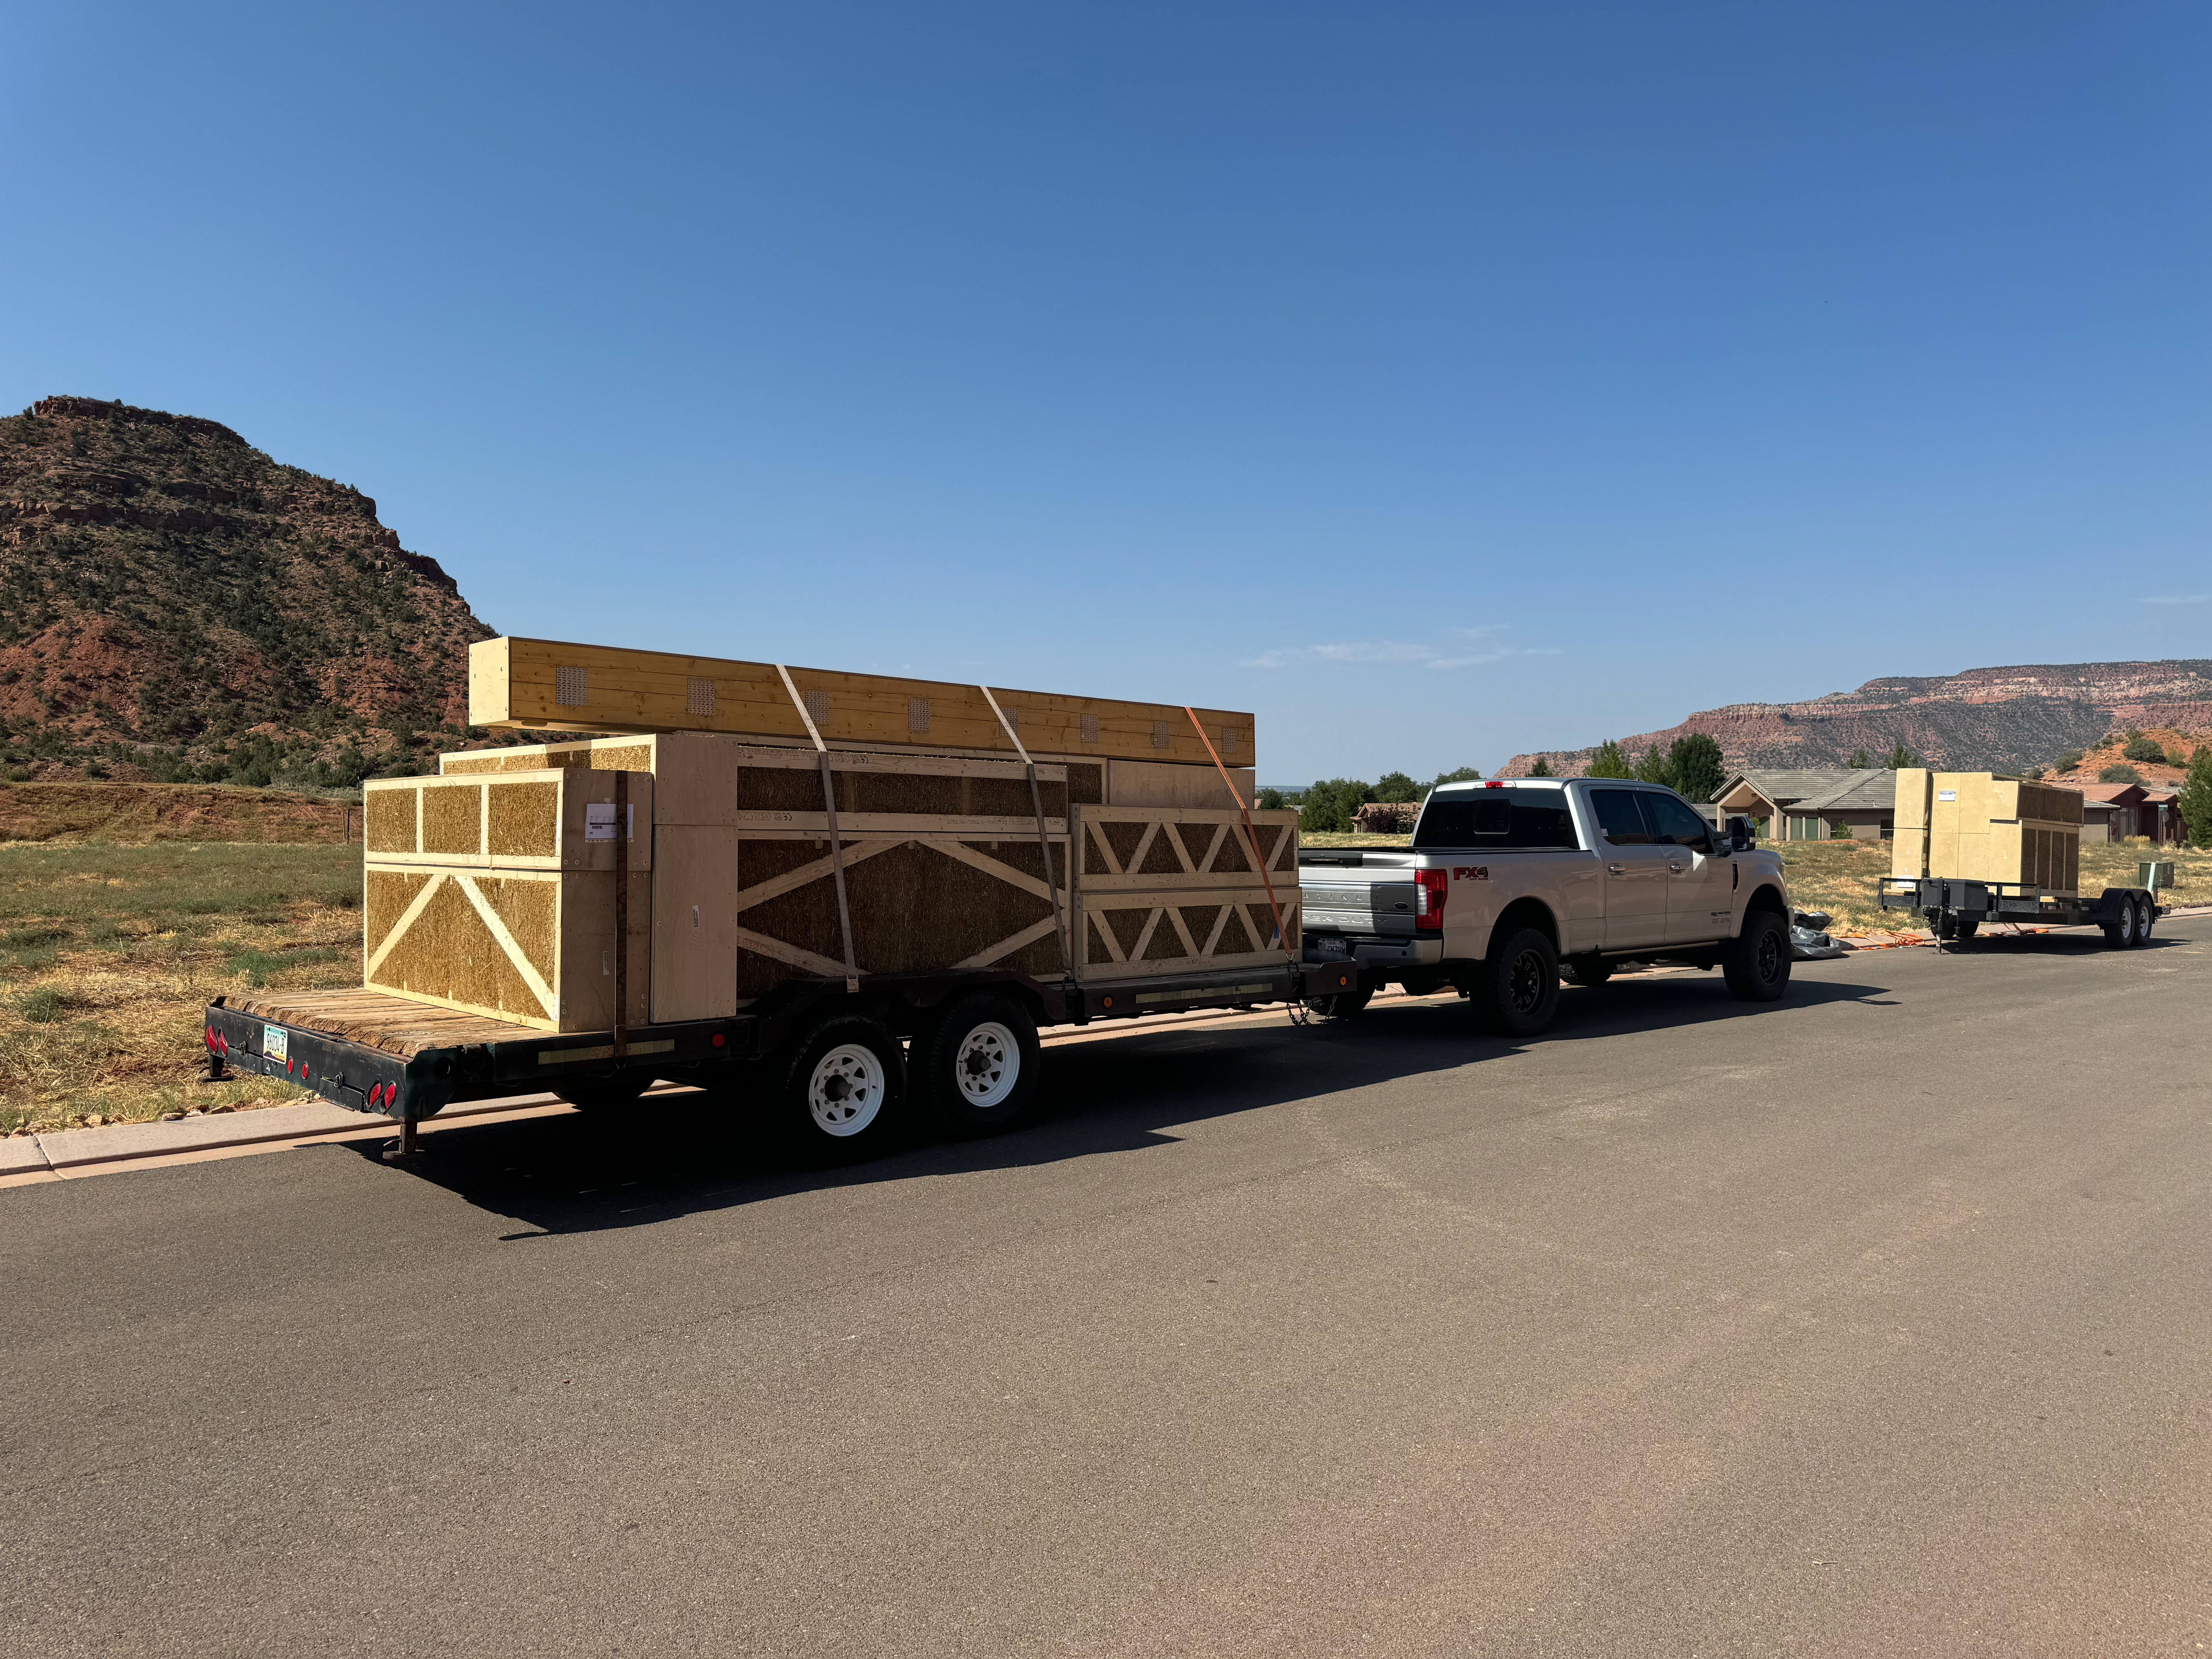
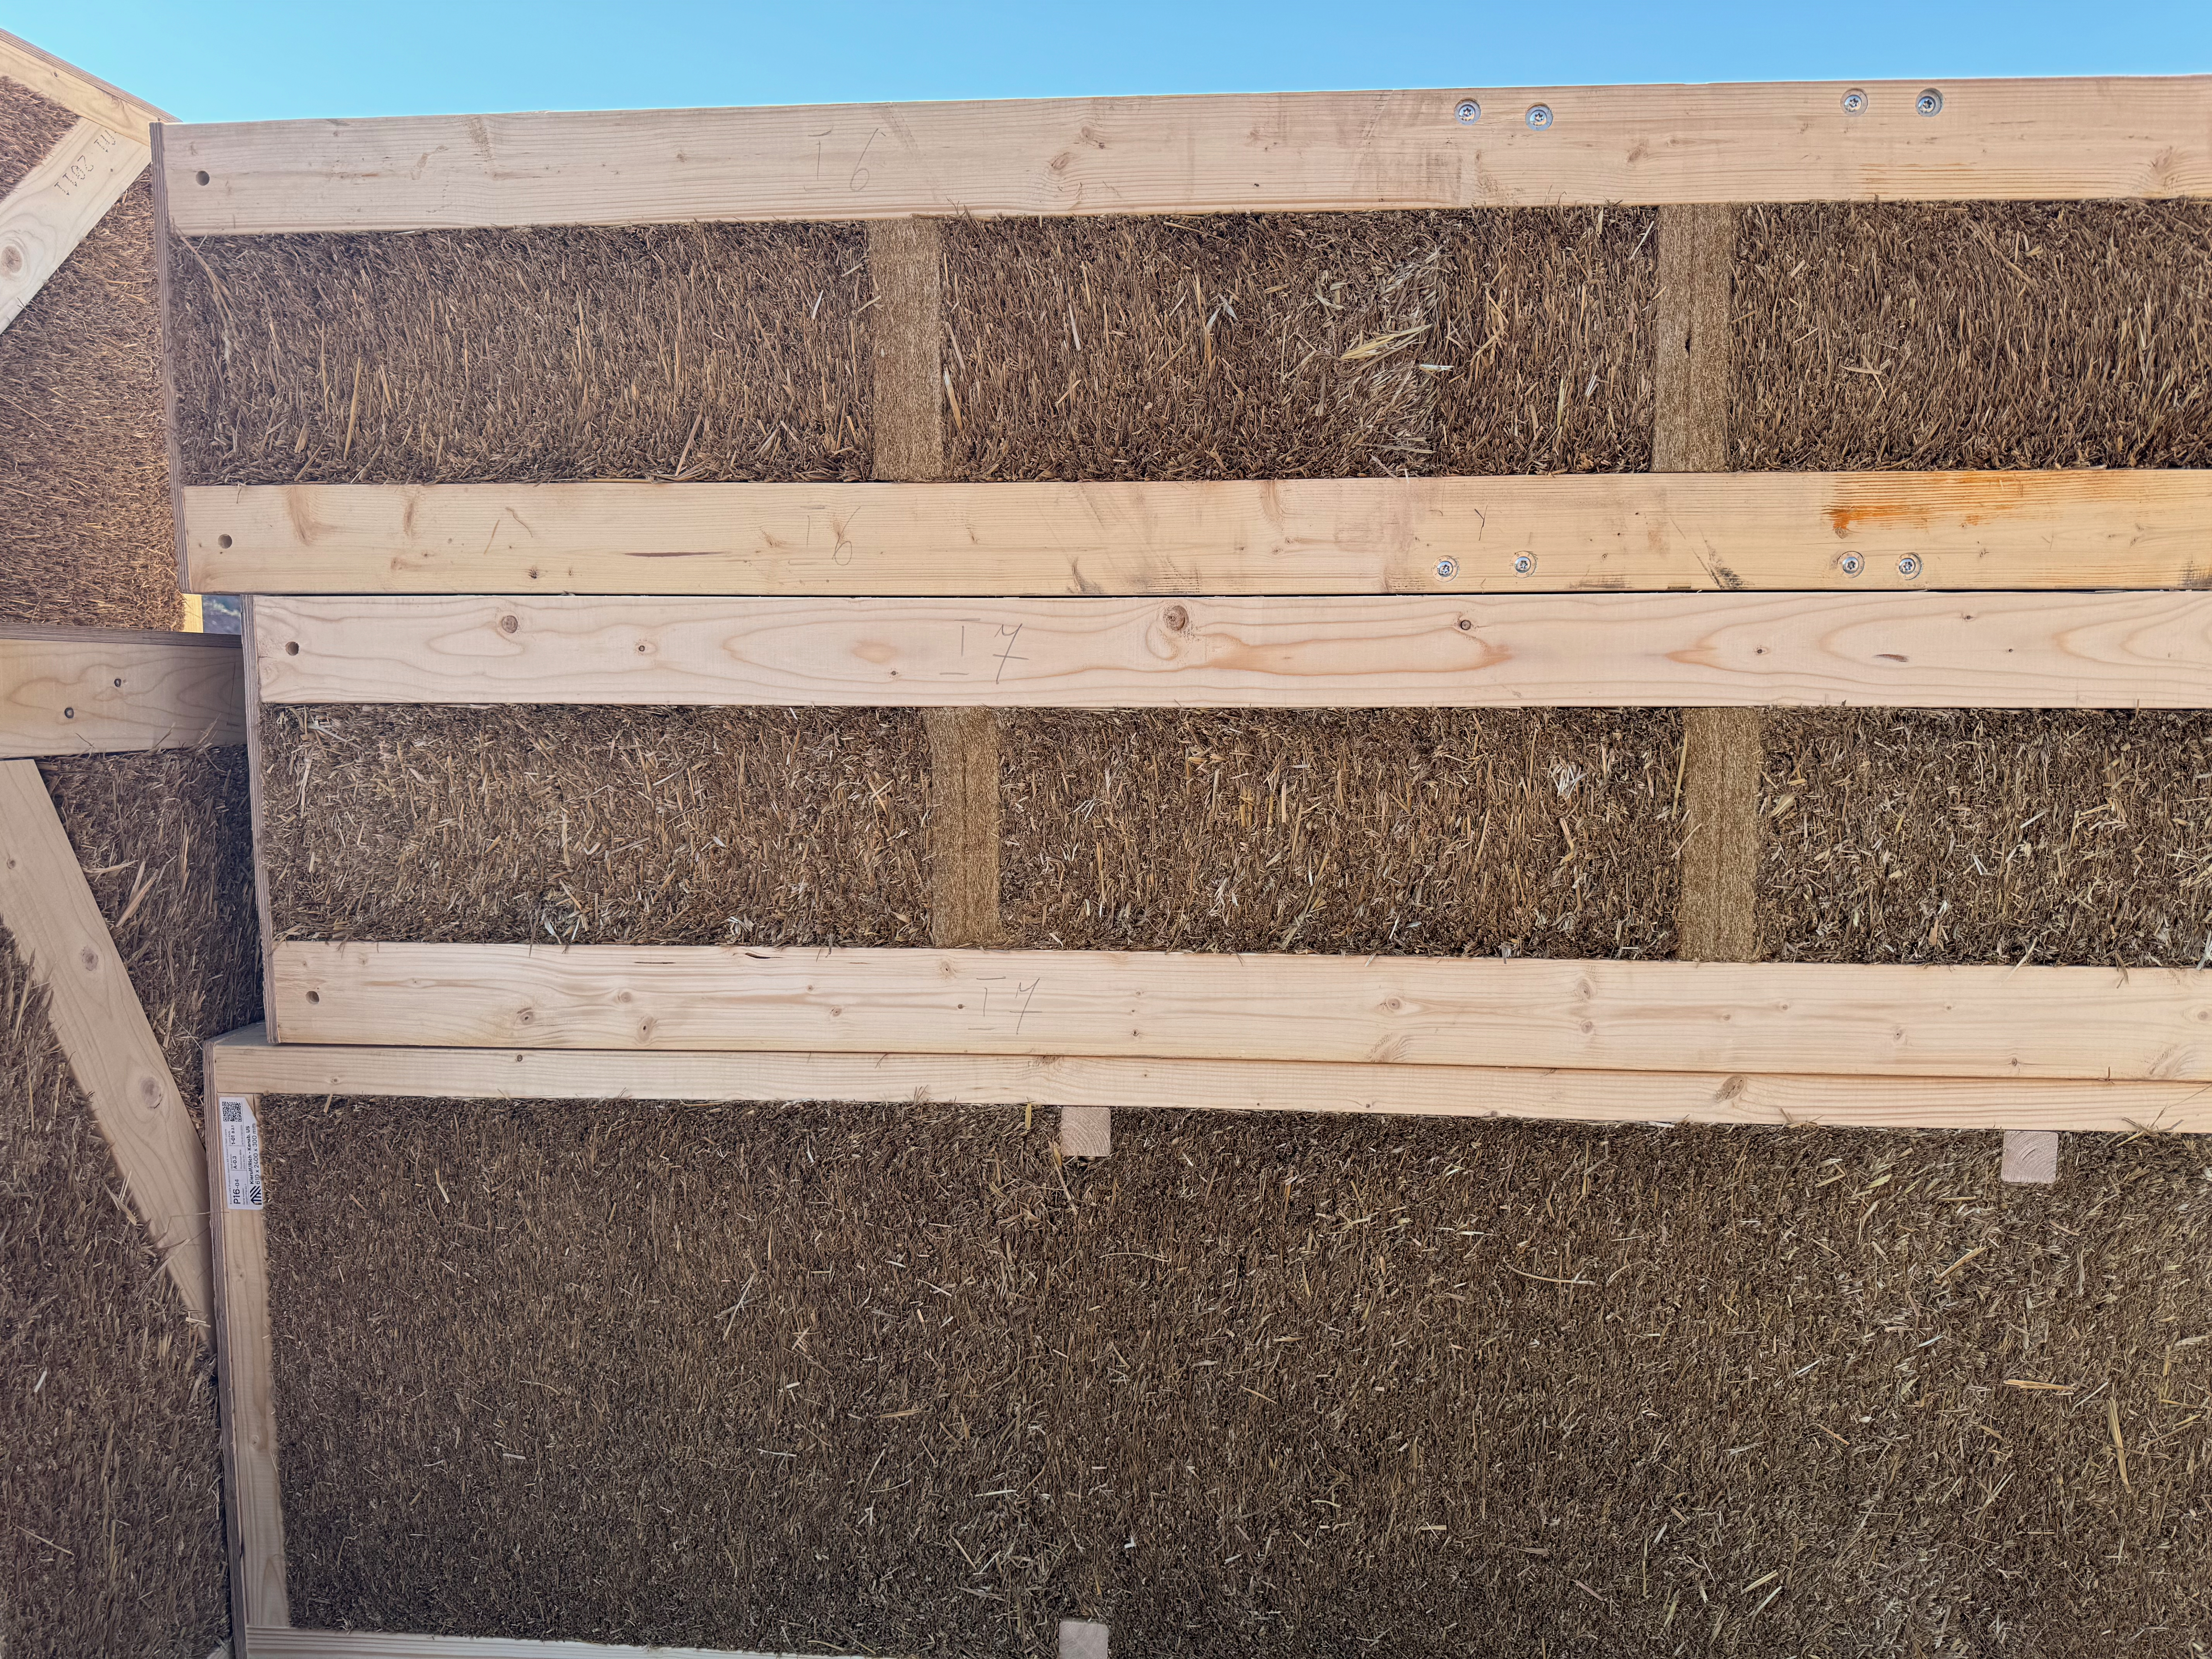
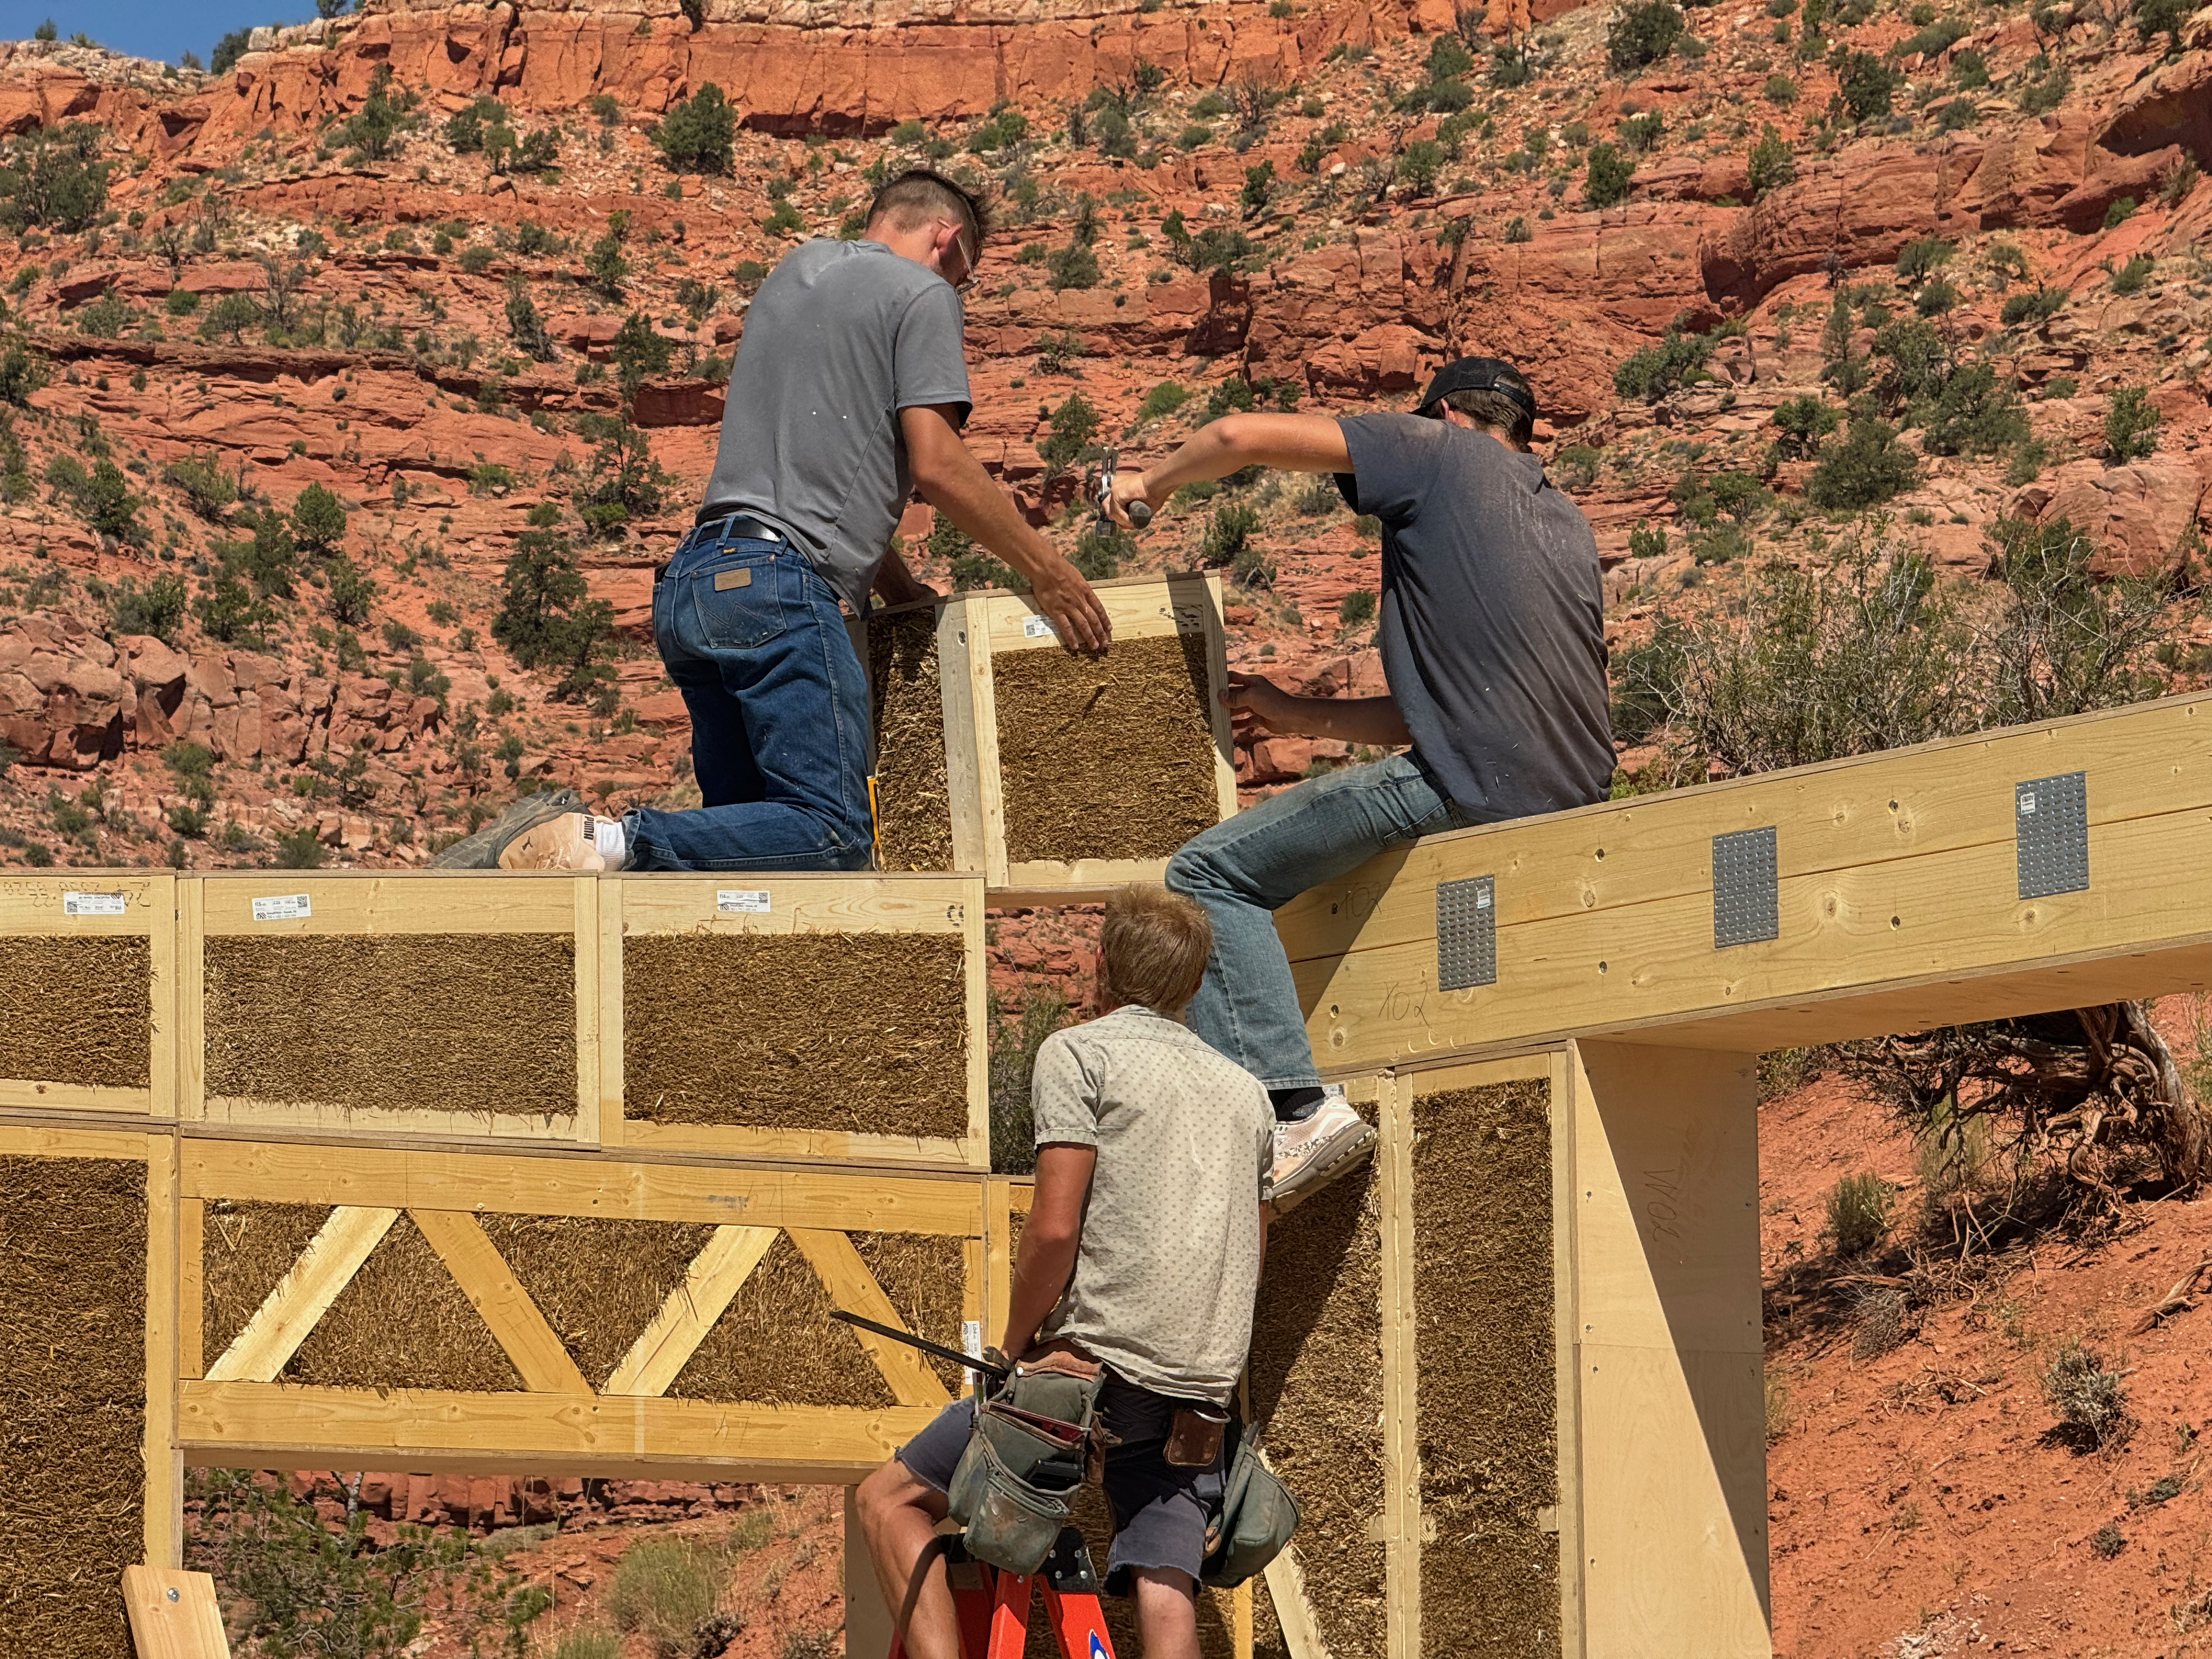
The panels consist of a load-bearing wood frame densely packed with straw (110 kg/m3, about 7 lb/ft3).
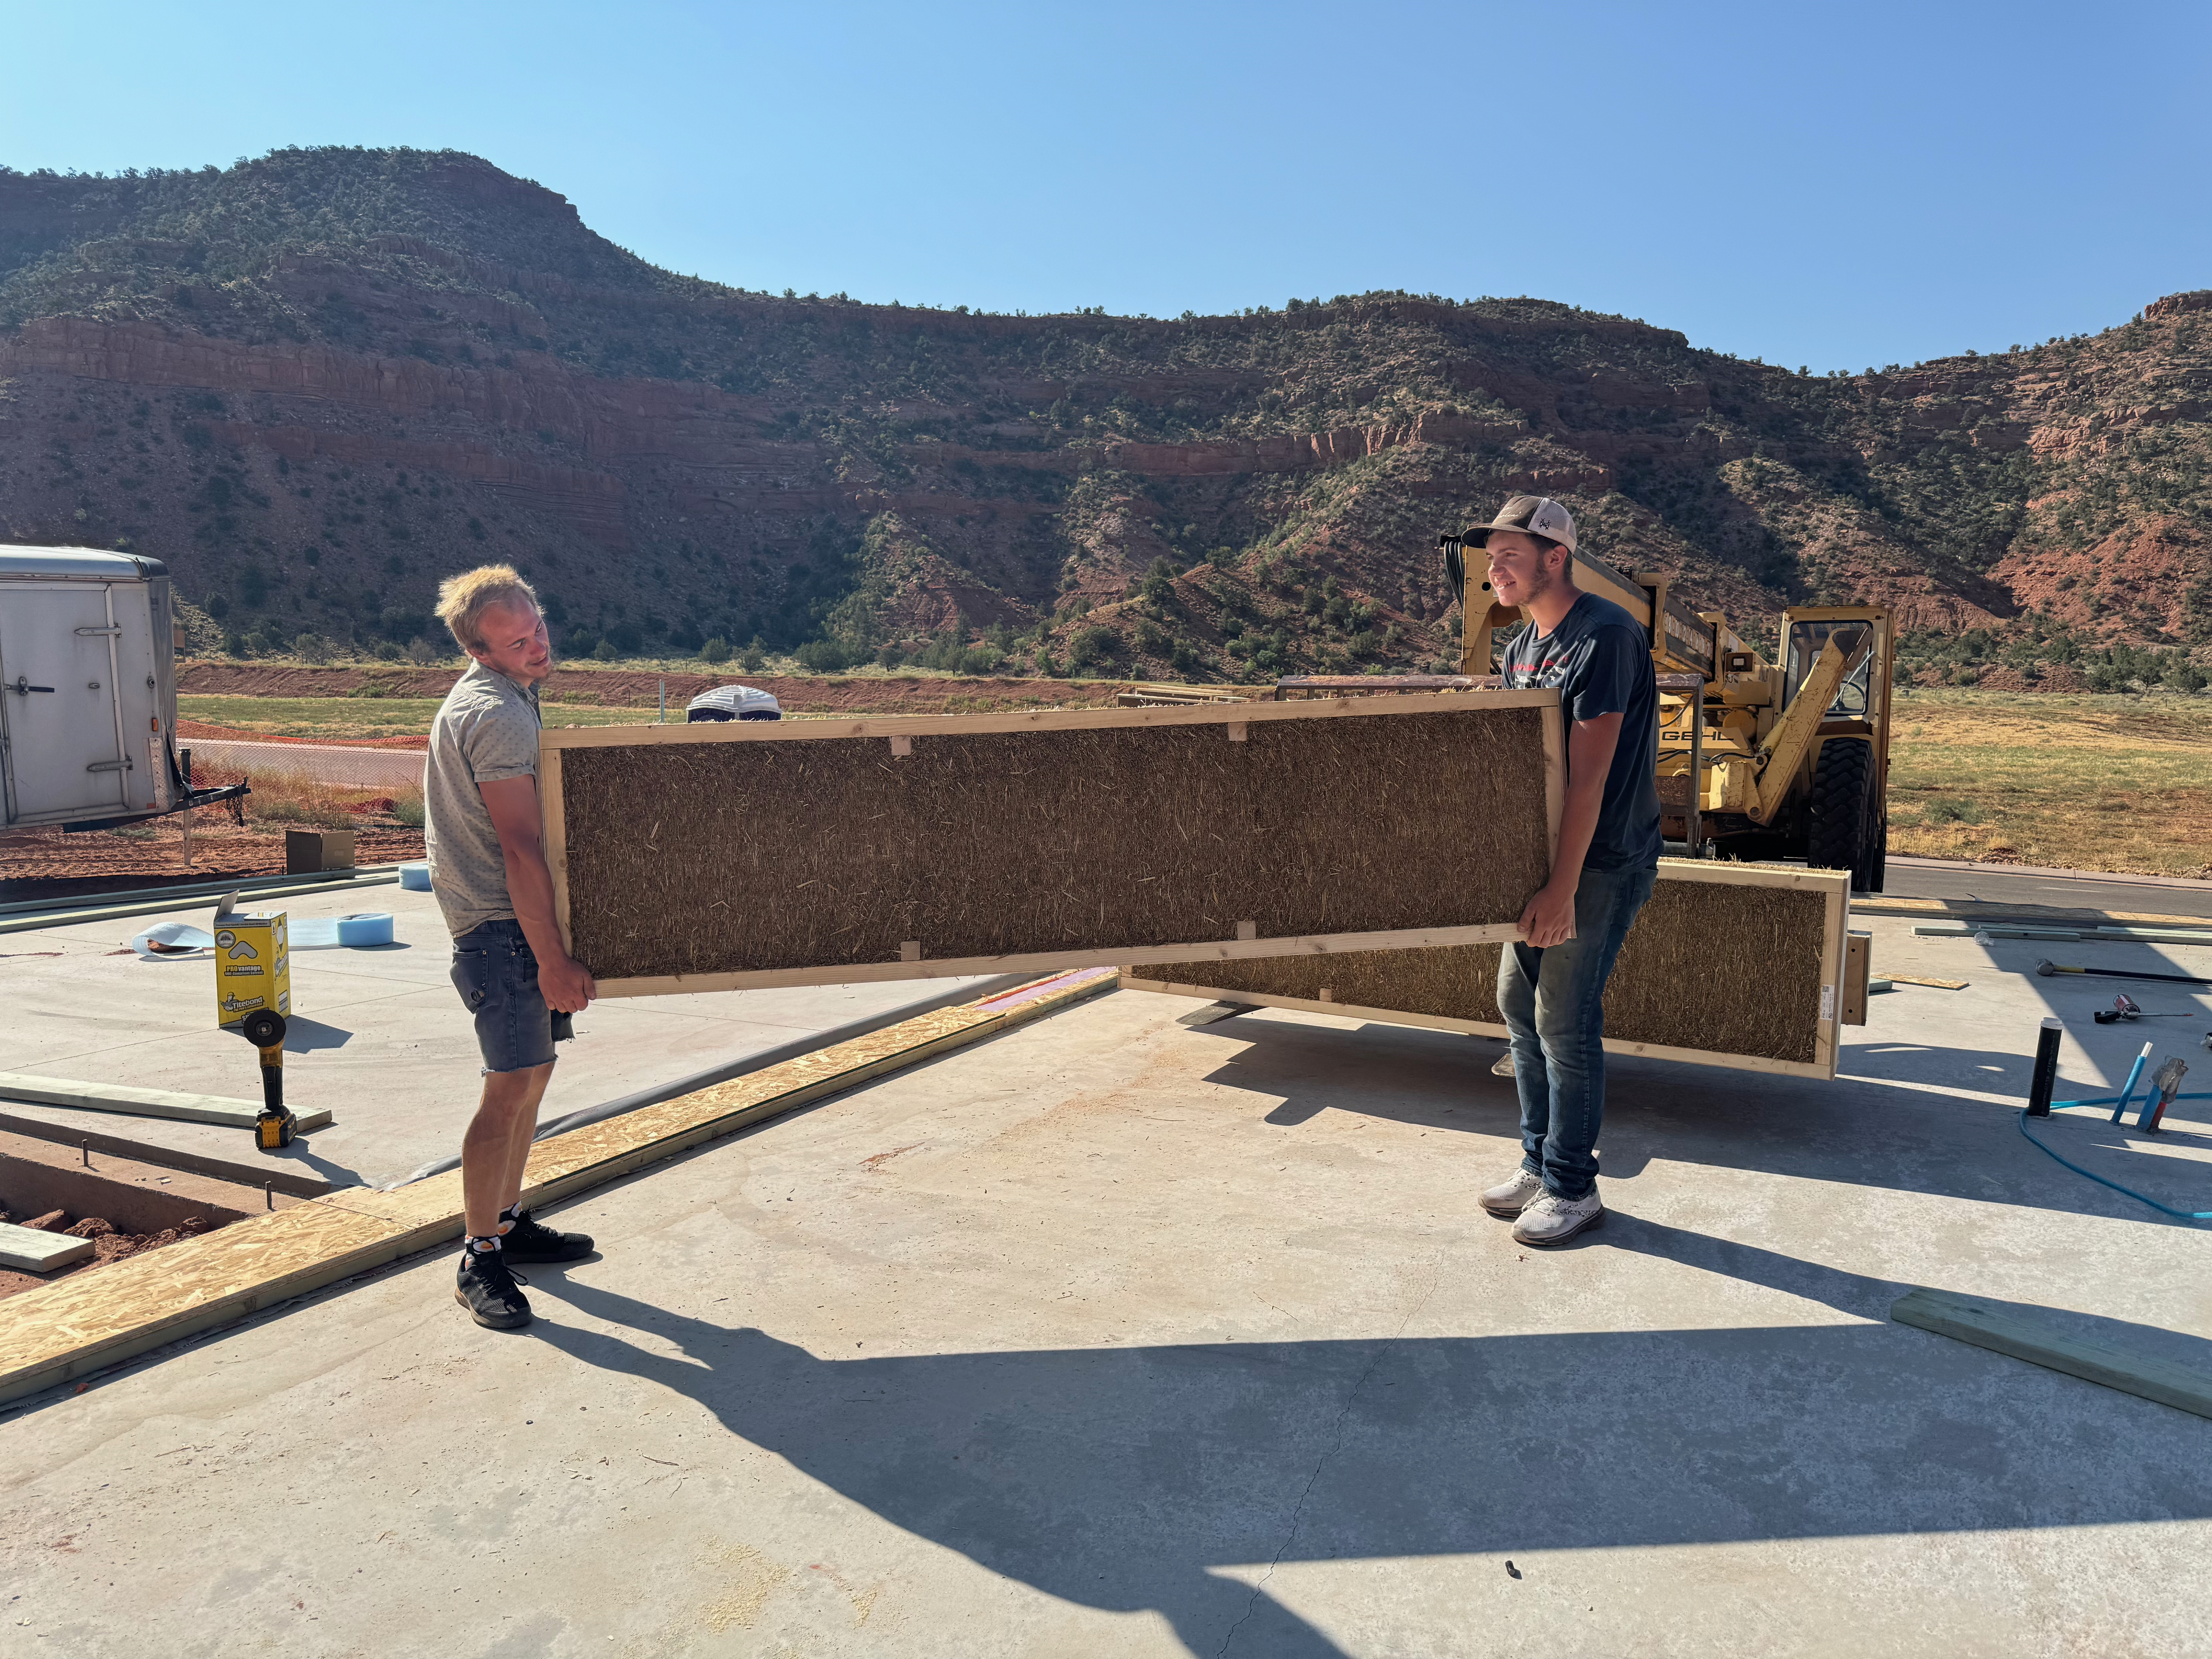
The panels are light enough to be moved by two (strong) people.
More Walls
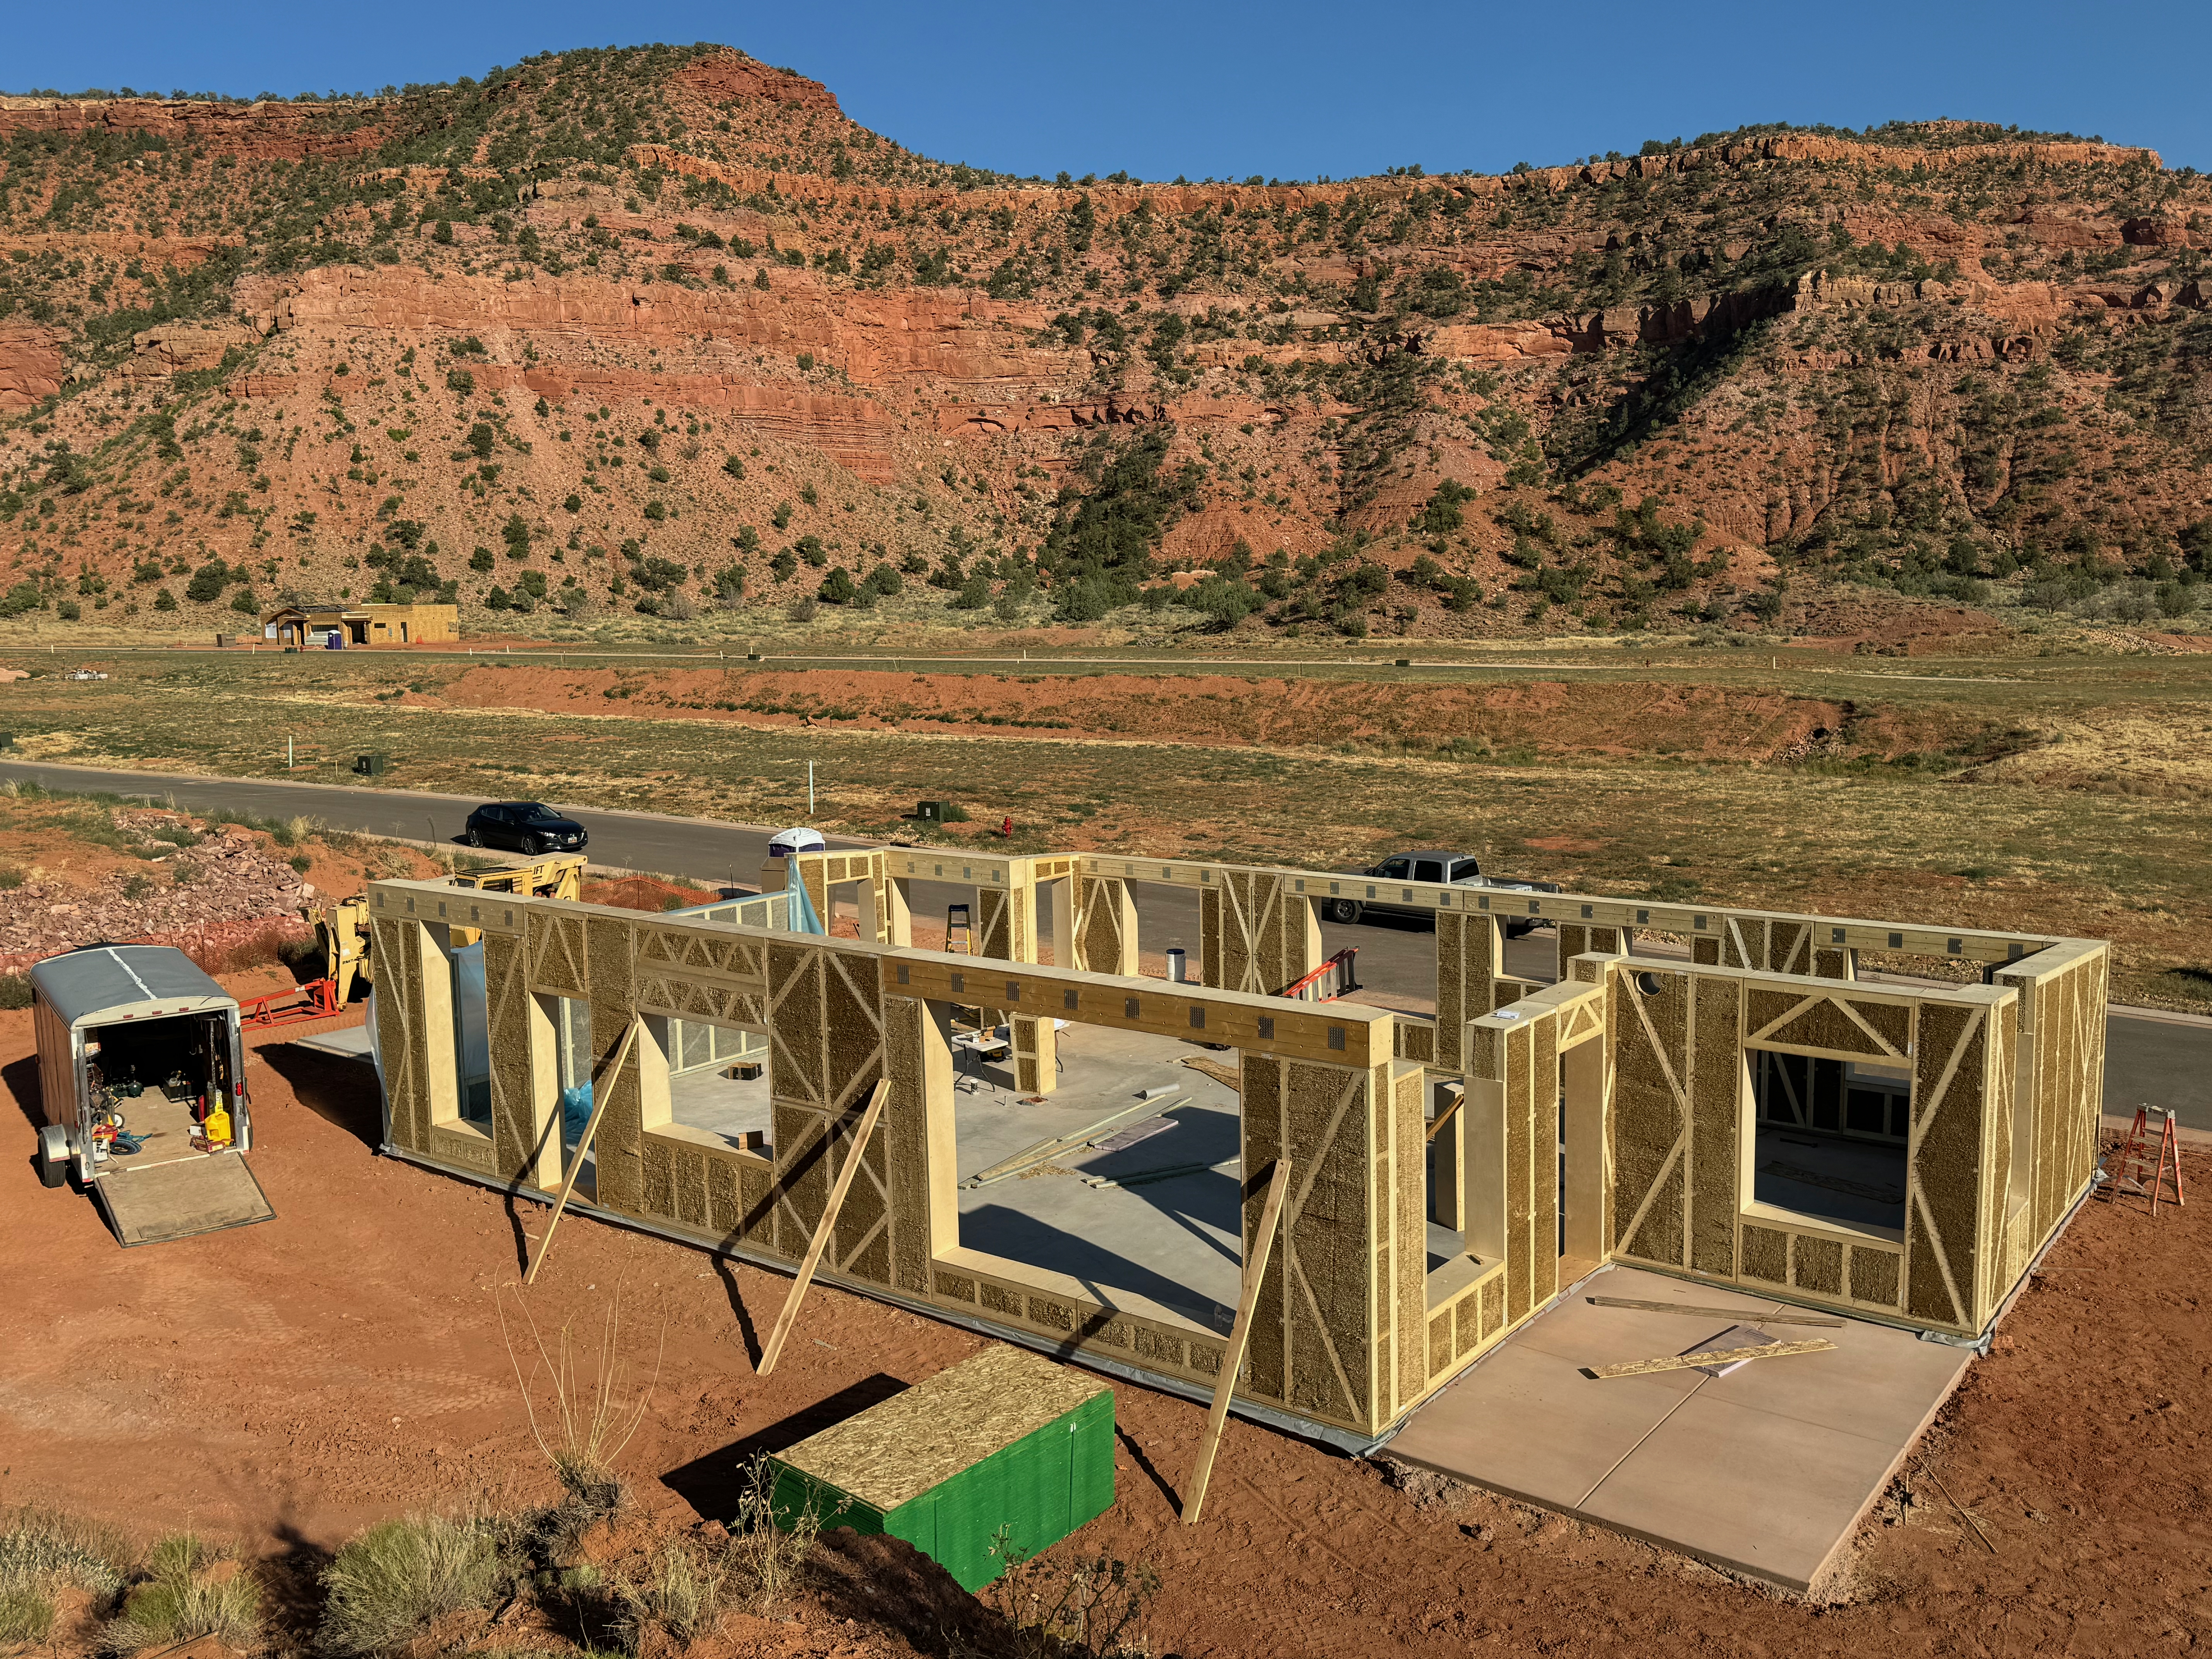
It’s amazing when you’ve been carrying a design around in your head for so long, and it finally gets realized. With the walls almost completed, I’m very happy to see the plans come to life.
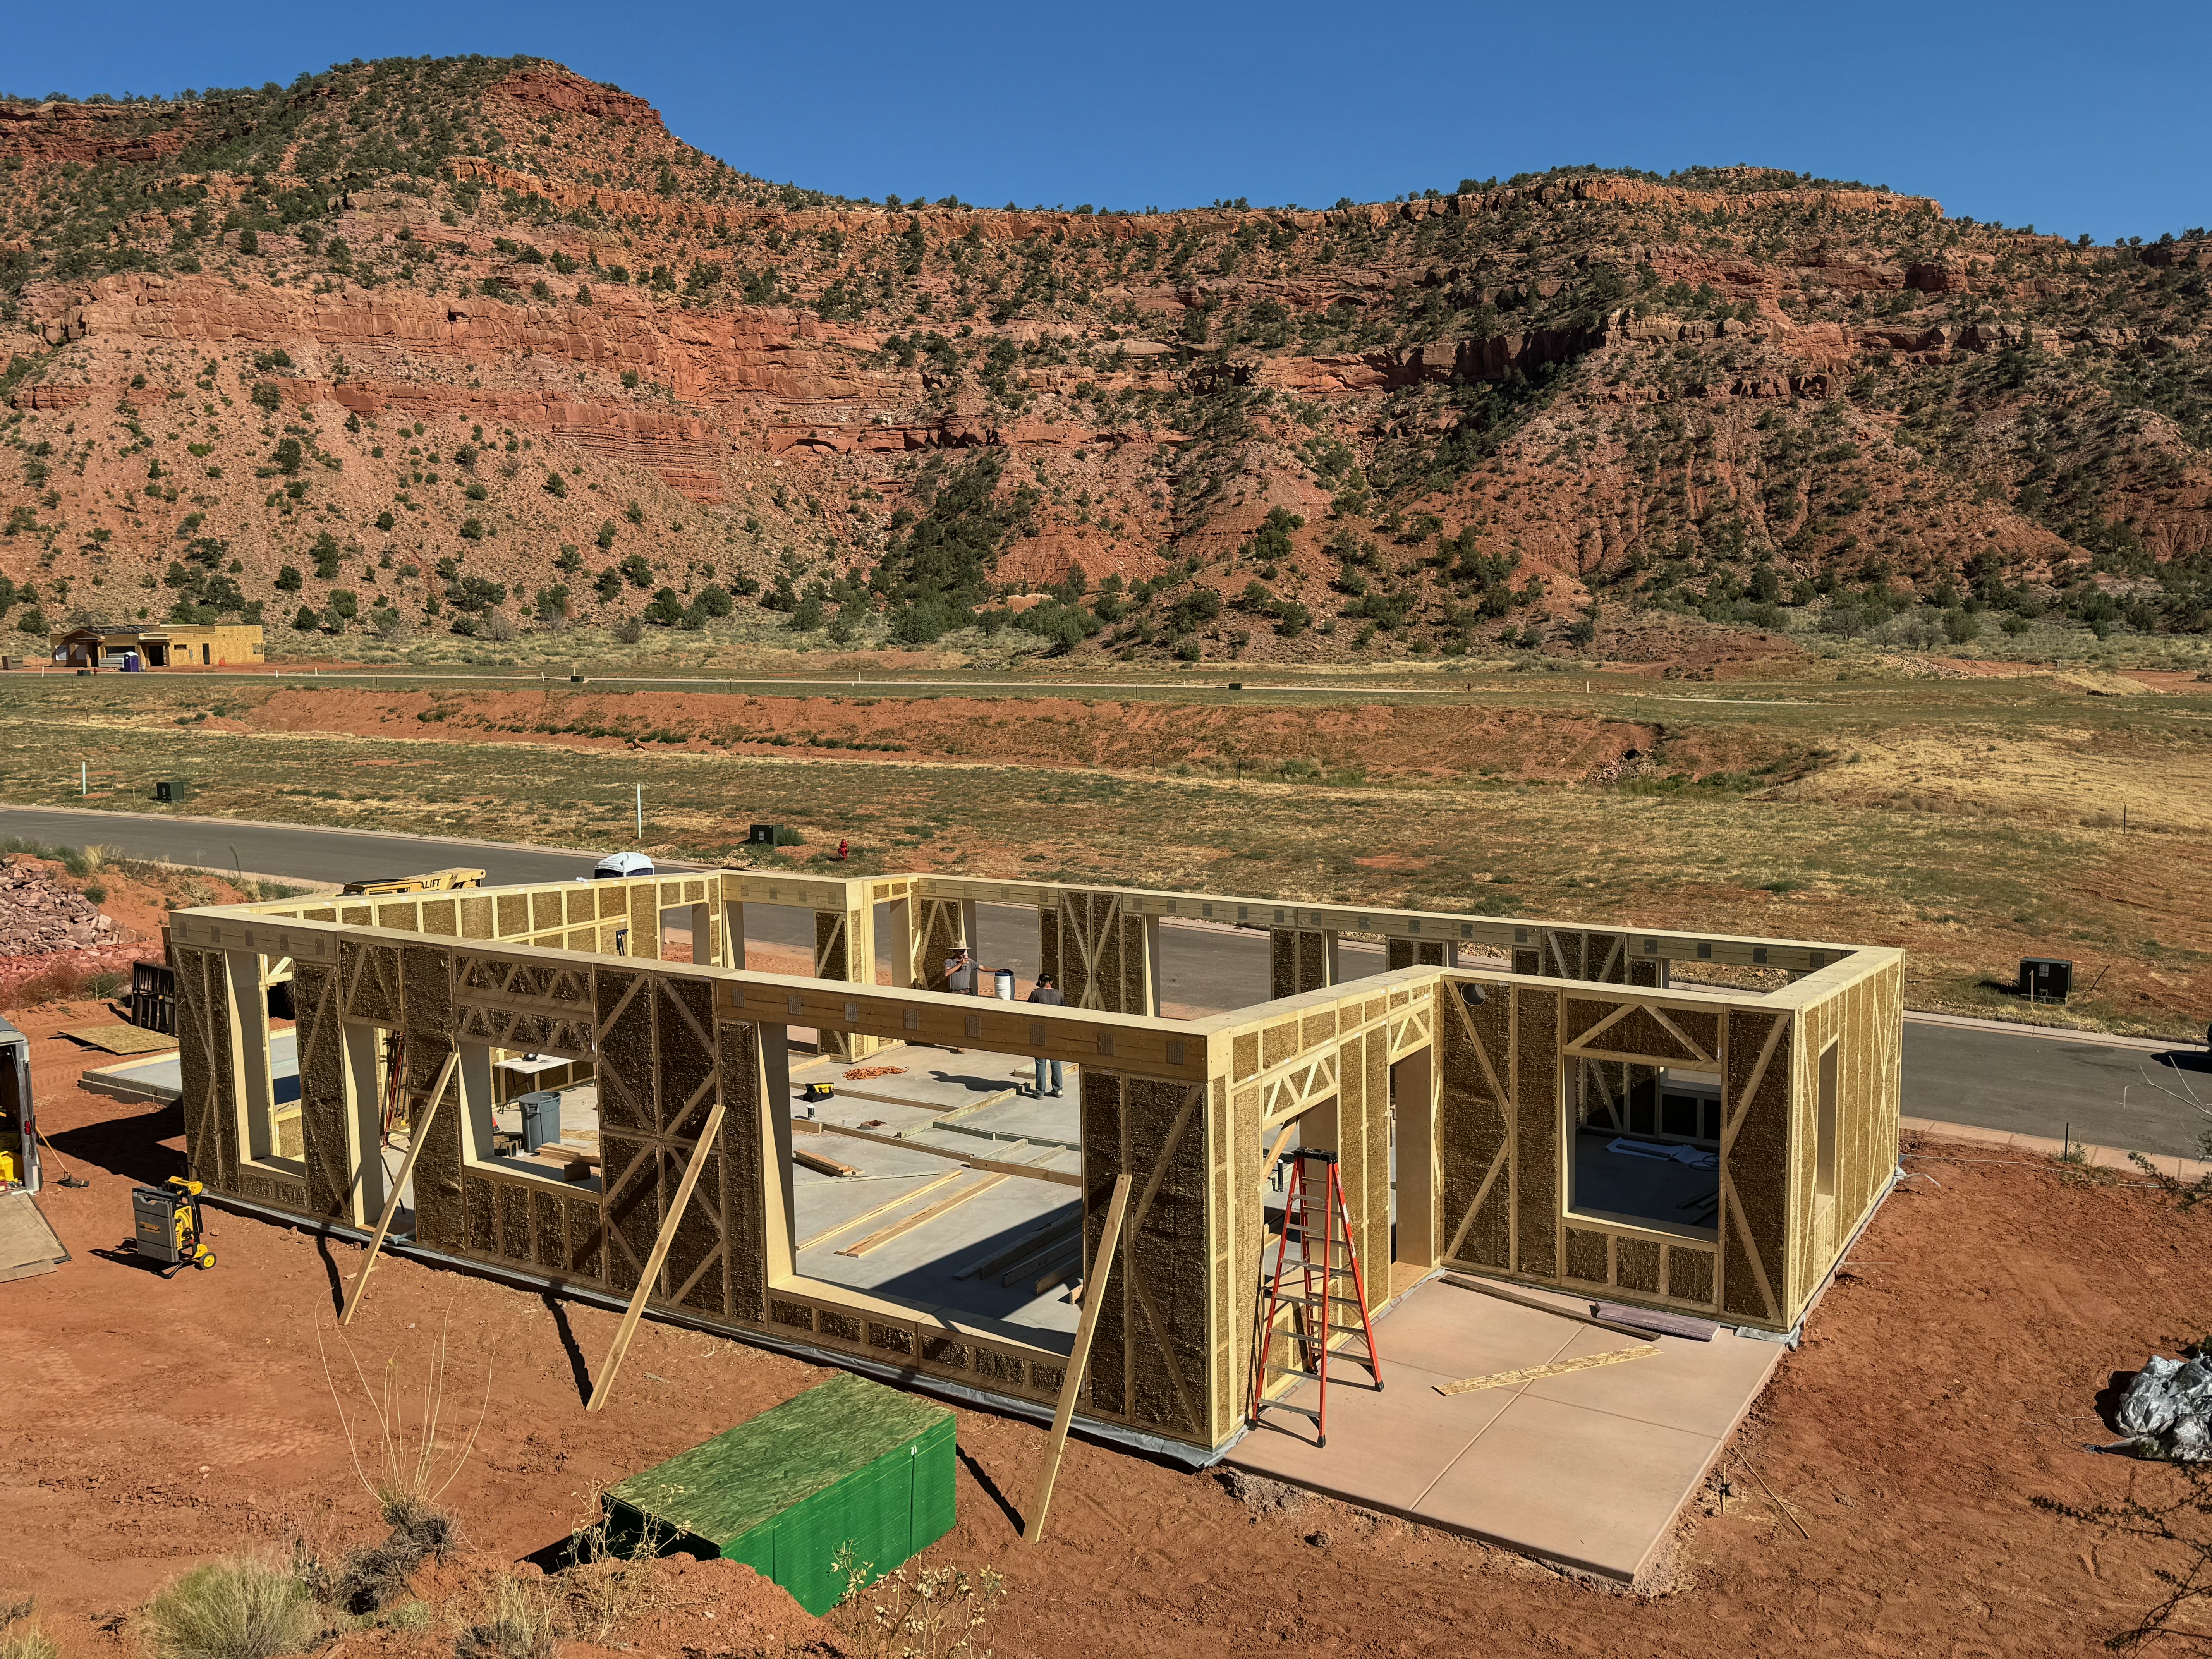
Here’s the last beam being placed in the front.
The current state as seen from the hill.
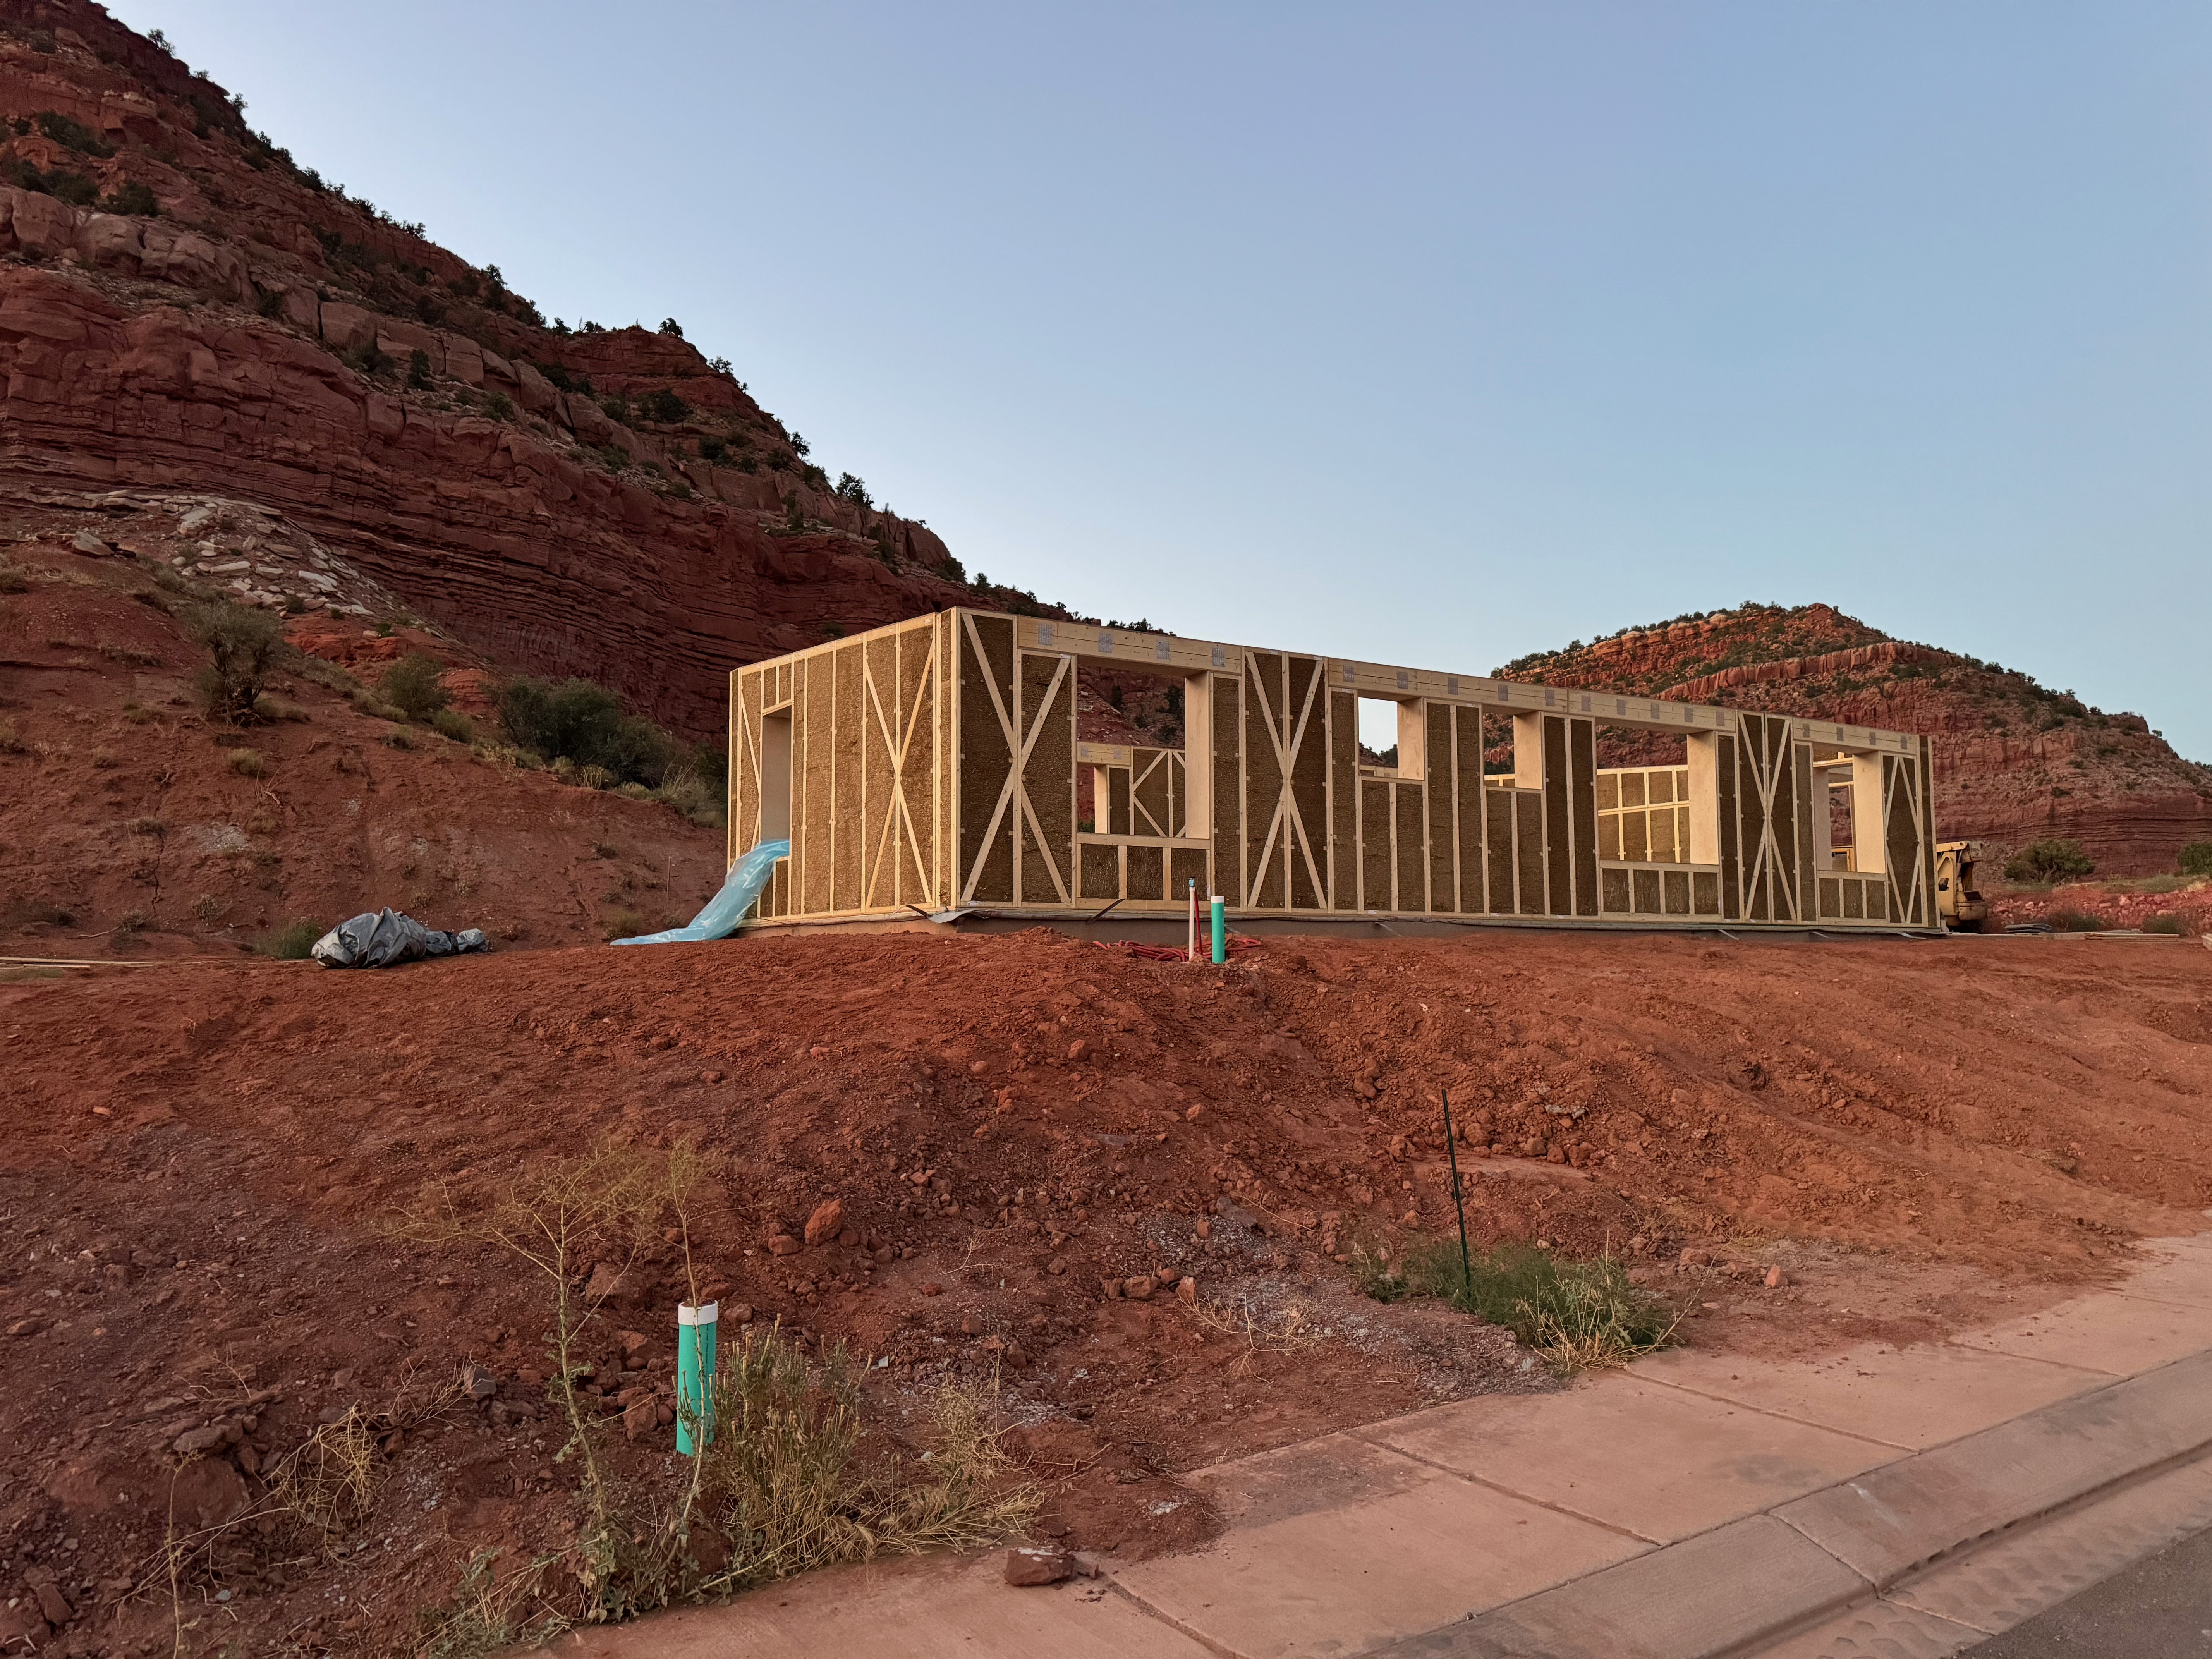
And here it is as seen when you’re coming up the street. A few panels are still missing.
Black Box
Lots of progress in the last week. The walls are now complete; the last panel was a very tight fit.
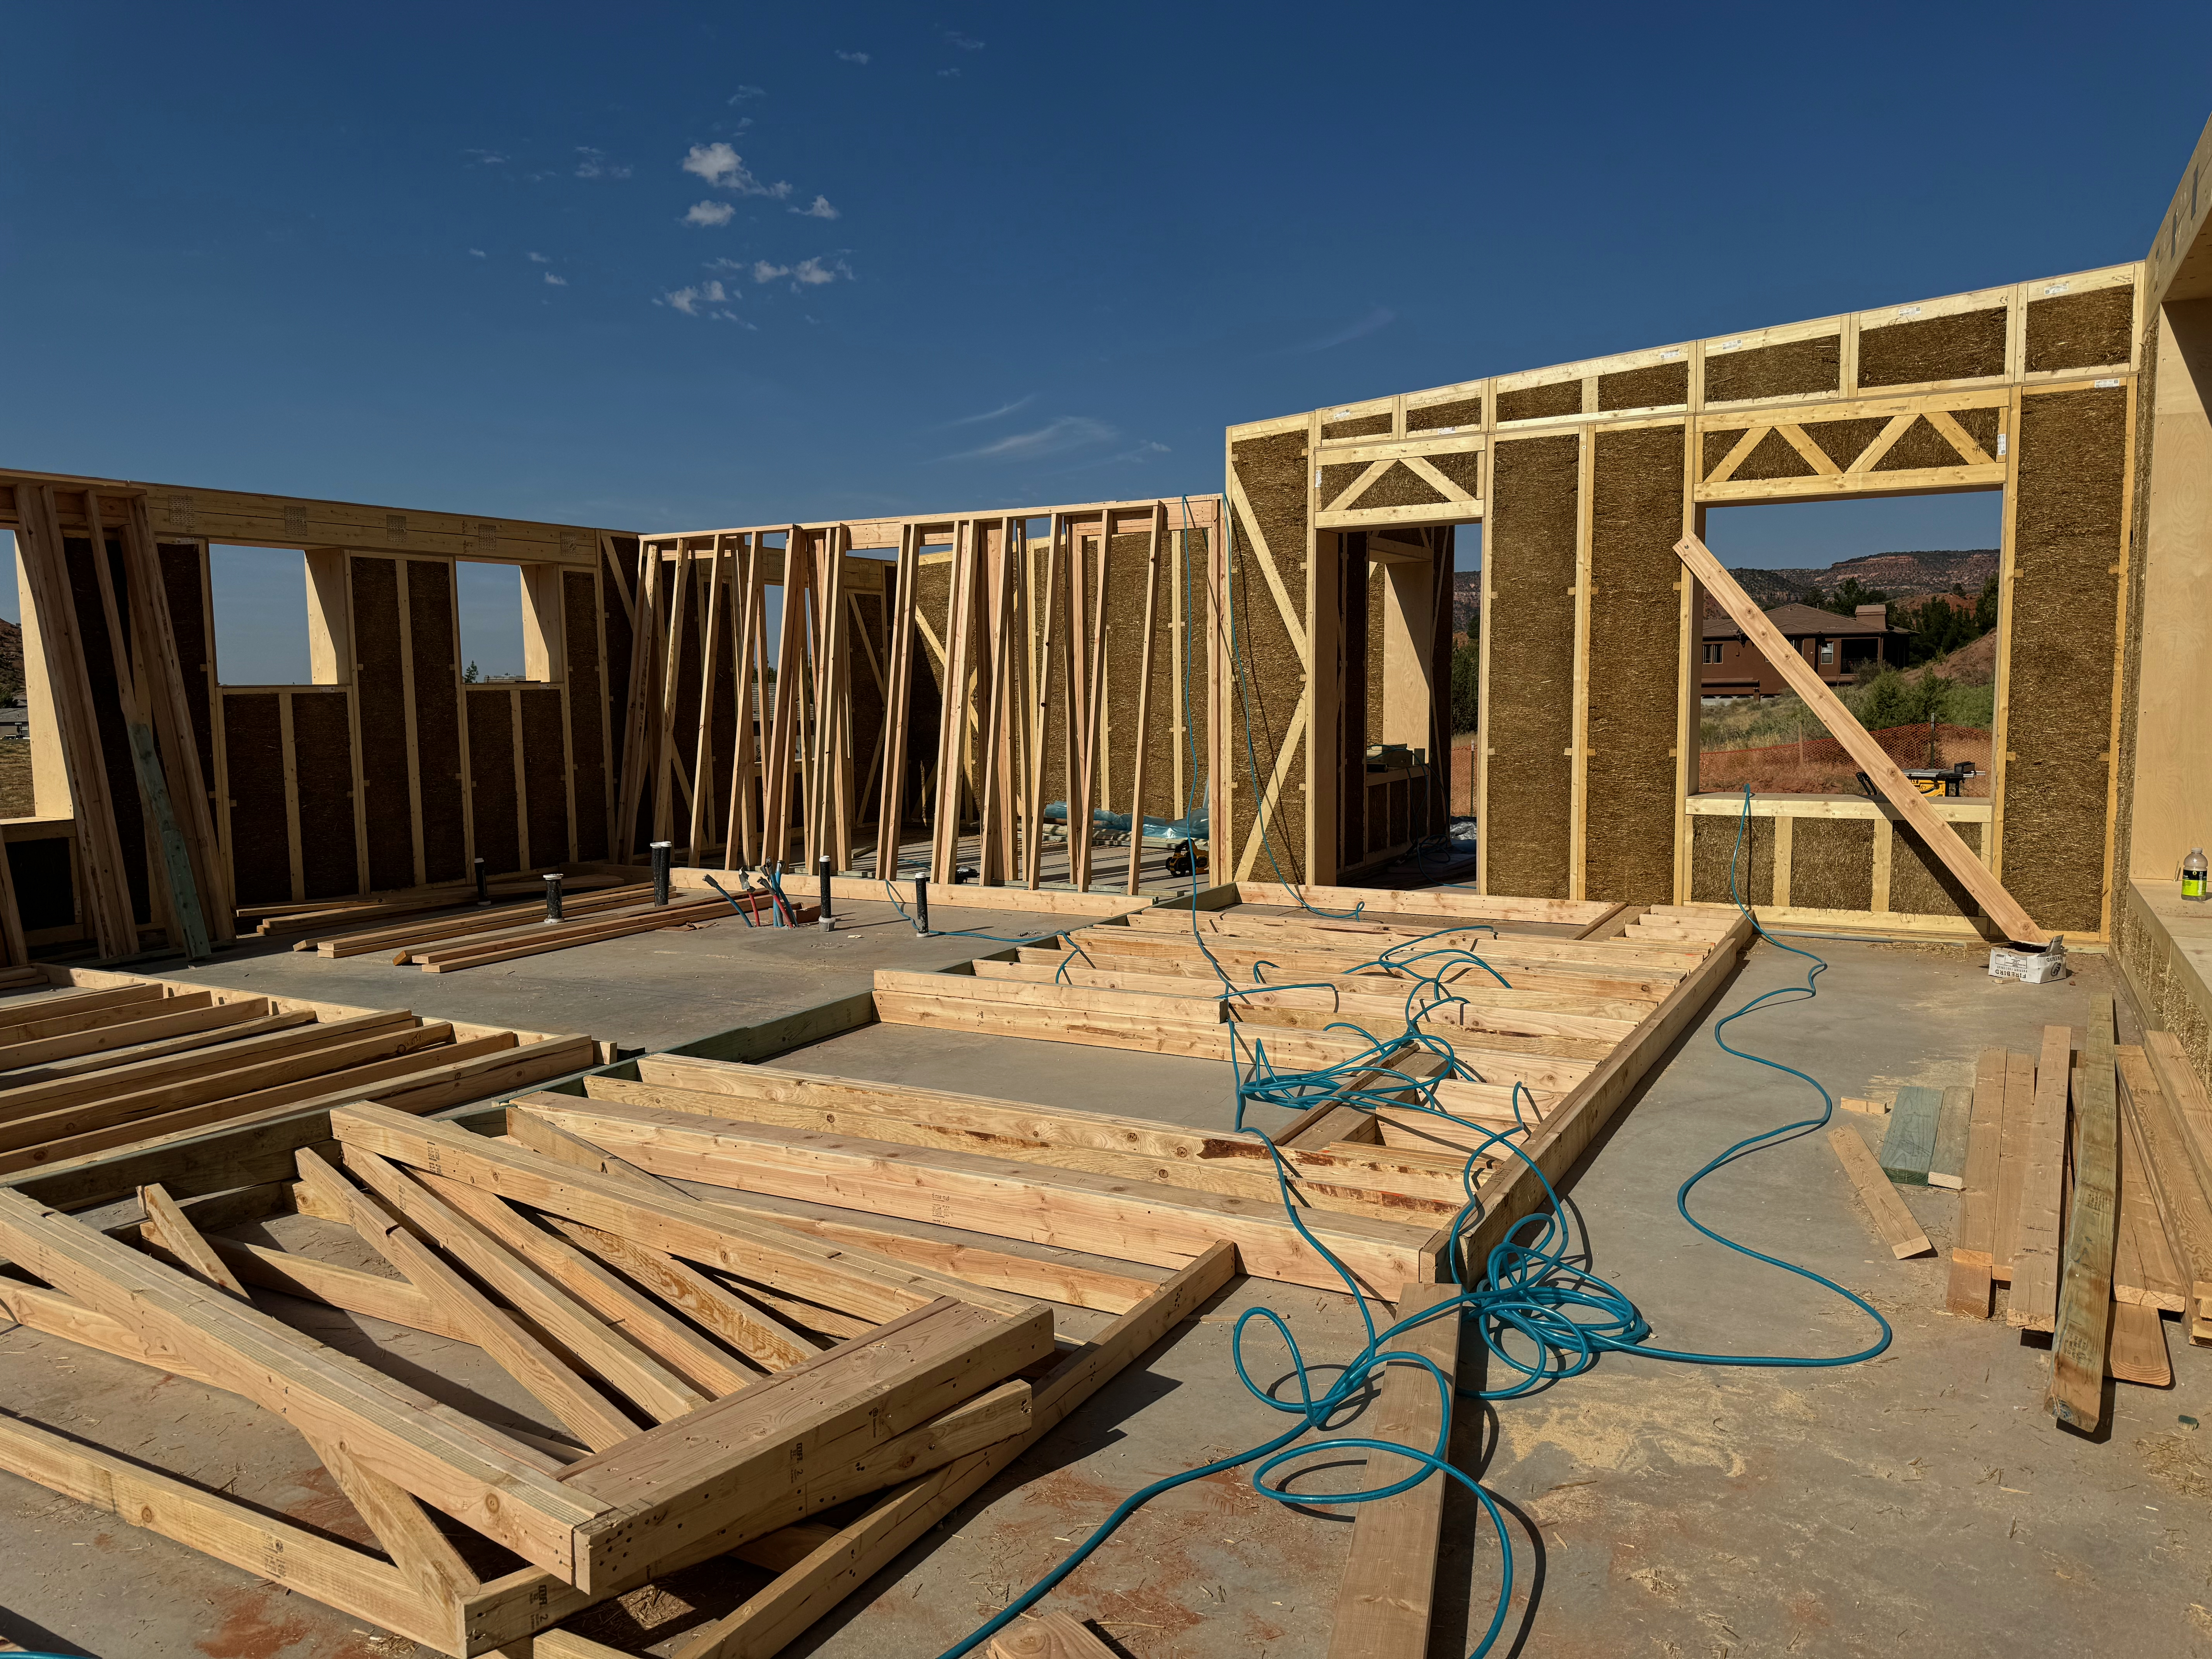
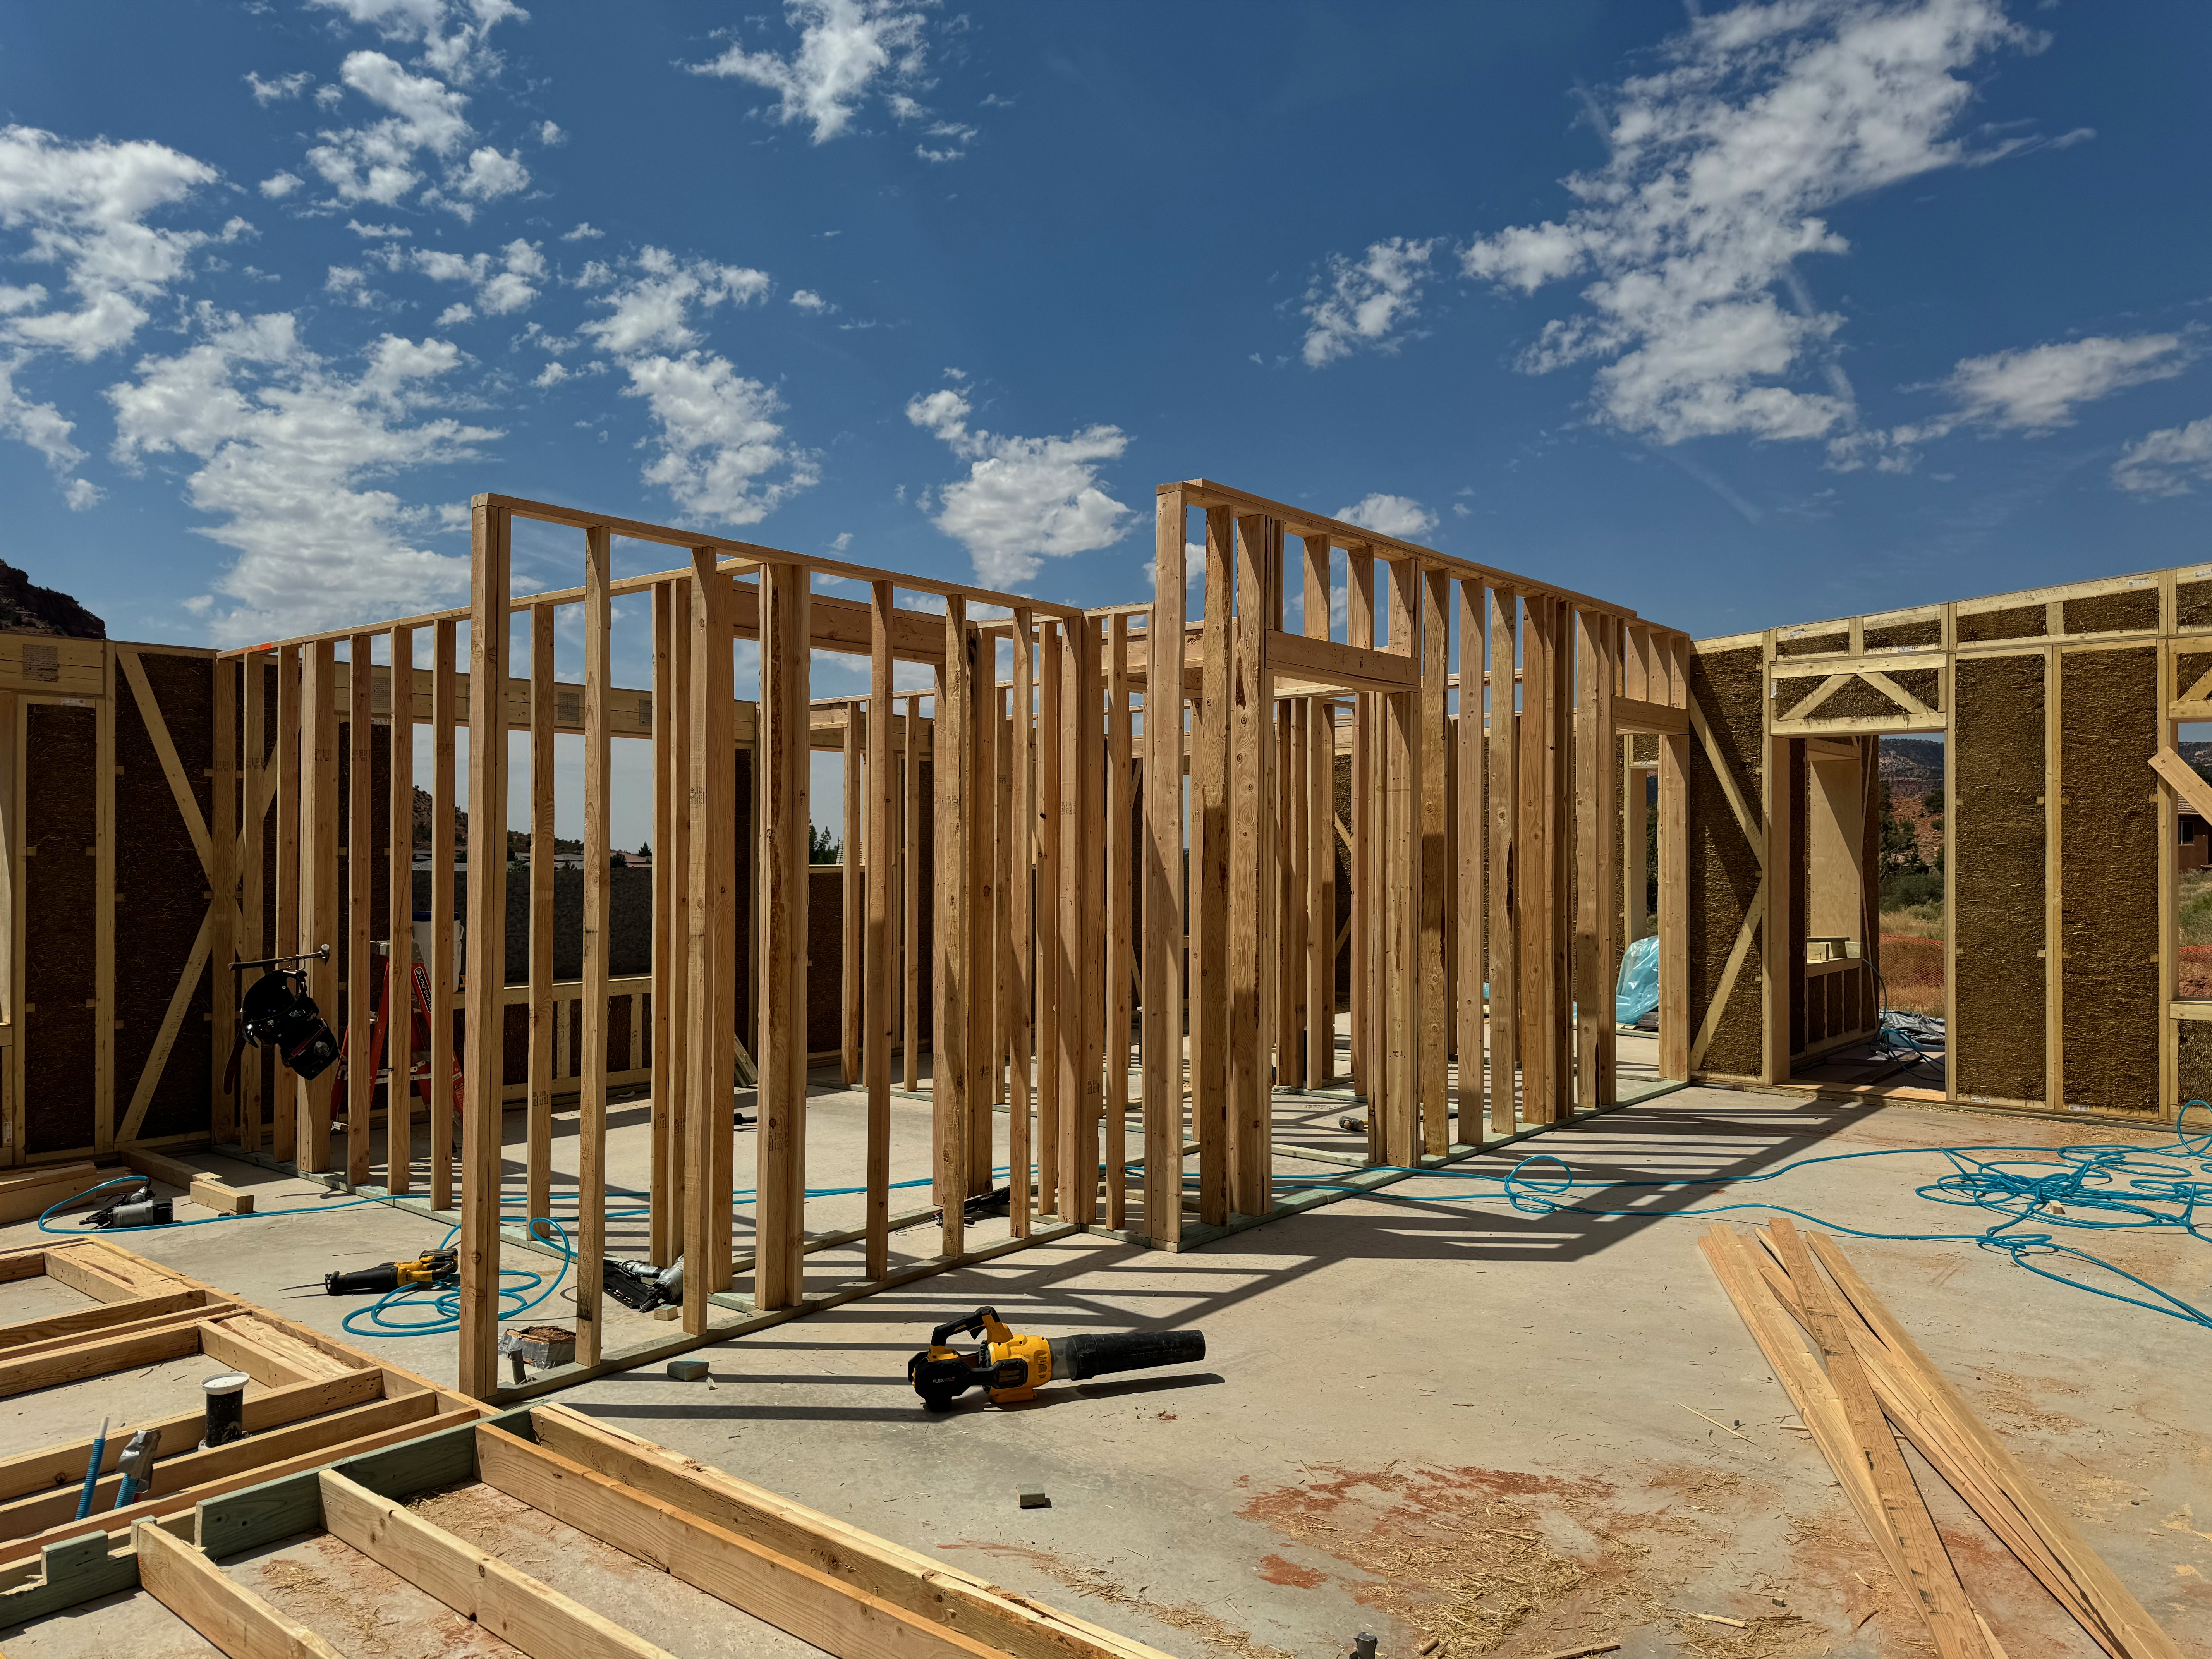
Interior walls
Meanwhile, the interior walls are being built: first assembled on the floor, then raised to vertical.
Garage and Roof
I was on a family trip to Norway and Portugal for two weeks. We got updates and handled some house questions while traveling, but it’s good to be back and see the progress with my own eyes. A lot has happened.
Roof
We have a roof! As the roof is at a low angle (4°), TPO works really well. We looked into a standing seam metal roof, but it would have been twice the cost, which was not worth it for a roof that’s mostly hidden.
Roof Overhangs
Roof overhangs are an important component of the whole passive house strategy: keep the sun from hitting the facade during summer, let the sun help heat the house during winter.
In the Passive House Planning Package (PHPP) spreadsheet, each window not only includes size and orientation, but also overhang depth and position. This allows the heat gains to be calculated accurately throughout the year.
However, this only works if the value entered in the spreadsheet is correct. For some reason, I had always imagined the overhangs to be 2 feet, and that’s what the spreadsheet contained. It would have been clear to see in the plans, but I didn’t check. The reality didn’t dawn on me until I saw water dripping from the roof.
Ducts and Wires
Things are happening – significant progress this last month. First, they installed the glass in the huge windows in the living area.
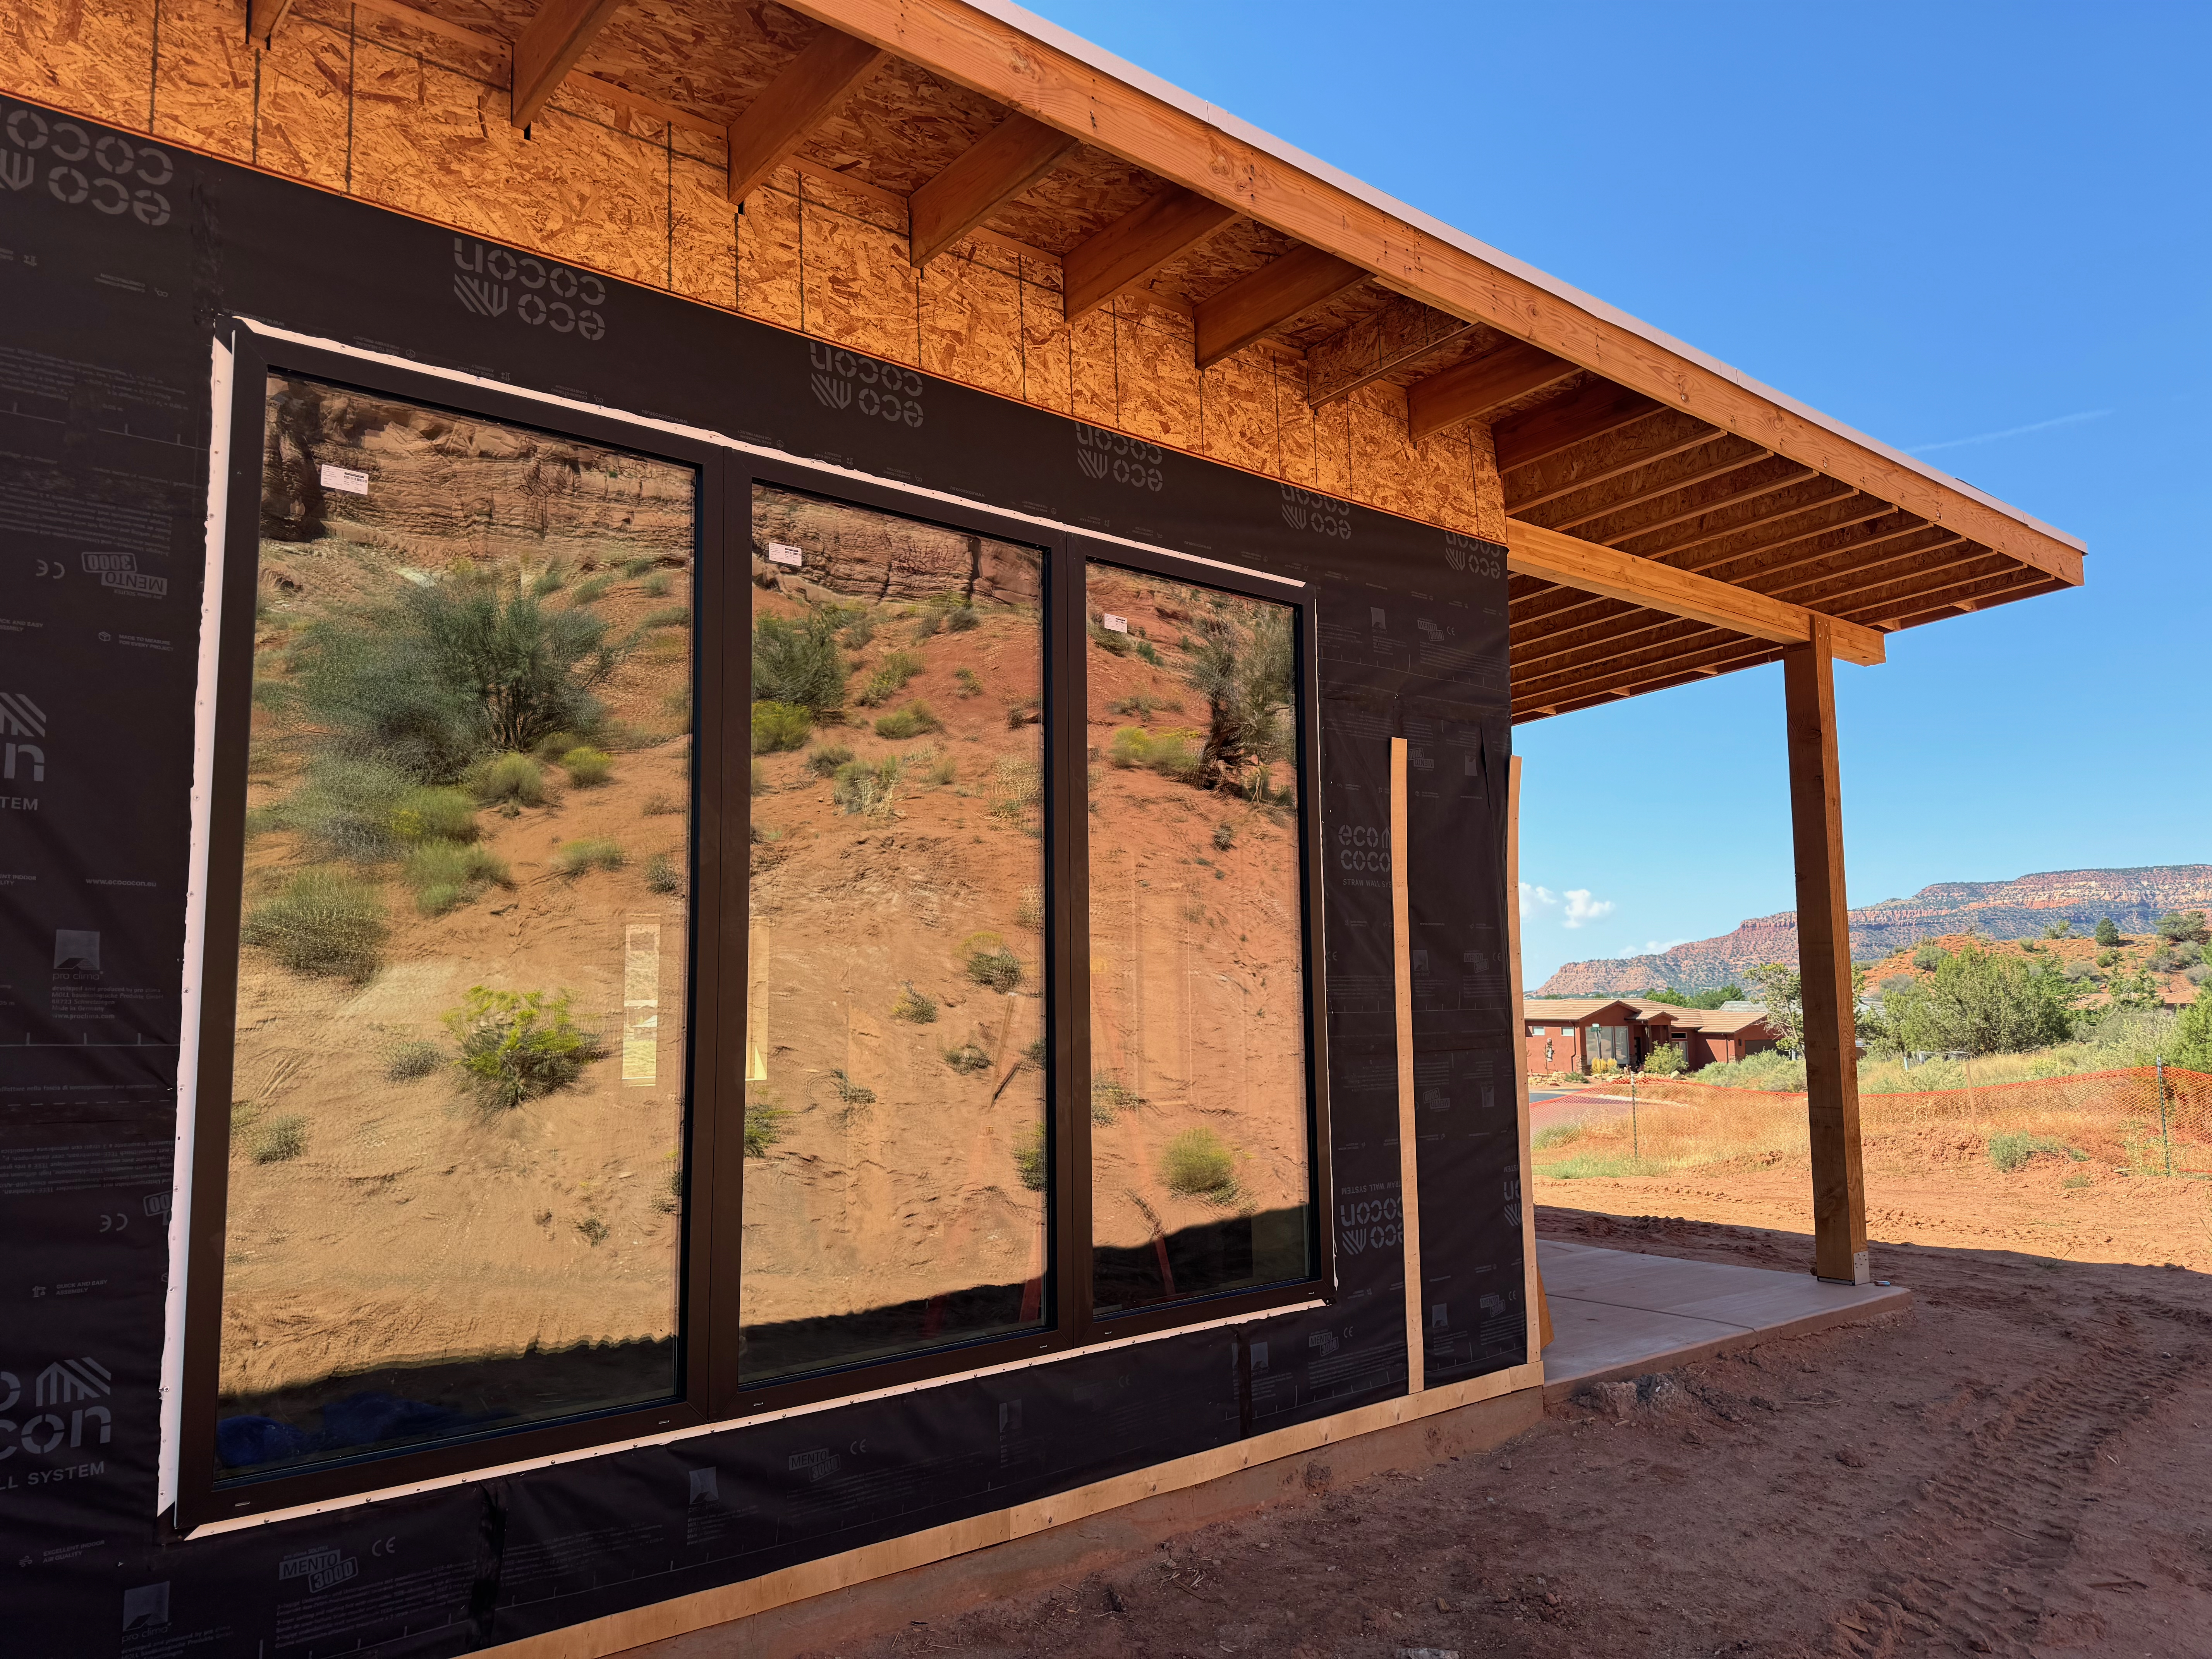
The view from the planned couch location remains amazing.
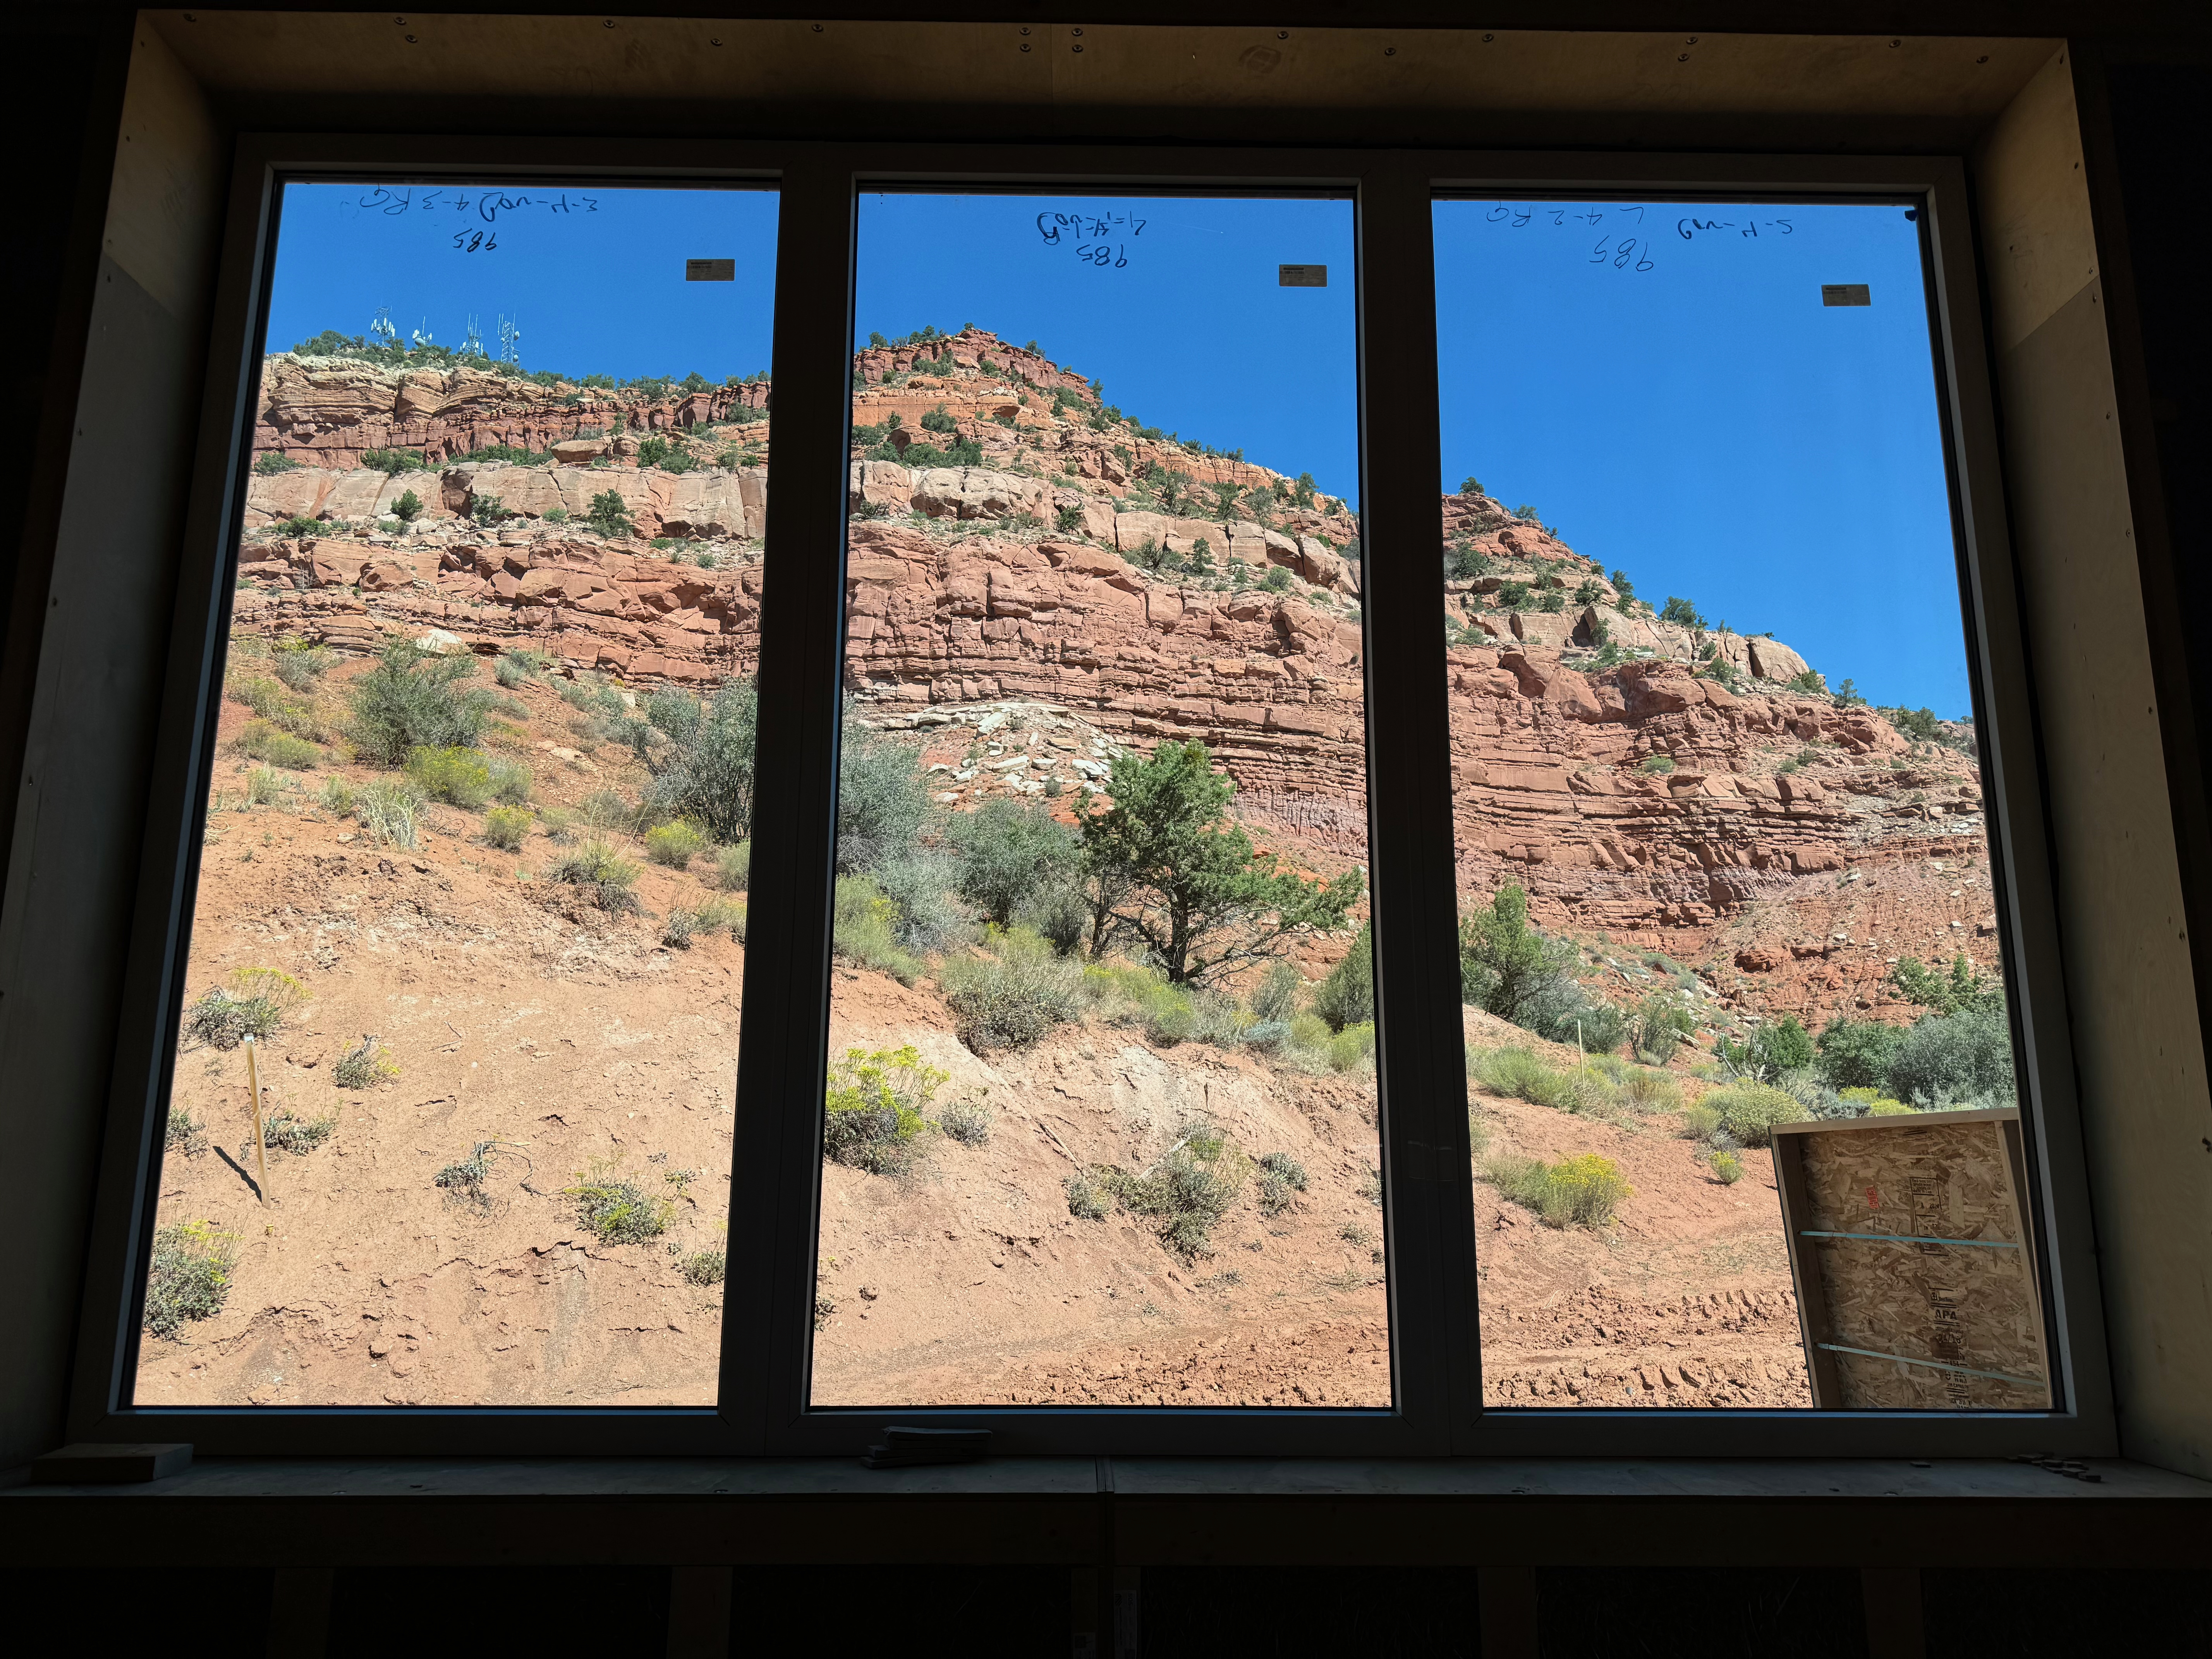
Here you can see those windows in the context of the kitchen and living area. Doors to backyard and patio still need to be installed, but you can already feel that the temperature inside is more comfortable and even than in regular constructions.
Doors and Insulation
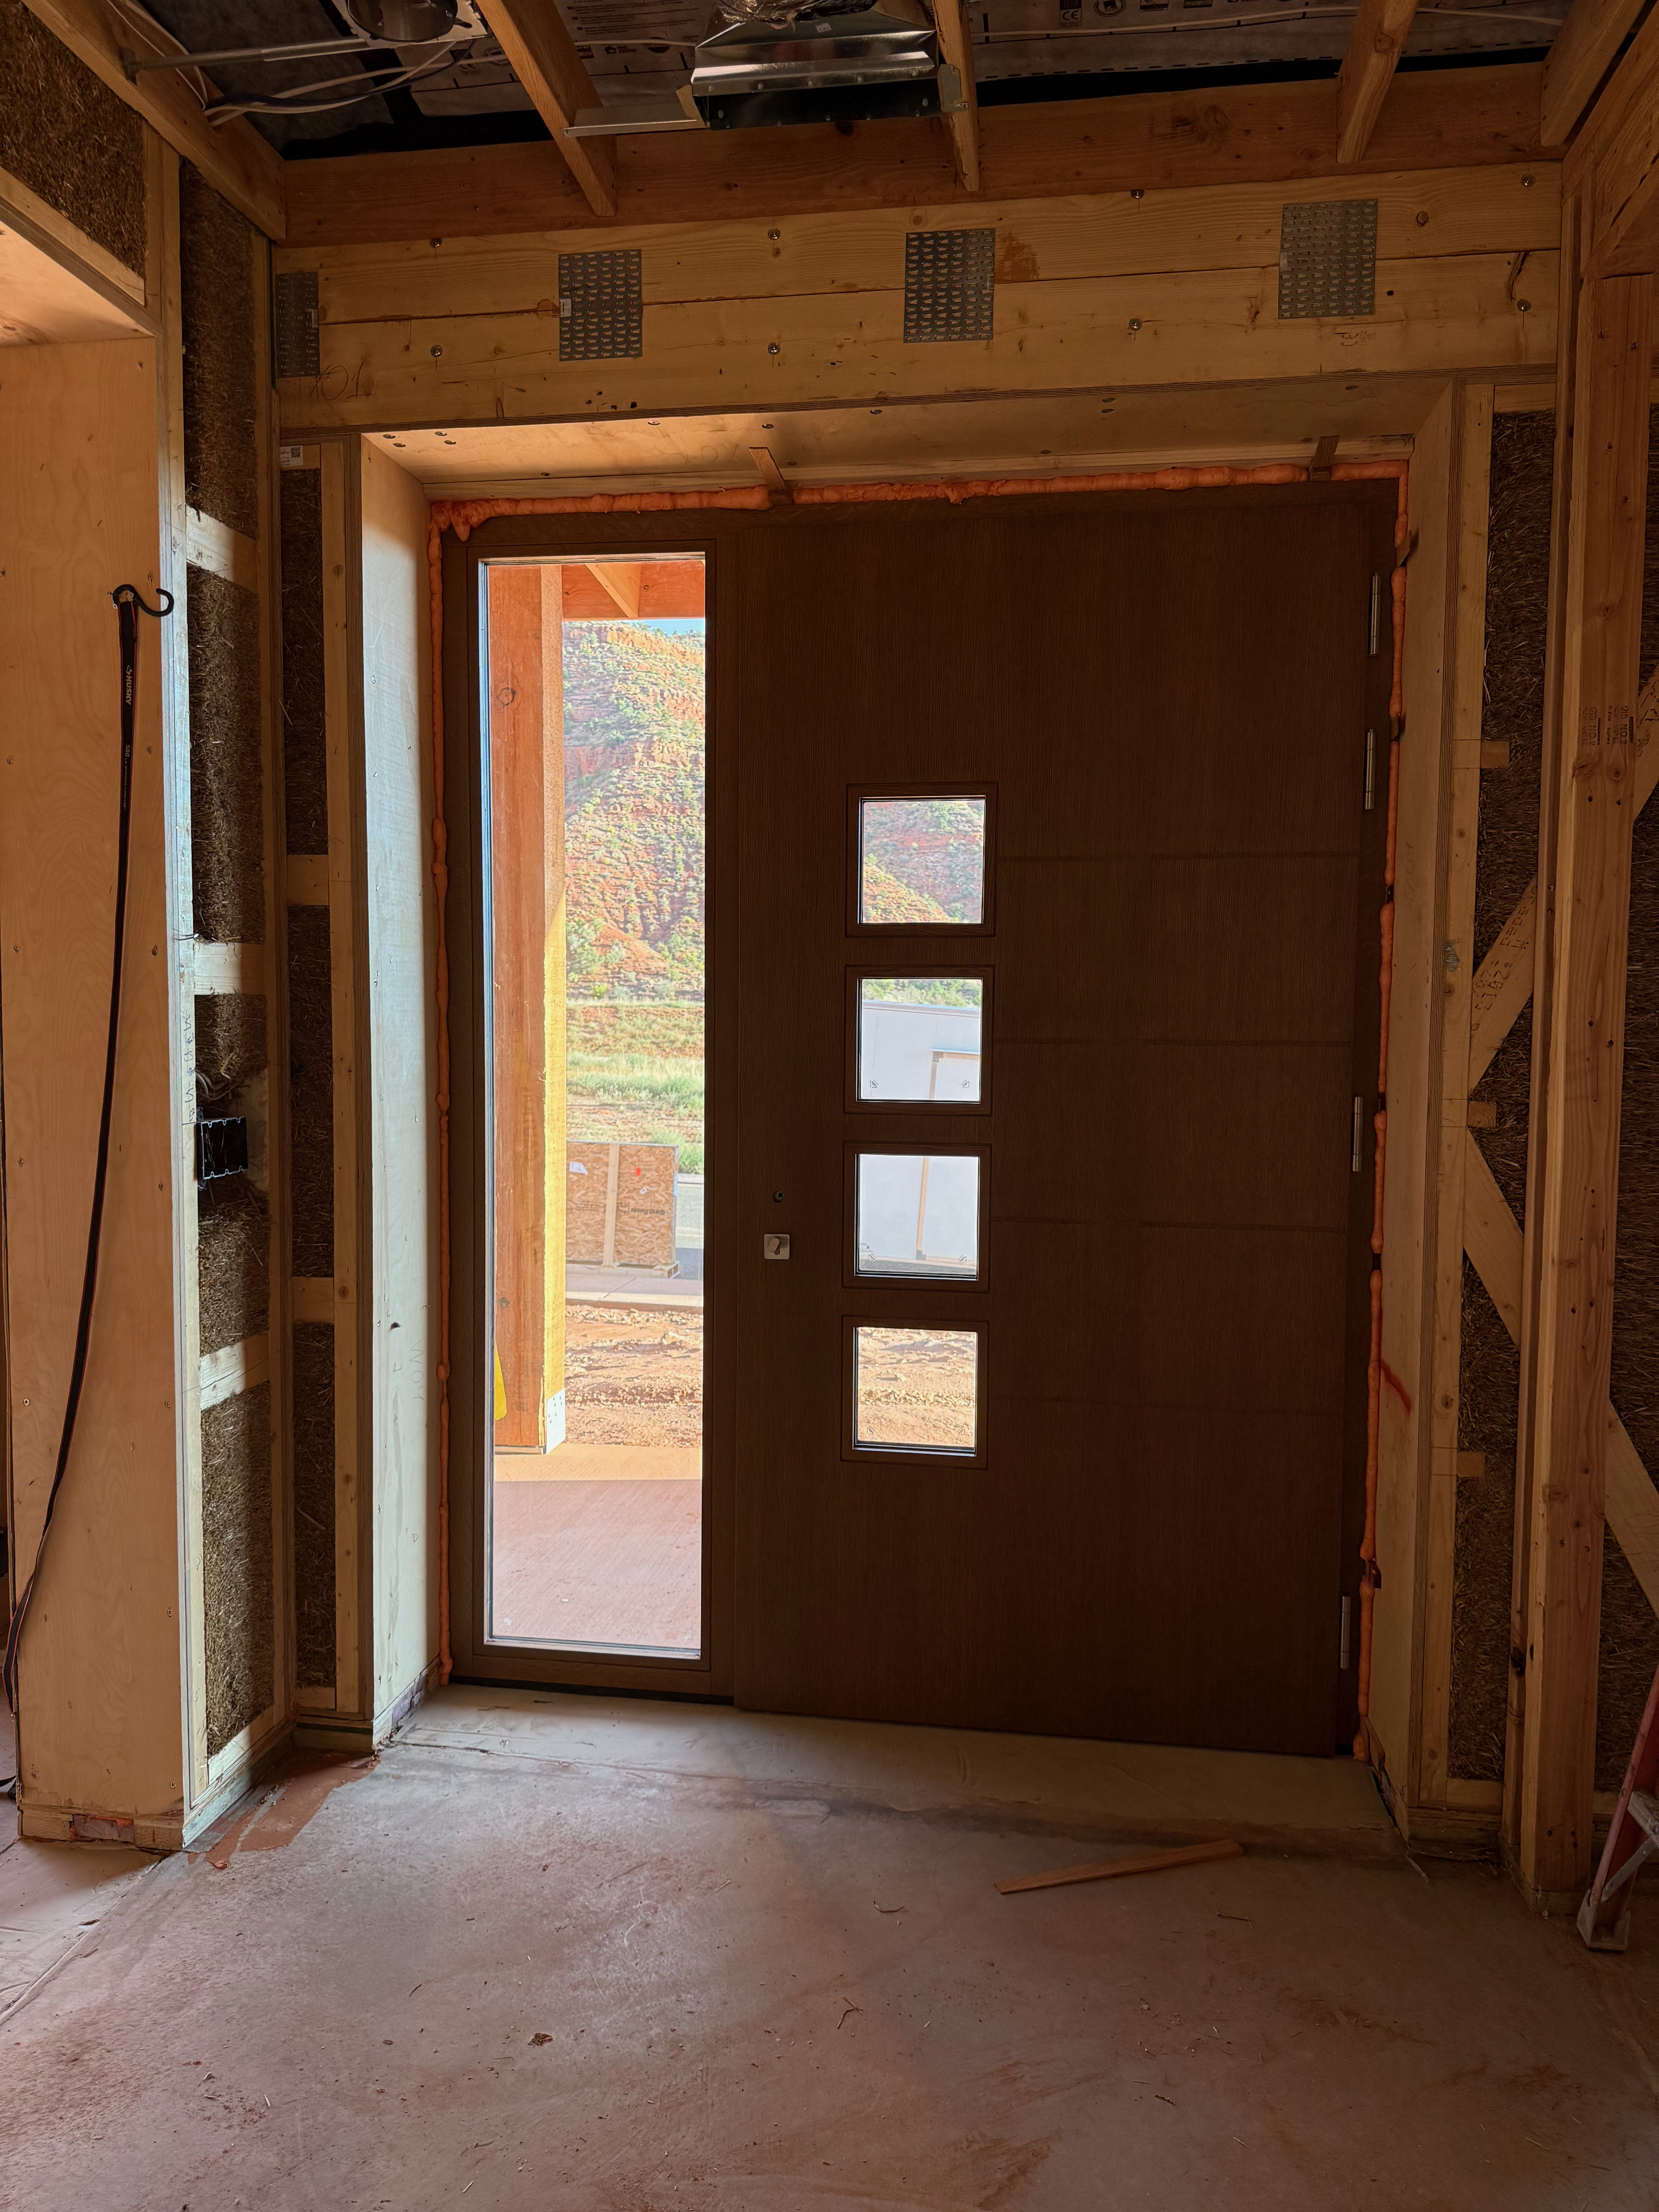
The front door (from Neuffer in Germany) is now installed, very happy with how it looks.
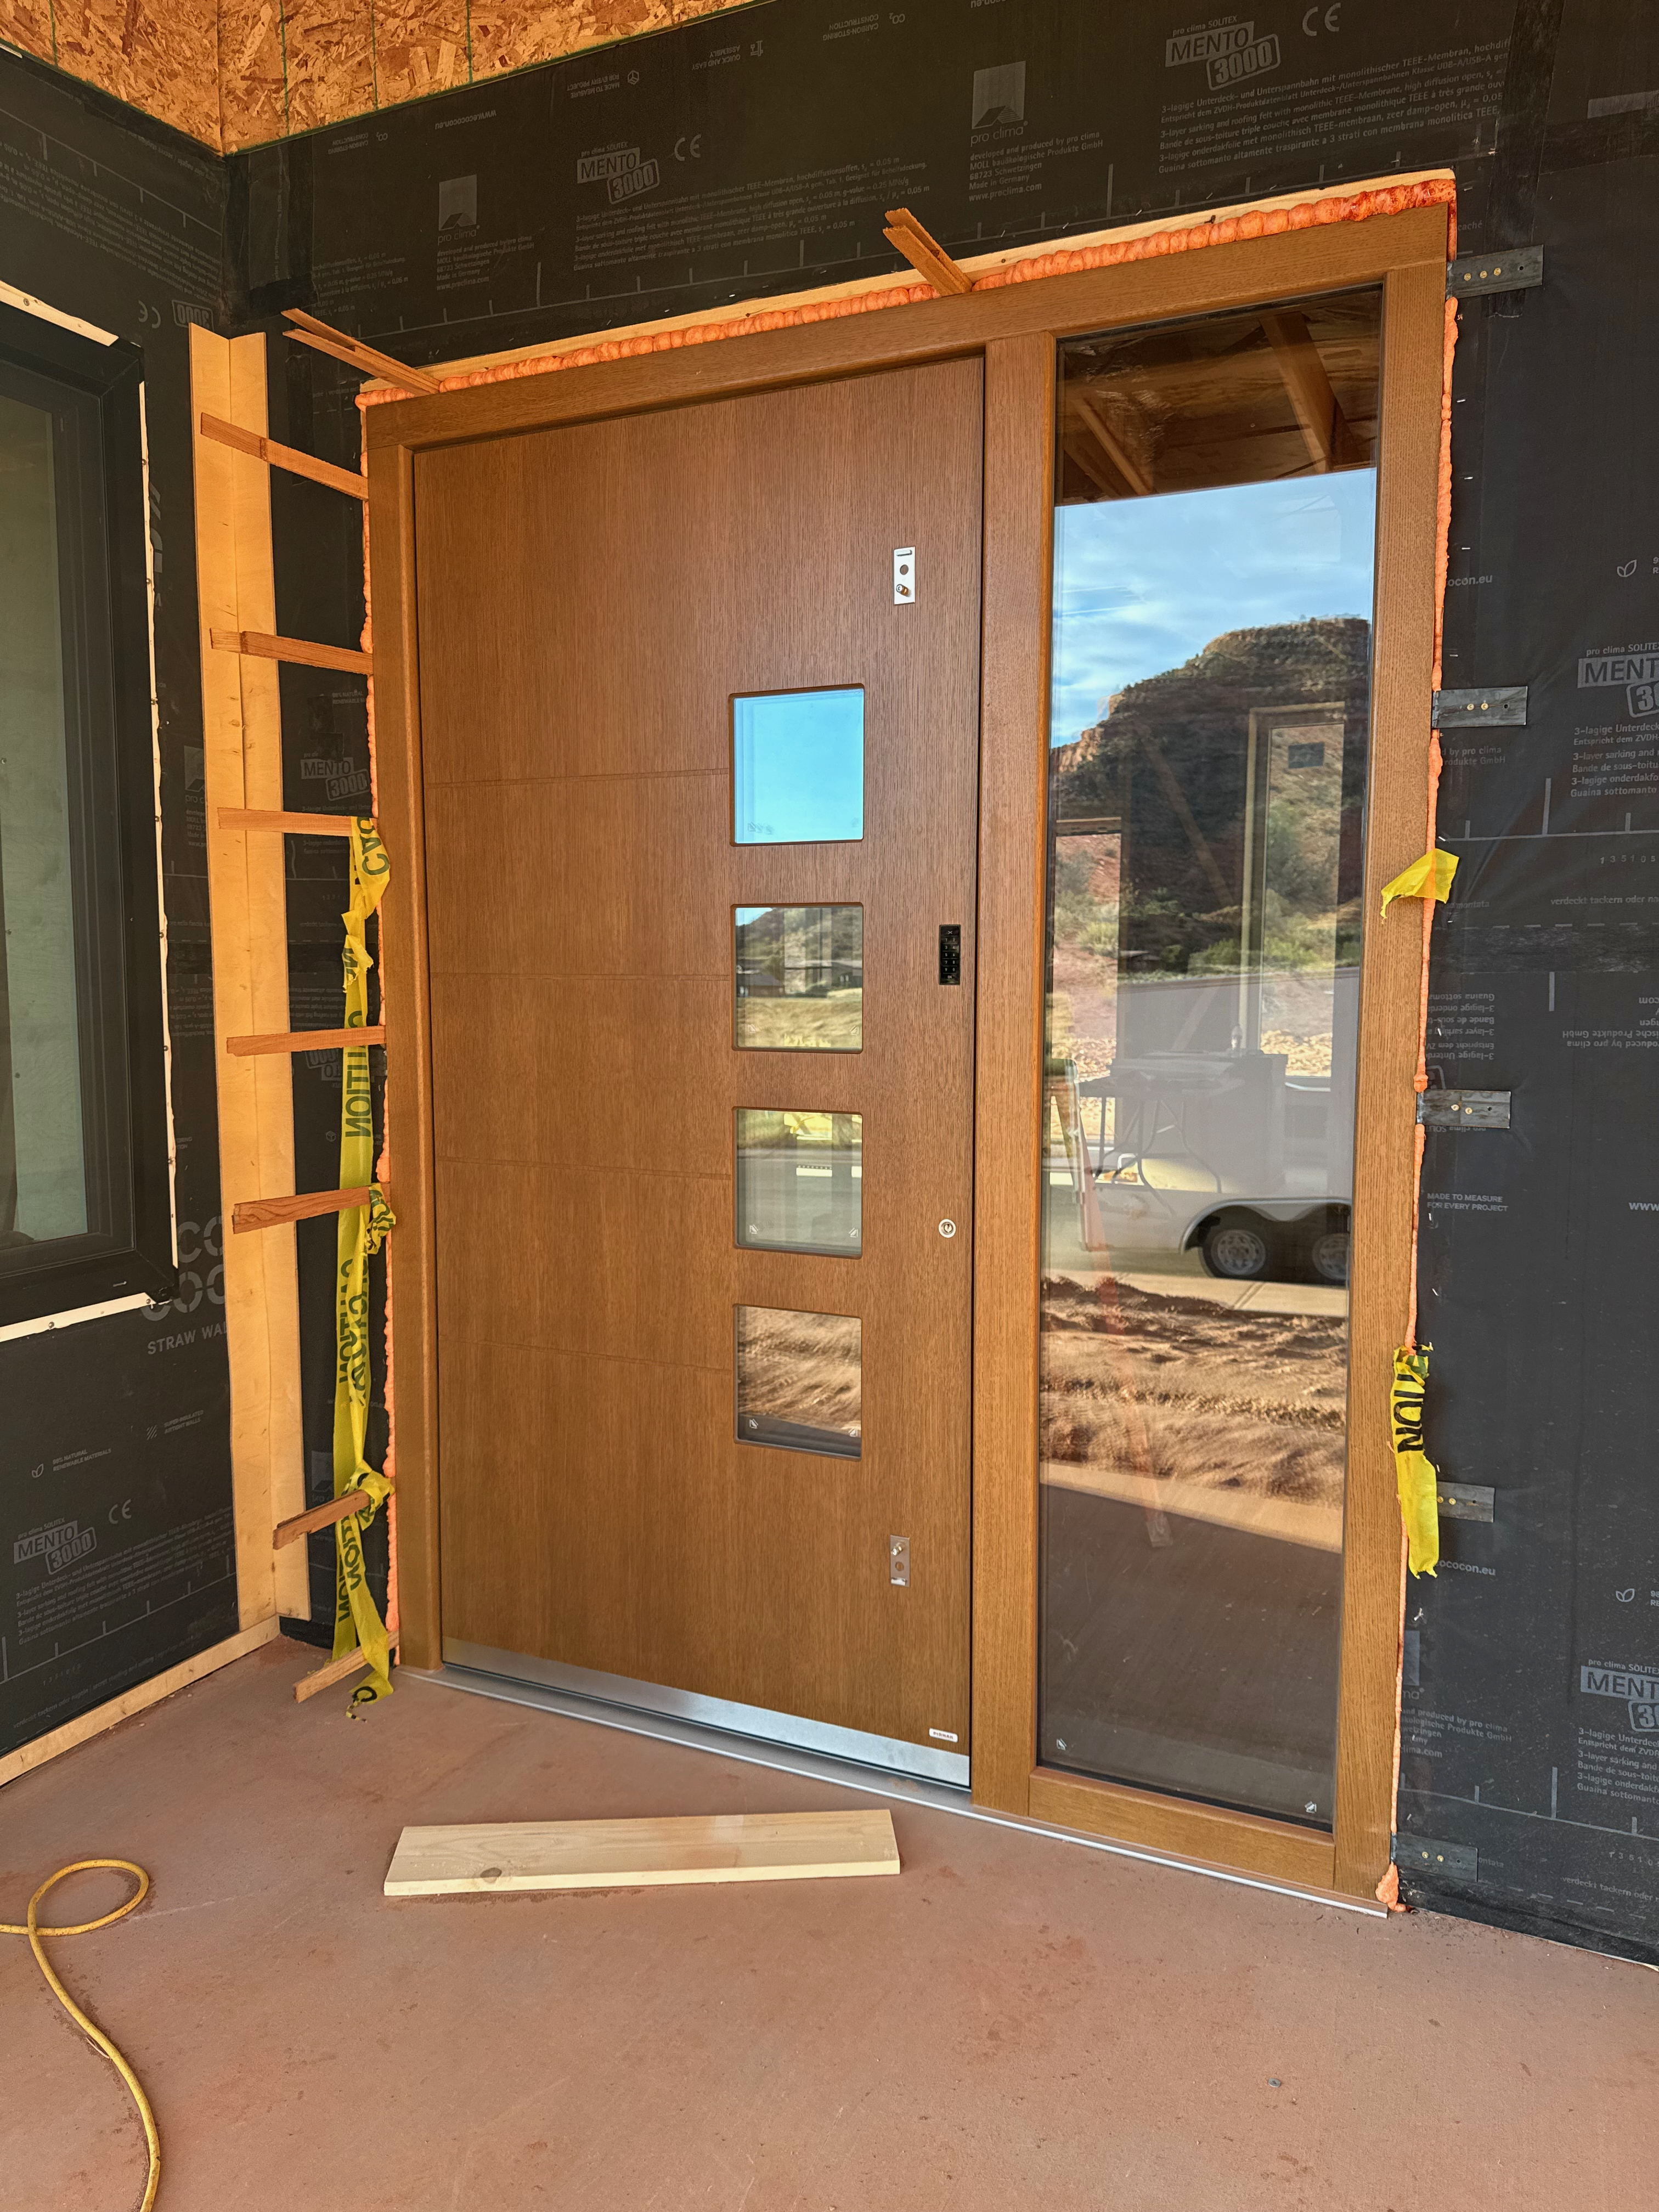
The builder also installed the doors to the patio and backyard (matching the windows by Alpen in Colorado). They are large and heavy – check out those hinges. Each hinge can be adjusted in all three dimensions. Some more adjustments are still needed to make sure they close as tightly as required (more on that in the next blog post).
First Blower Door Test
As explained in a previous post, making the house airtight is crucial to passive house: air lost is energy lost. As well as a loss in comfort, air quality, and confidence that the house will perform as calculated.
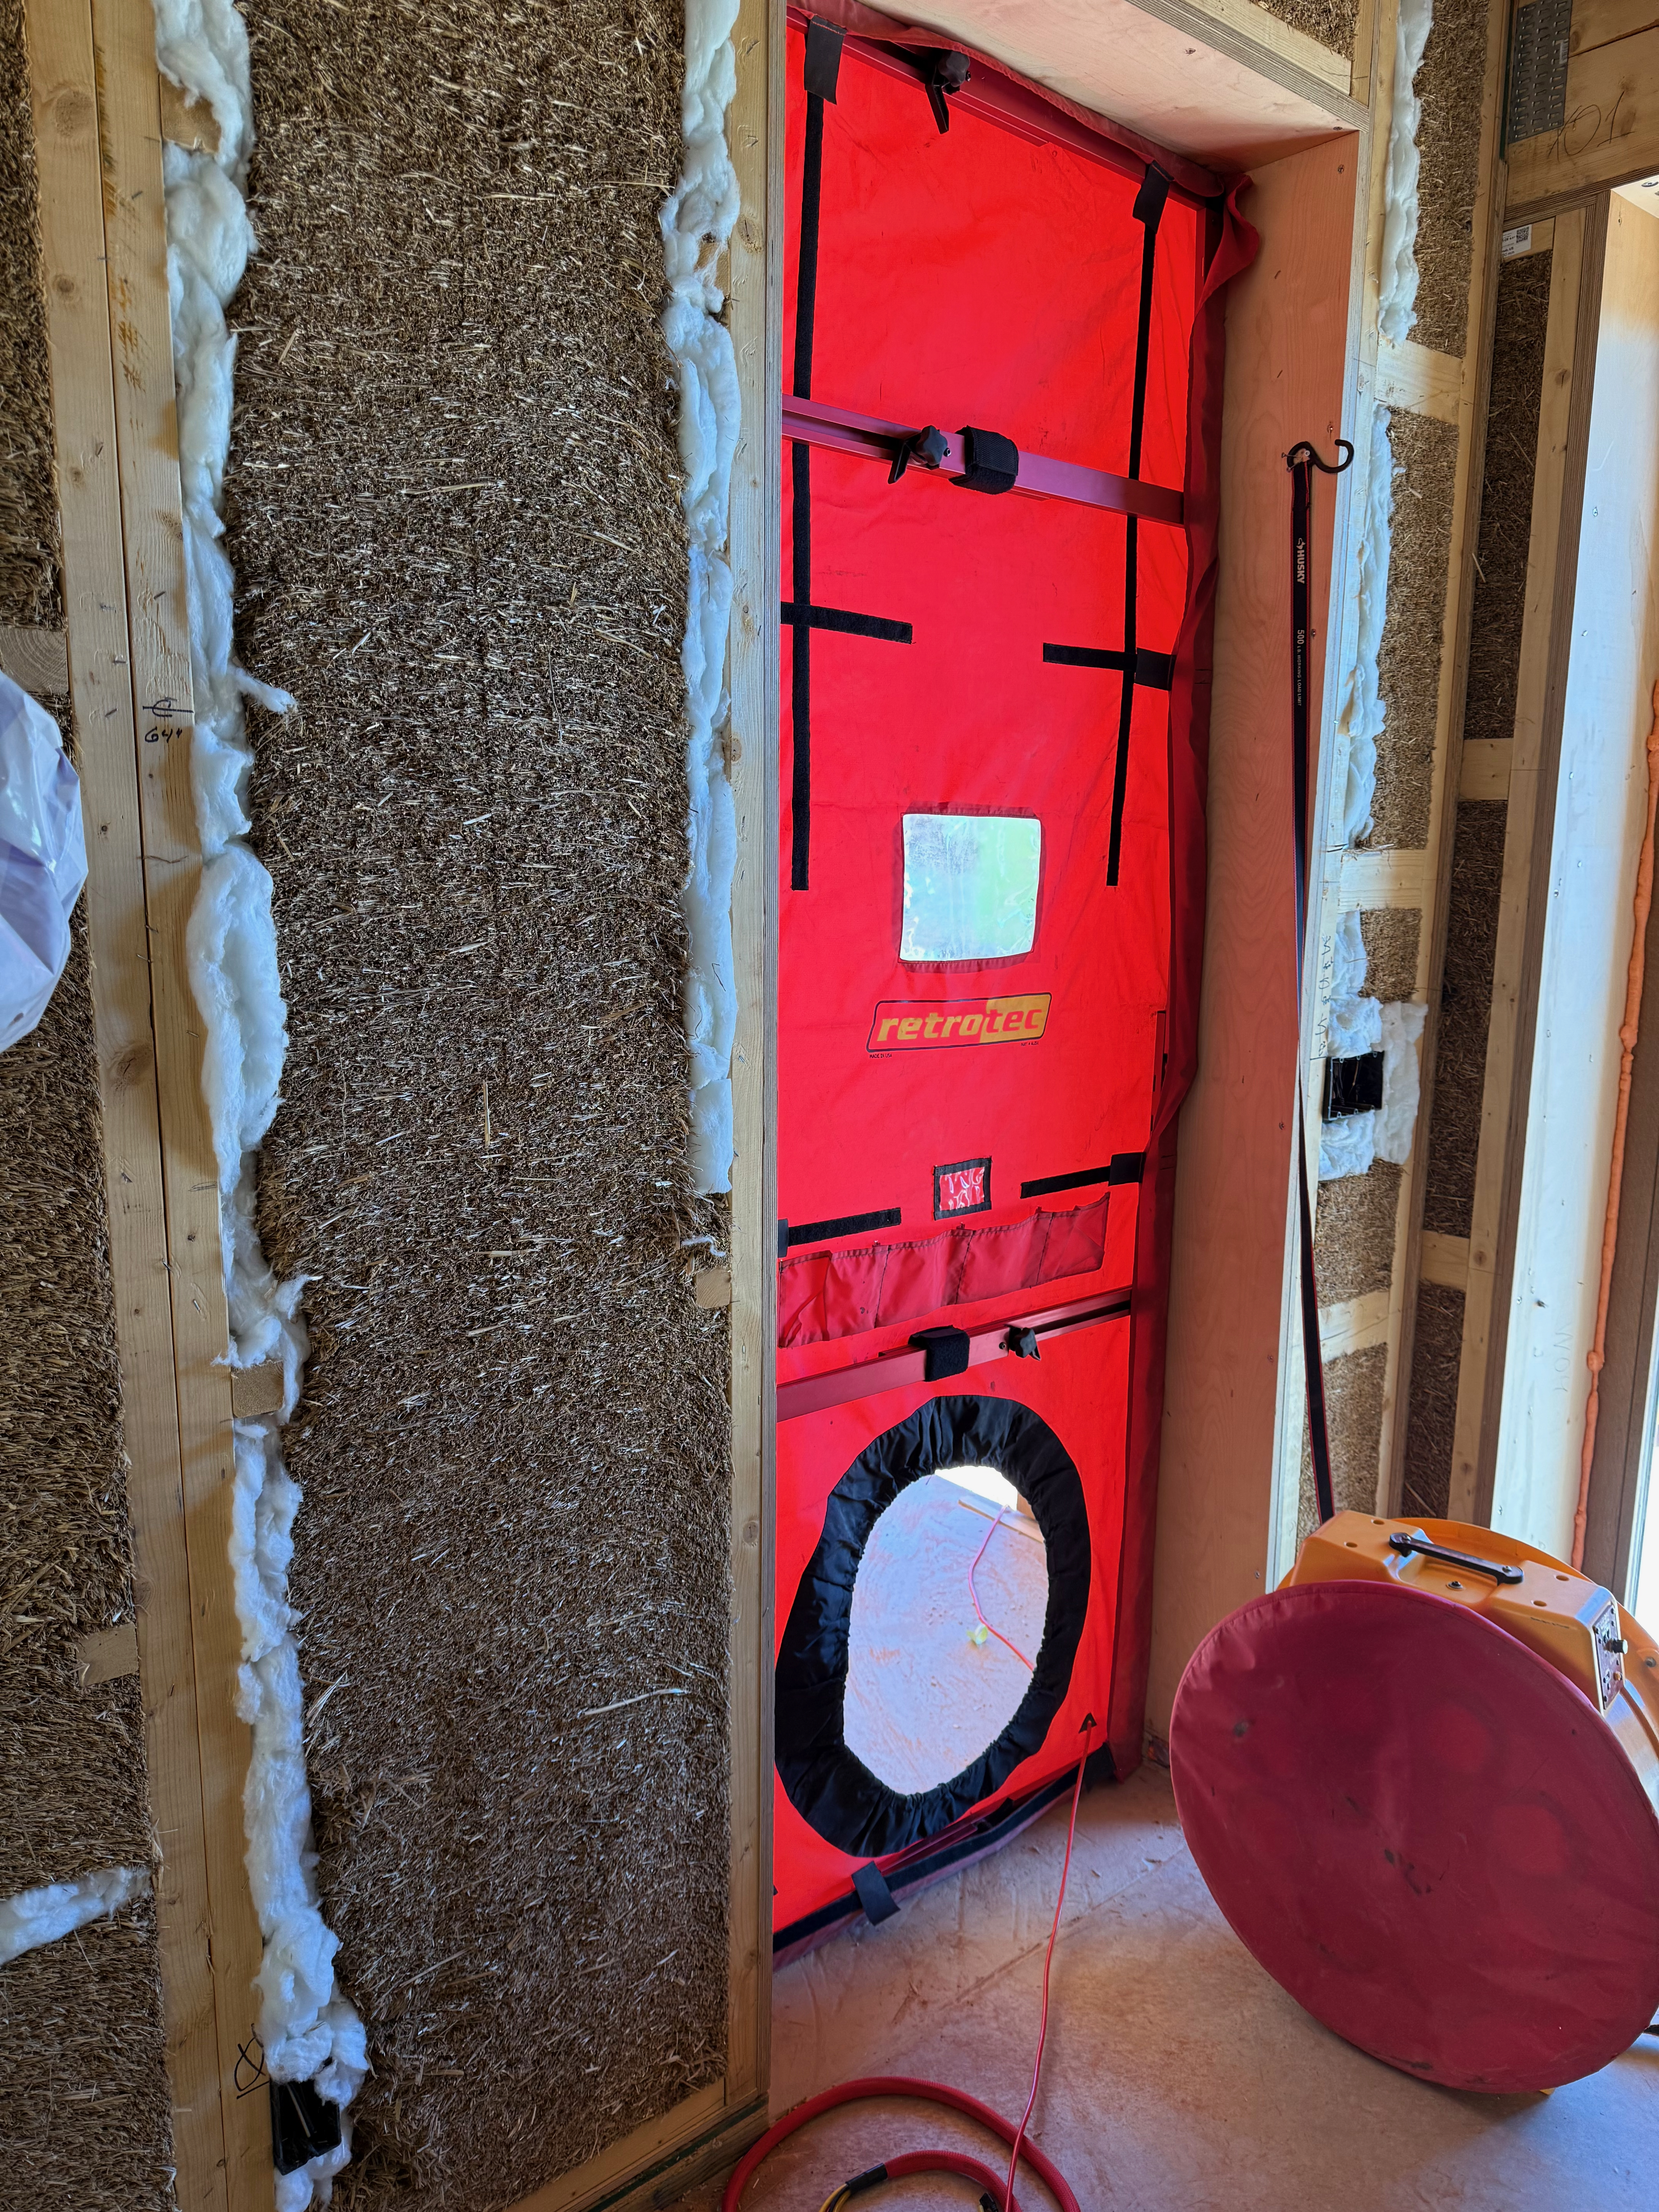
A blower door test is used to determine how airtight the house is. After a fan is mounted in a doorway, the house is depressurized by 50 pascals, and the airflow is measured. Given the volume of the house, you can calculate the number of air changes per hour (ACH) under those conditions. (The 50 pascals pressure corresponds roughly to a 20 mph wind blowing from all directions.)
Second Blower Door Test
We ran a second blower door test after sealing up a bunch of leaks. The result was a lot better: we got down to 1.1 ACH50 (air changes per hour at 50 pascals): a big improvement from 1.6, but not up to the passive house standard of 0.6.
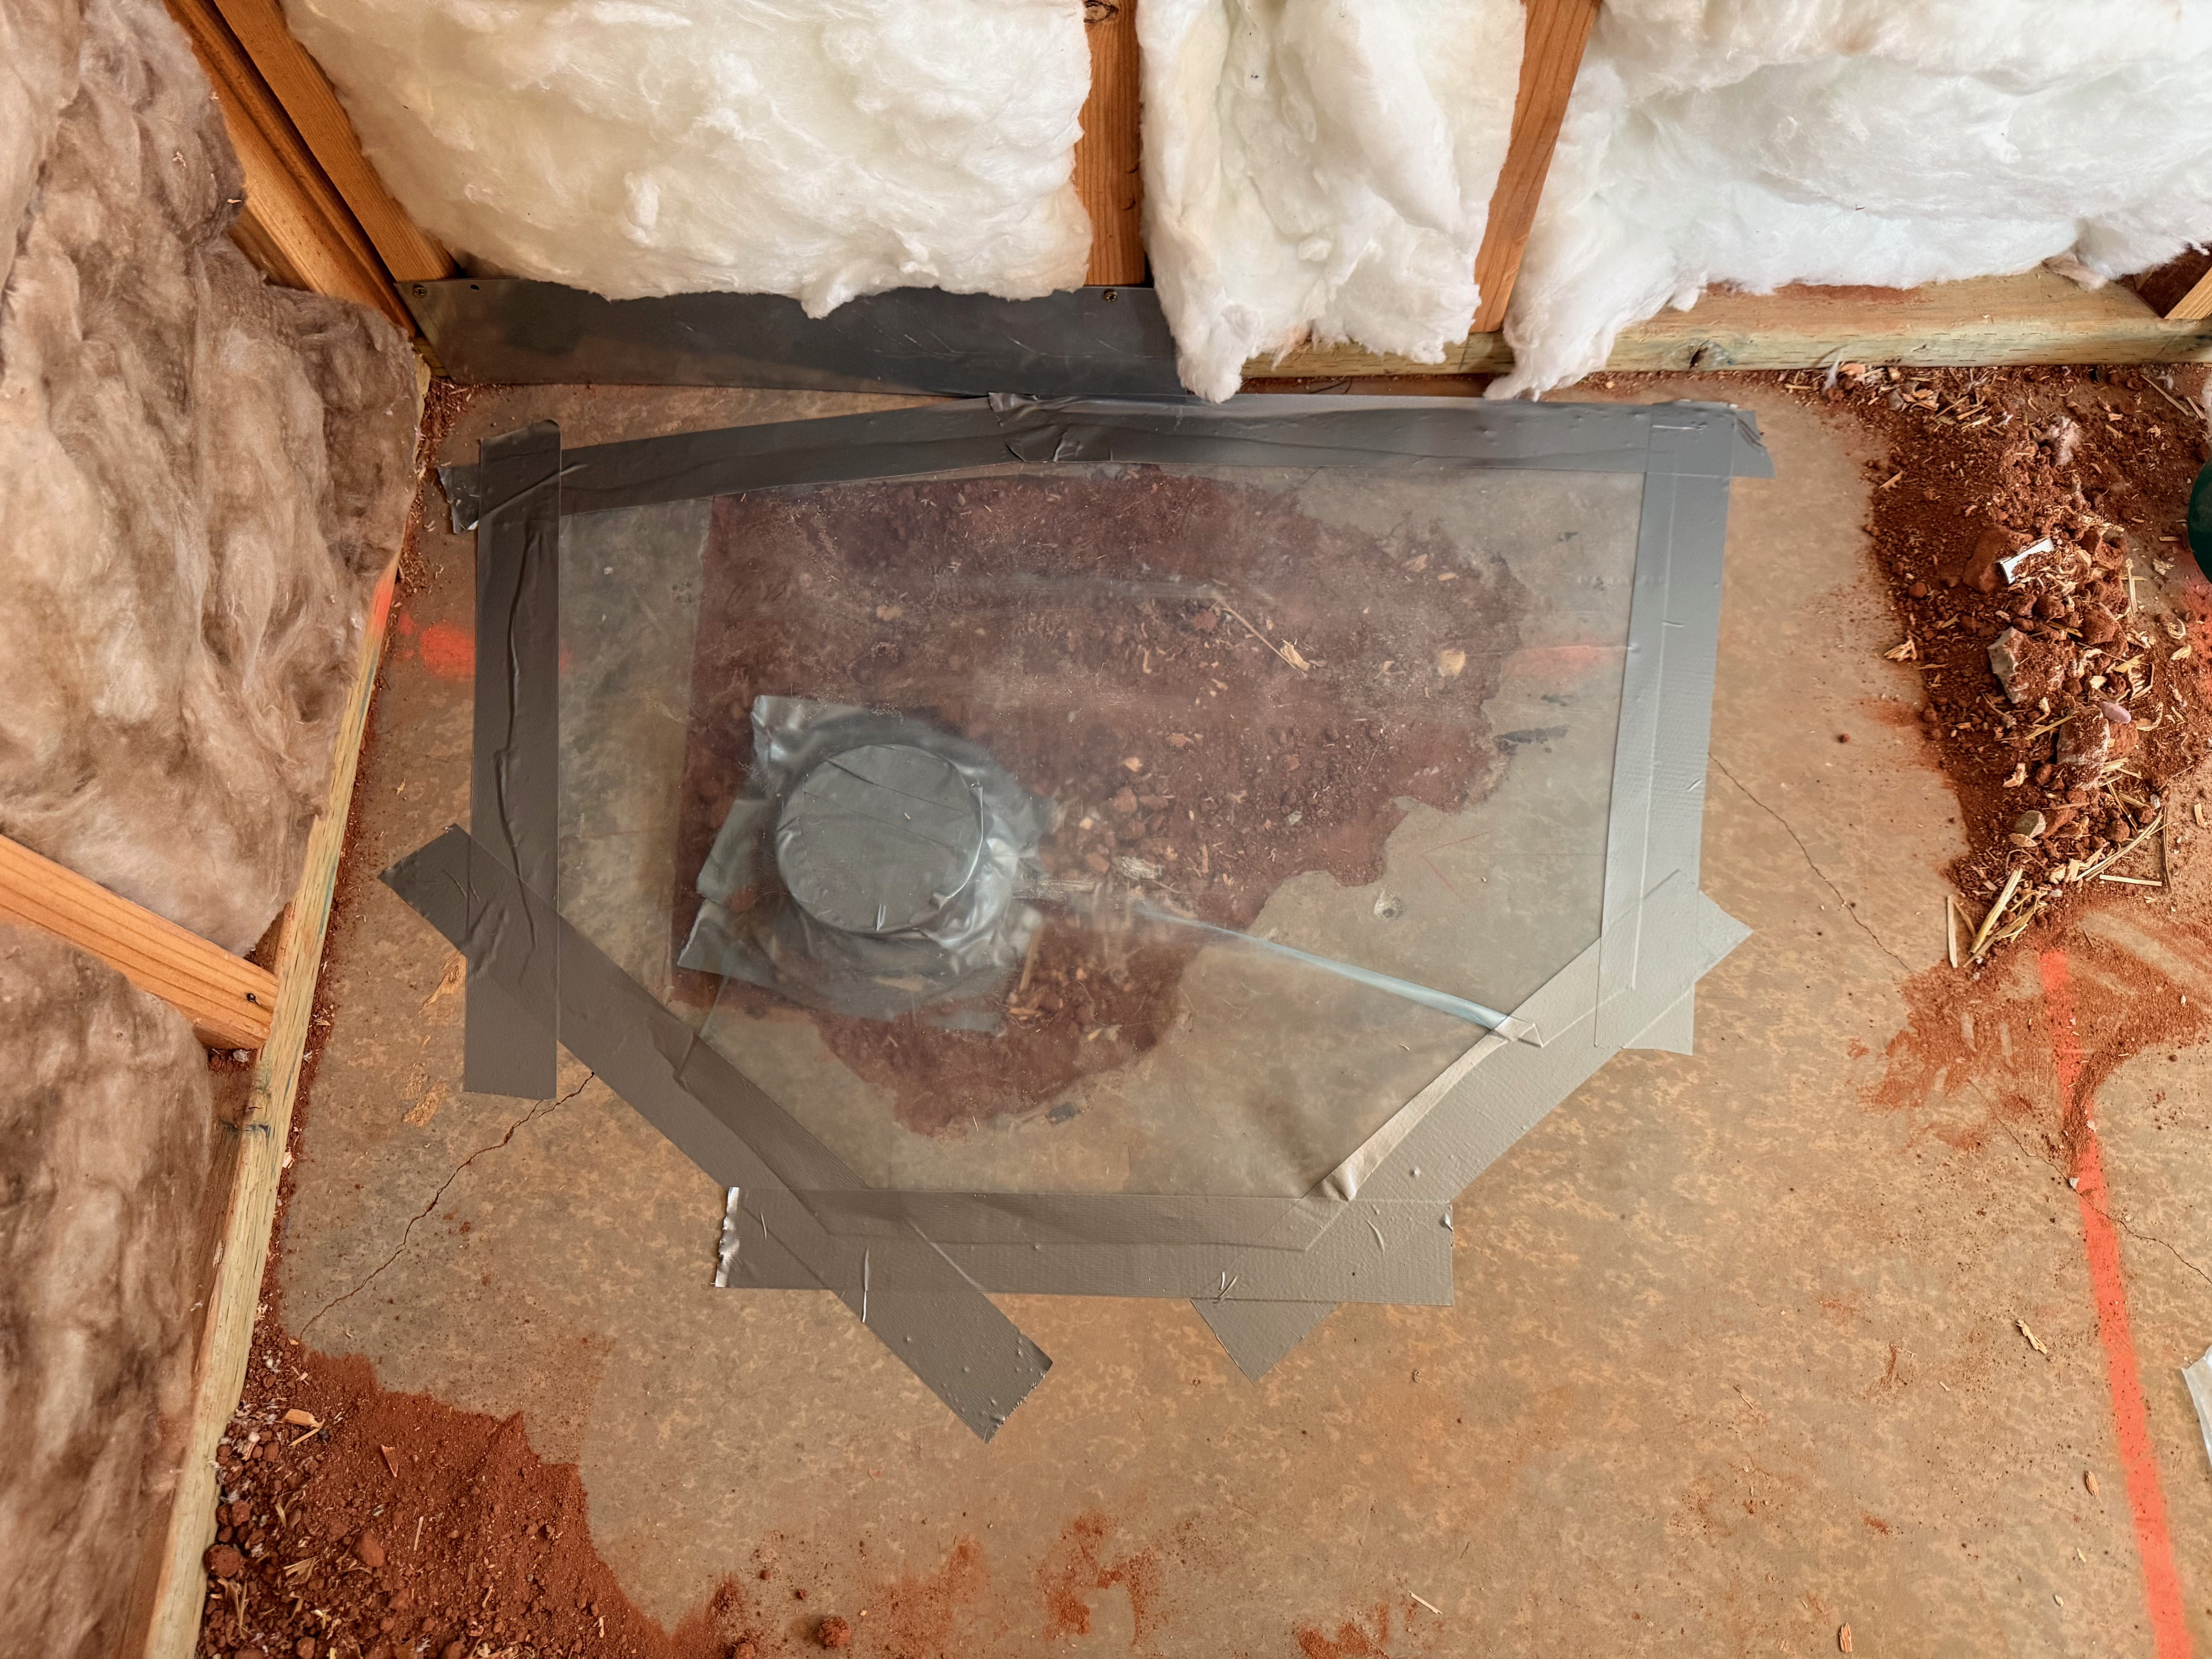
Before the test
We sealed off all the drains with plastic sheeting and duct tape.
Drywall
After our last blower door test, the builder found and fixed a significant leak hidden behind one of the beams. Hopefully, that was the last one, as the airtight membrane is now inaccessible behind the drywall (gypsum board, sheetrock) in the ceiling.


Before mounting the drywall on the straw panels, the wood beams are furred out a bit so that any straw sticking out doesn’t cause the boards to warp. We’re also using 5/8" drywall everywhere to keep it as straight as possible (also improves sound proofing).