Ducts and Wires
Things are happening – significant progress this last month. First, they installed the glass in the huge windows in the living area.
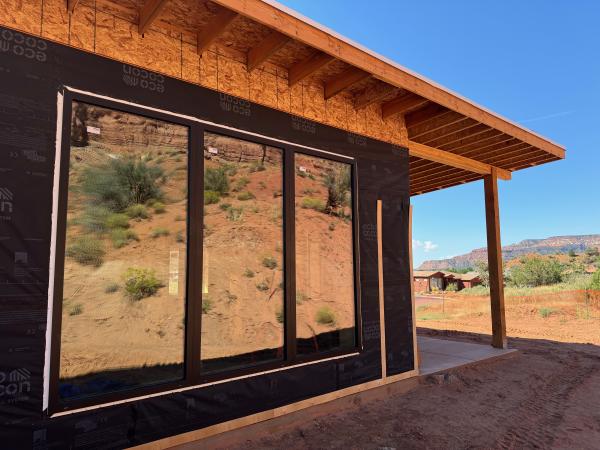
The view from the planned couch location remains amazing.
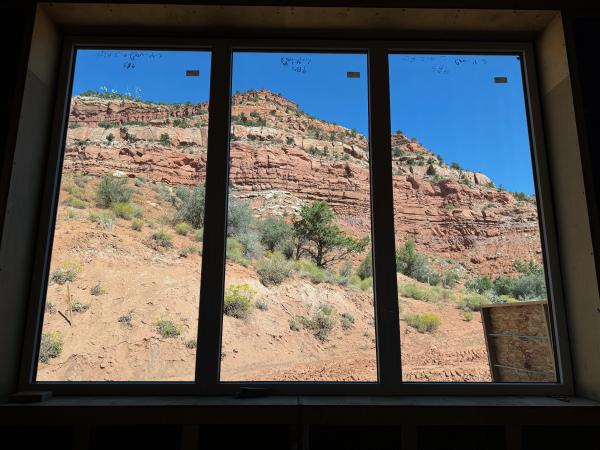
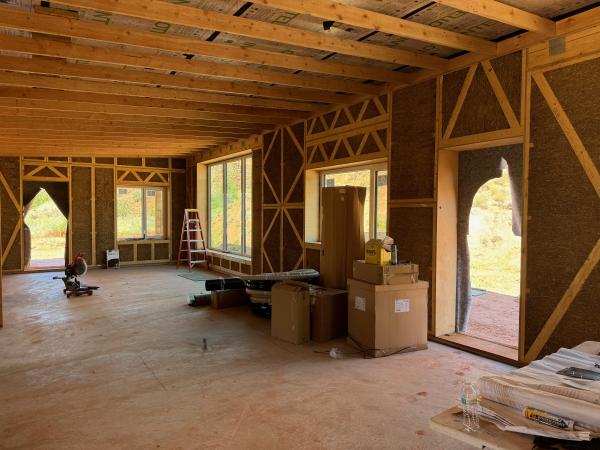
Here you can see those windows in the context of the kitchen and living area. Doors to backyard and patio still need to be installed, but you can already feel that the temperature inside is more comfortable and even than in regular constructions.
Ventilation
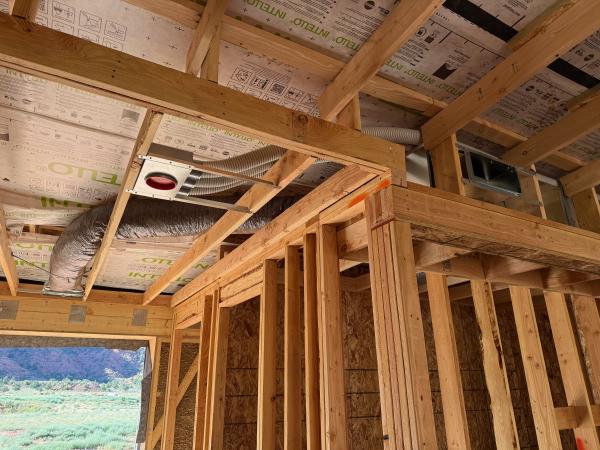
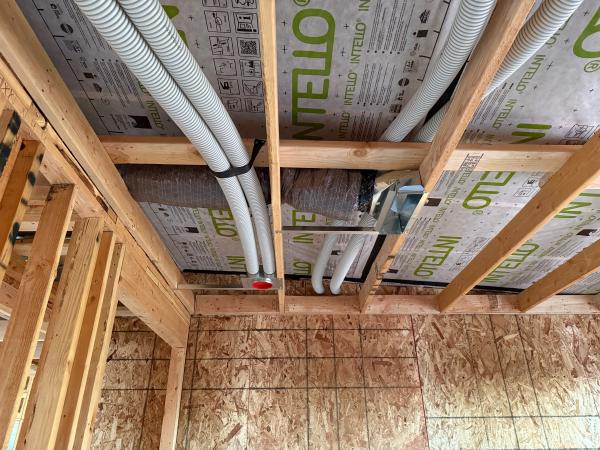
The ventilation ducts have been added in the ceiling. There are two manifolds distributing the air, one for fresh air coming into the house and one for stale air getting sucked out of the house.
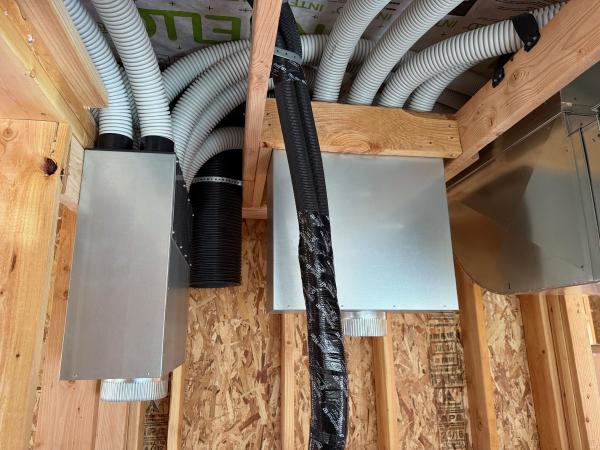
The 3-inch ducts go to diffuser vents in the ceiling, either two or three ducts combined, depending on the desired air volume.
The ventilation unit will be a Brink Flair 400 ERV. The 325 unit would have been sufficient, but they didn’t have that one in stock, and generously gave us the bigger one for the same price. Normal ventilation will be set as it would be with the smaller unit, we’ll just have some extra headroom if needed.
HVAC
The ducts for the HVAC system have also been squished between ceiling and roof. I’ll provide more details on the ducted mini-split system once we get it installed. The inside unit will get attached where the big duct starts.
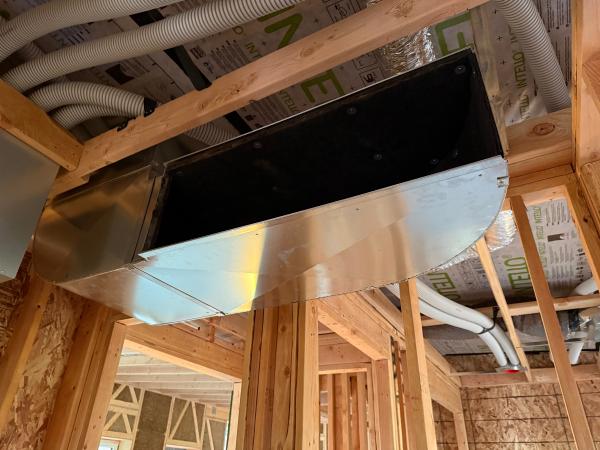
The duct goes above the future kitchen cabinets, with vents pointing into the great room, and an additional duct extending to the entry.
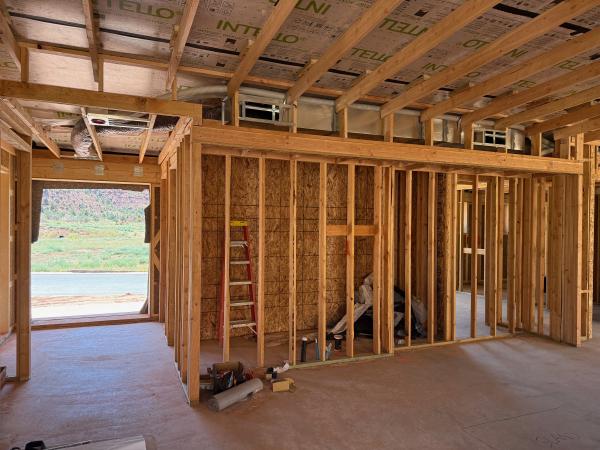
Smaller ducts lead to each bedroom and the office.
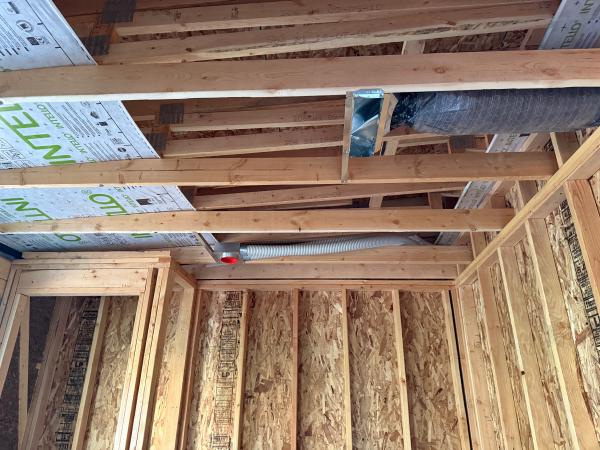
Note that all the ducts are within the airtight envelope, below the ceiling membrane holding in the roof insulation. The cellulose insulation should be done this coming week: they’ll cut a number of holes in the membrane, blow in the cellulose, then seal it all up again.
Electrical
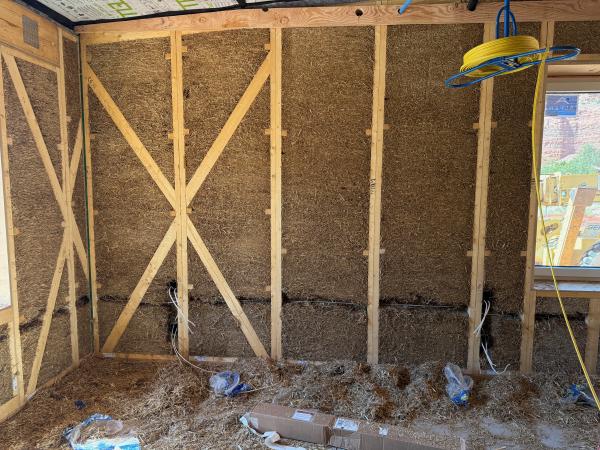
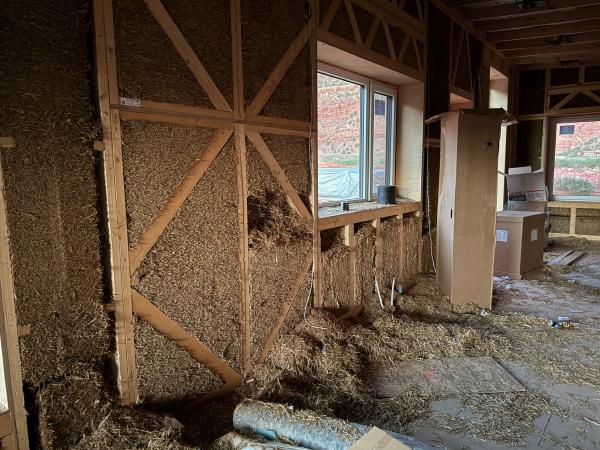
The EcoCocon installation manual says to attach electrical wiring to the straw surface with plastic anchor clips, clean and simple. However, regulations in the US don’t allow wires that close to the surface; they need to be at least 1 1/2" deep so that any nails you put in the wall don’t hit the wiring. So the electricians carved out grooves in the straw to make room for cables and electrical boxes. The result: a big mess, with straw everywhere; a bit more precision might have been good.
We have a number of ideas on how to best fix up those grooves after the electricians are done: straw, mineral wool, spray foam, or blown-in cellulose. We’ll see what works best.
There are a few places where the electrical wires need to go through the airtight barrier, and it’s important to do that in a place that can be sealed up properly. For example, the cable to the lights above the door to the backyard goes down the outside first before going through the black air barrier, to avoid having to go through the ceiling membrane (which would be harder to seal up around a cable). Regulations require the cable to be protected in a metal pipe in that area; the pipe will get covered up by the wood fiber boards that will be added on the outside.

A bump-out was added to give a place to mount the main meter panel. Normally that panel gets mounted partway into the wall so that it doesn’t stick out too much, but we can’t do that here with the straw panels. The bump-out will also hide the conduit bringing the main power into the house, as well as the pipes to the mini-split outside unit.

And we need a 3 ft deep trench to bring power to the house.
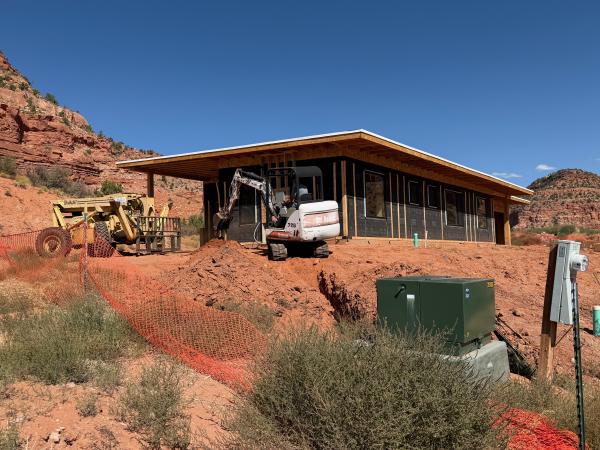
It was definitely important to be there while they were doing the electrical: even with very detailed specs, a number of questions came up, and some adjustments needed to be made. And I learned that electricians always measure the height at the top of the box, even if my drawing points to the bottom of the box.
Plumbing
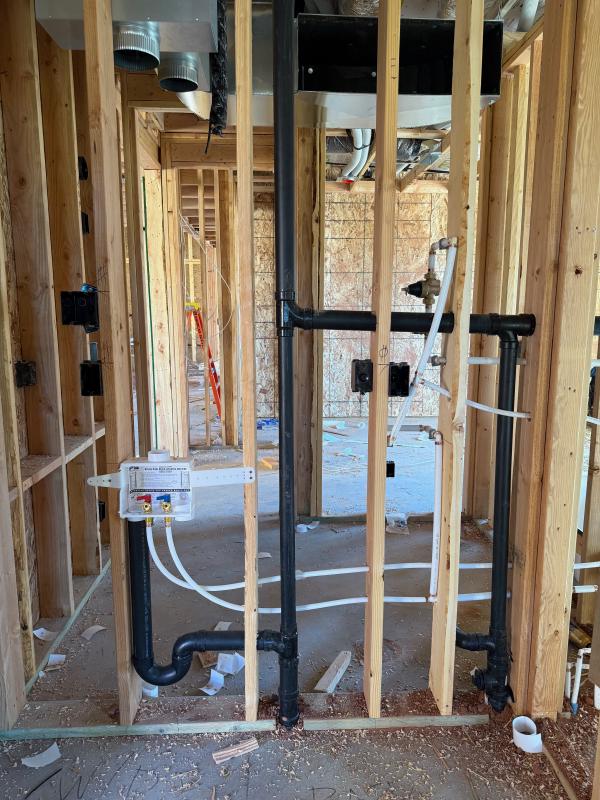
The rough plumbing has been put in place. Almost all of it in the right place.


Once the roof has been insulated and the doors have been installed, it will be time for the first blower door test. We’ll need an official blower door test at the end, but it’s much easier to fix any significant leaks at this stage.
