First Blower Door Test
As explained in a previous post, making the house airtight is crucial to passive house: air lost is energy lost. As well as a loss in comfort, air quality, and confidence that the house will perform as calculated.
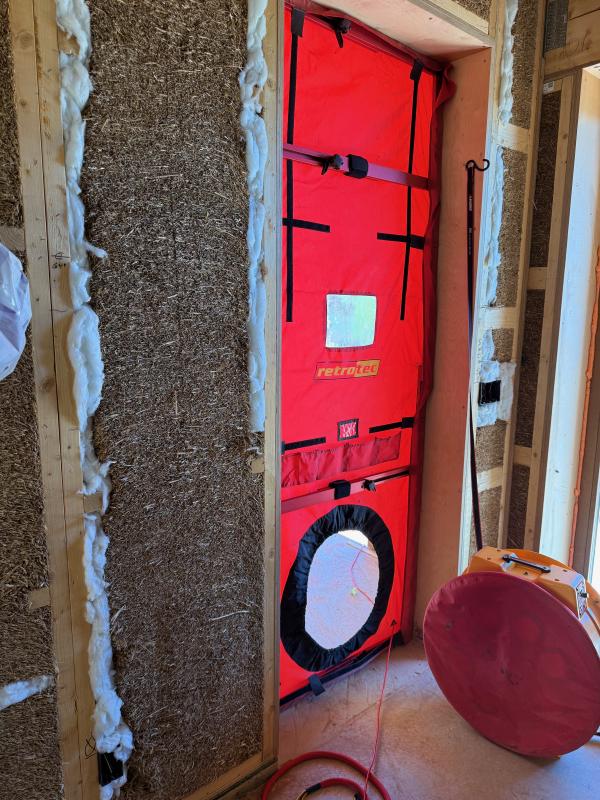
A blower door test is used to determine how airtight the house is. After a fan is mounted in a doorway, the house is depressurized by 50 pascals, and the airflow is measured. Given the volume of the house, you can calculate the number of air changes per hour (ACH) under those conditions. (The 50 pascals pressure corresponds roughly to a 20 mph wind blowing from all directions.)
It’s a good idea to run a preliminary blower door test once the whole envelope of the house is supposed to be airtight, to find any leaks while the airtight membrane is still accessible and any issues can be more easily fixed.
To qualify as a passive house, the ACH number needs to be at most 0.6. To put that number in perspective, our builder had to do a blower door test on another house he’s working on, and the requirement there was that the ACH needed to be at most 5.5, but no better than 3.5 – you don’t want to make a house without built-in ventilation too tight. But that’s not just an energy loss: it also means that ‘fresh’ air comes in through dusty cracks instead of through a filter, so indoor air quality suffers.
Our test result: about 1.63. Ouch. The guy running the test thought it was an excellent result, but for a passive house it’s not close enough.
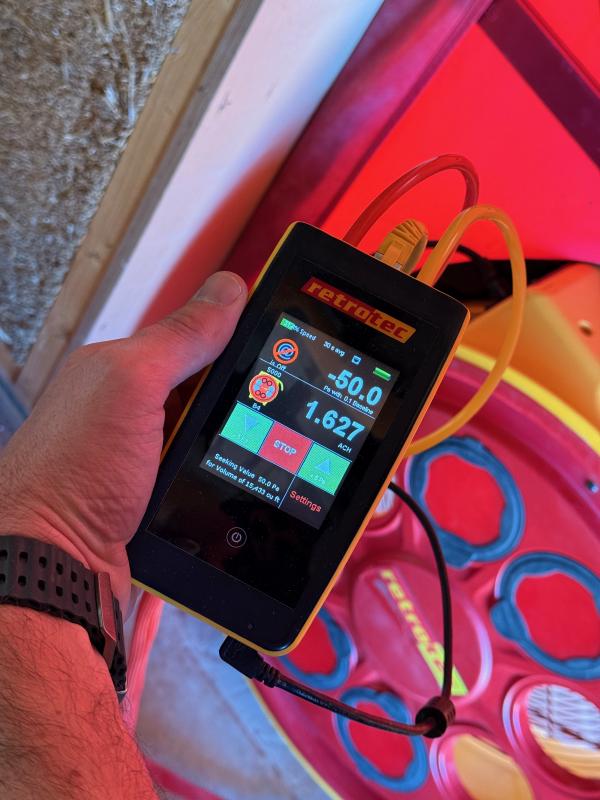
Clearly, we have more work to do.
Before the test
The day before, we went around the whole outside and taped over any place that looked like it could possibly leak: small holes or rips, tape not stuck quite tight, etc.
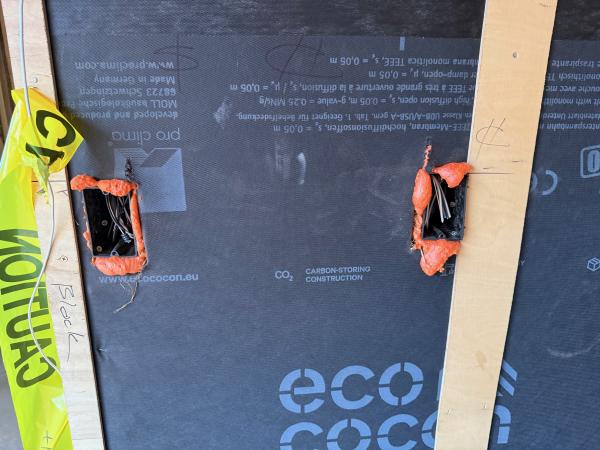
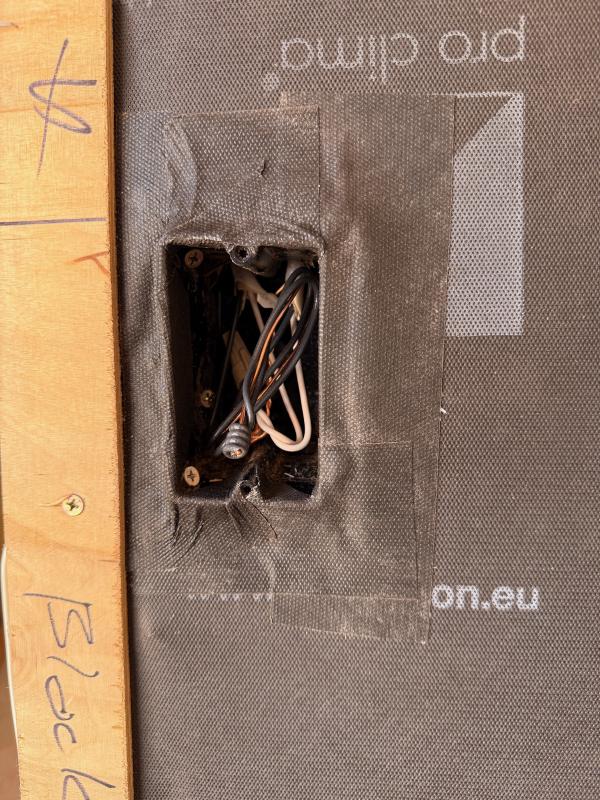
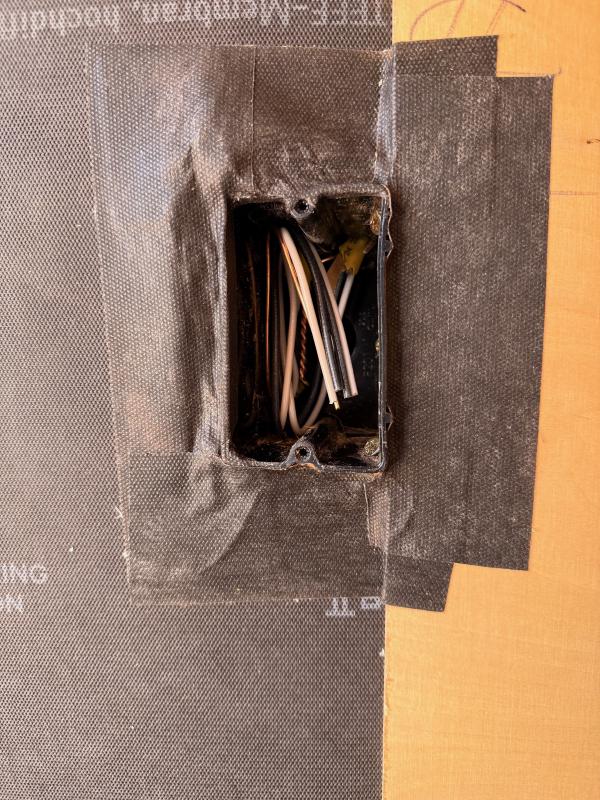
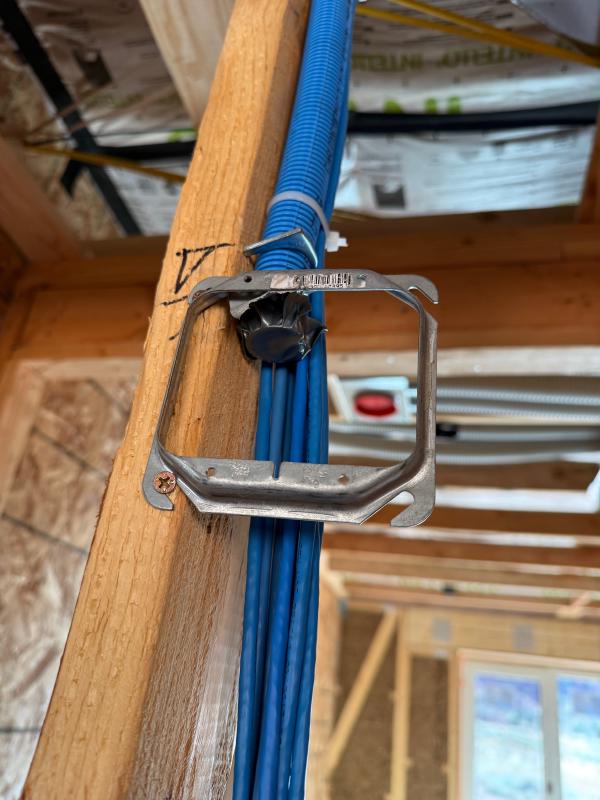
We have two electrical boxes outside and three in the garage where the cable goes through the straw wall and into the box. (One hole in the garage wall would have been better than three.) We carefully taped around each box to seal it to the airtight layer.
Unfortunately, we did not have time to plug the holes in the back of each electrical box with silicone. Also, I just noticed I made a mistake: I should have lifted the plywood and taped to the airtight layer below – the way it is now, air can sneak out the side of the box and escape underneath the plywood. Details matter.
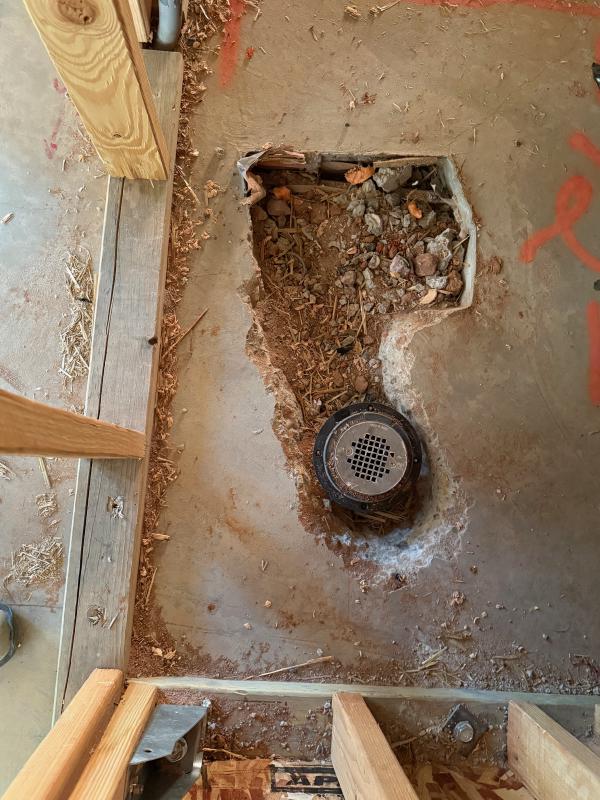
We taped over the grilles for the two showers. Once the plumbing is final, water in the p-trap will seal those.
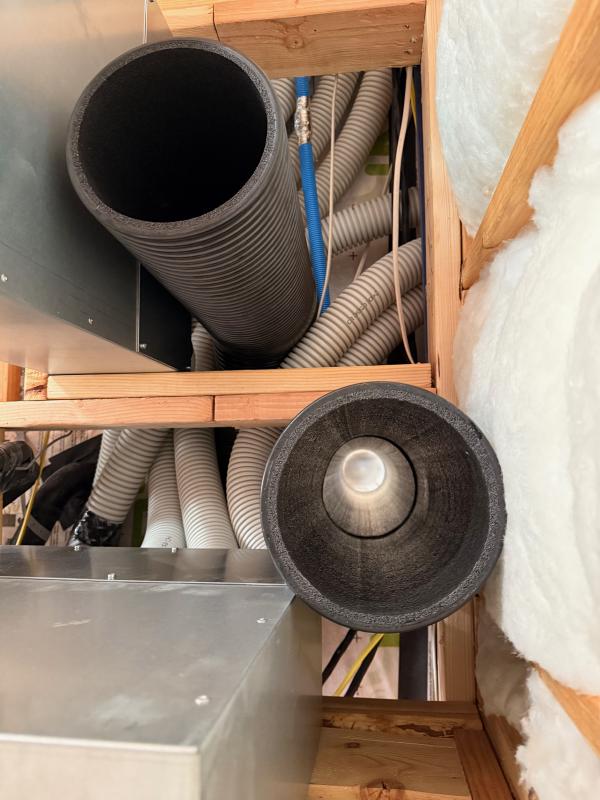
We closed off the intake and exhaust pipes for the ventilation by taping plastic over those big holes.
During the test
The test started out with an ACH over 2. One significant problem we found quickly was the pipe for the future gigabit internet connection, we had not closed that one off.
The tester had a thermal imaging camera, and luckily there was enough of a temperature difference between inside and outside for it to pinpoint some areas where air was clearly coming in. I had brought a smoke pen, but I’m glad we didn’t have to rely on that one, much harder to get actionable information.
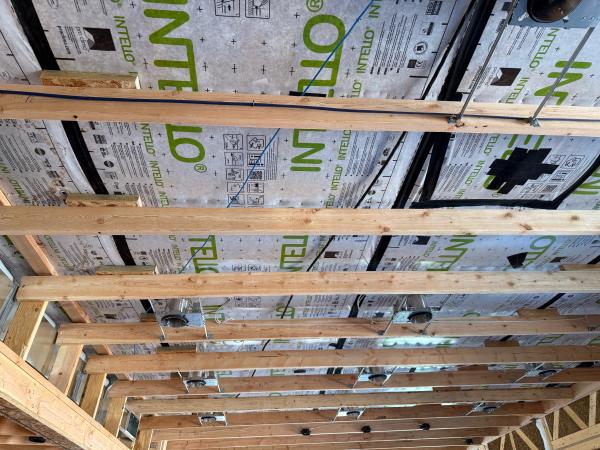
To better identify the leaks, he added extra pressure beyond 50 pascals. This made the leaks more obvious, but it also added stress on the ceiling membrane, and some of tape put on after blowing in cellulose came loose. In some places, the membrane didn’t hold where it was stapled. Several of these issues were fixed on the fly during the test, but not clear we caught every issue.
The doors to the backyard and patio clearly leaked during the test. Pushing on the doors to close them more firmly got the ACH from 1.8 to 1.6.
We noticed two small leaks around the windows, and some leaks in the ceiling membrane, and patched those.
Known issues
There are a number of things we know we can improve:
-
Add silicone to stop the leaks in the electrical boxes (3 in the garage, 2 outside). And also fix my taping job to go underneath the plywood, not on top.
-
Tape around the windows on the outside. There were two places where there was a clear leak at the edge of the window; adding tape on the outside should handle any spots where the frame was not sealed quite right. It didn’t seem like a big issue during the test, but the total perimeter of the windows is about 300 ft, so tiny leaks along that length would add up.
-
The doors to backyard and patio did not have handles yet. Alpen confirms that once the handles are installed, we should be able to close them much more tightly.
-
The front door was leaking underneath, at the threshold. The builder plans to reposition the door anyway (it was mounted a bit too low), and he will seal it better at the bottom when he does. Some adjustments might also help.
-
We sealed off the two shower drains, but not well enough, some sewer smell was still coming out. Some air also seemed to come out of the toilet drains, even though it looked like those were closed off. These are issues that we know will go away in the final test.
-
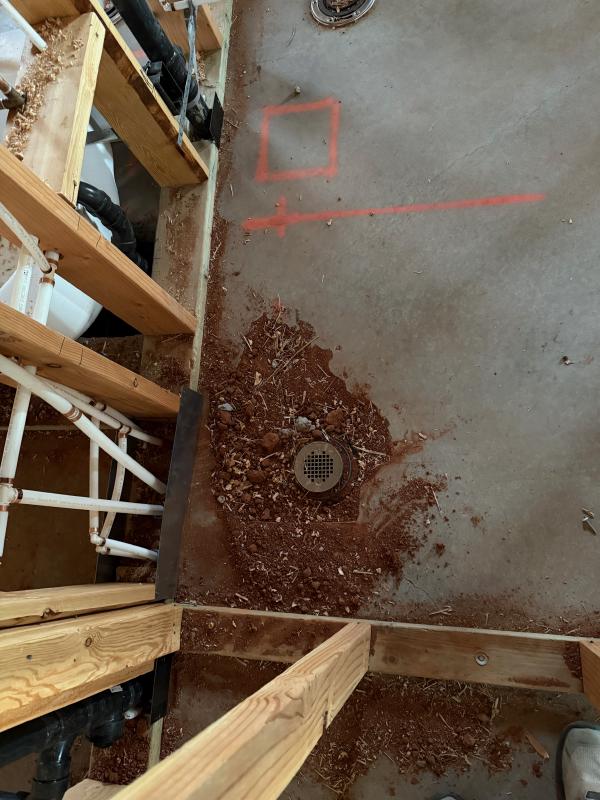
The shower drains were built as circular drains, but we’re going to have linear drains, so they have removed some of the concrete around the drain. Some air clearly came through this dirt – no idea how much.
- The door to the garage has not been installed yet, so there was no jamb to place the blower door against. It was definitely not sealed perfectly, a bunch of air was coming in on the side. Again, hard to know how much.
Unknown unknowns
We’ll run another test once we’ve addressed everything we know about. We definitely want to do that before putting sheetrock in the ceiling, as we don’t want to close off access to that area before we’ve ironed out the remaining issues.
The big question is whether fixing the known issues will be enough to get to 0.6. The next test will tell.
