Second Blower Door Test
We ran a second blower door test after sealing up a bunch of leaks. The result was a lot better: we got down to 1.1 ACH50 (air changes per hour at 50 pascals): a big improvement from 1.6, but not up to the passive house standard of 0.6.
Before the test
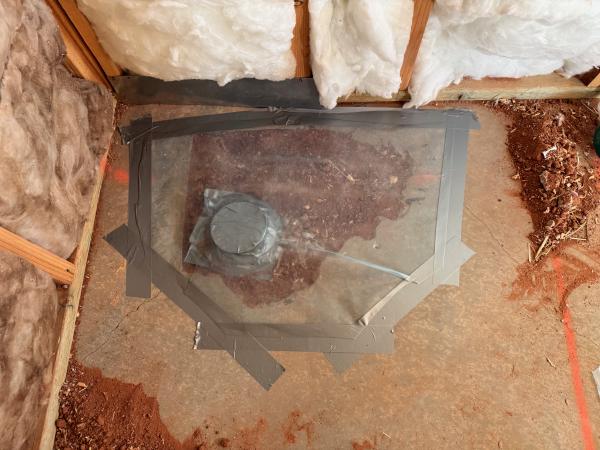
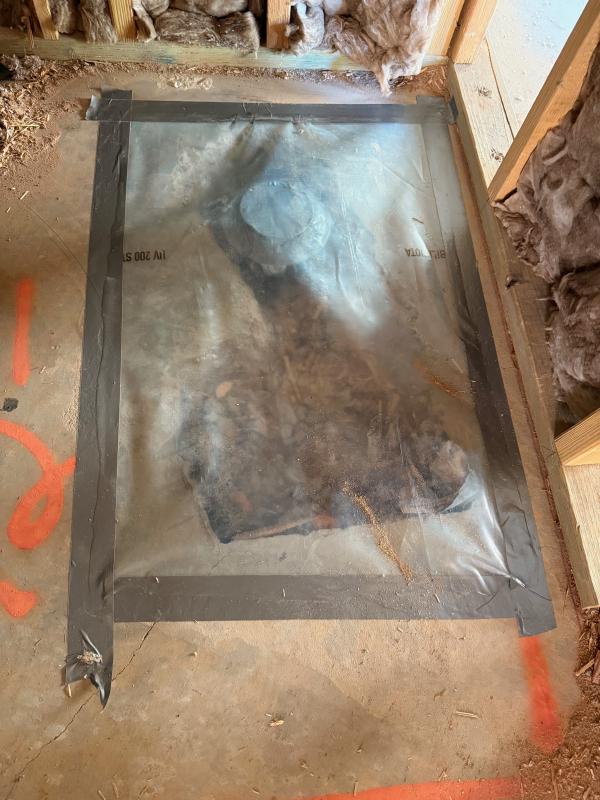
We sealed off all the drains with plastic sheeting and duct tape.
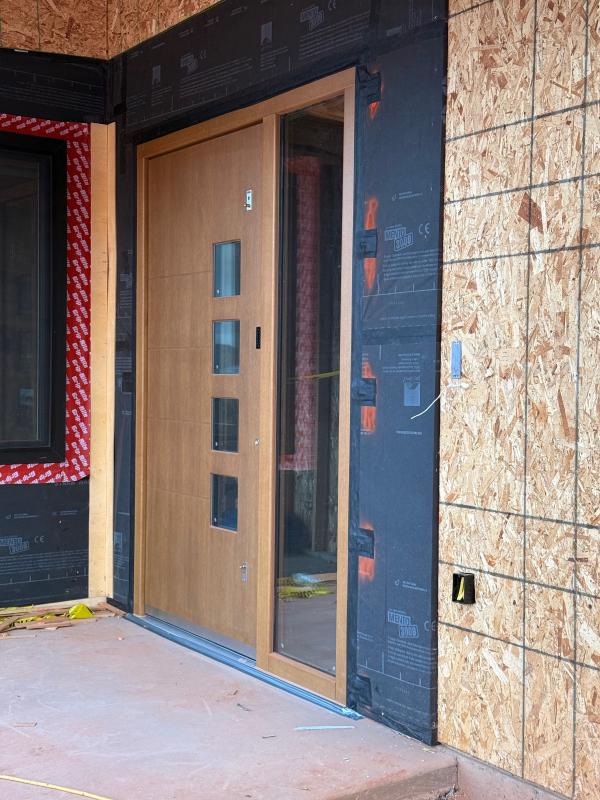
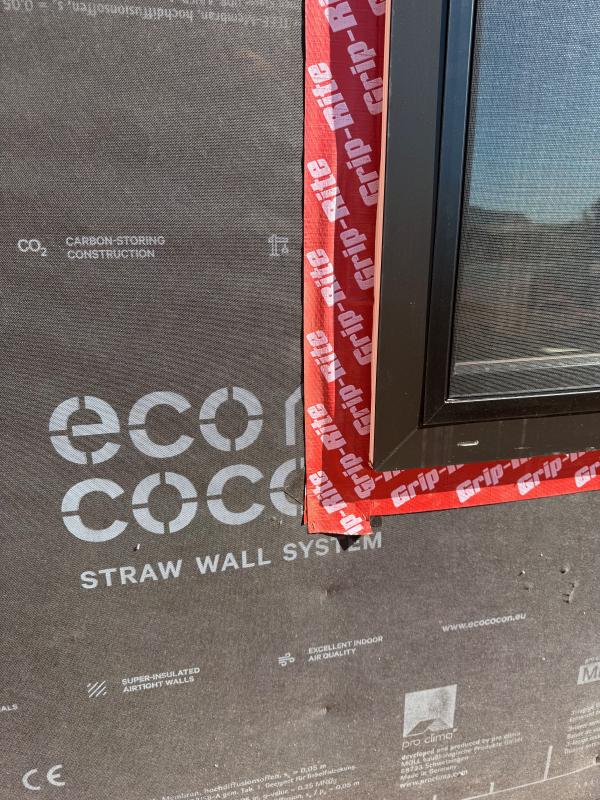
The front door was much better adjusted, and also got taped on the outside. The windows were also taped on the outside.
The main electrical conduit was likely a source of air flow in the last test. Now it had silicone squished into the end of the pipe to seal it up. And all the outlets in the garage and outside got their holes plugged with silicone.
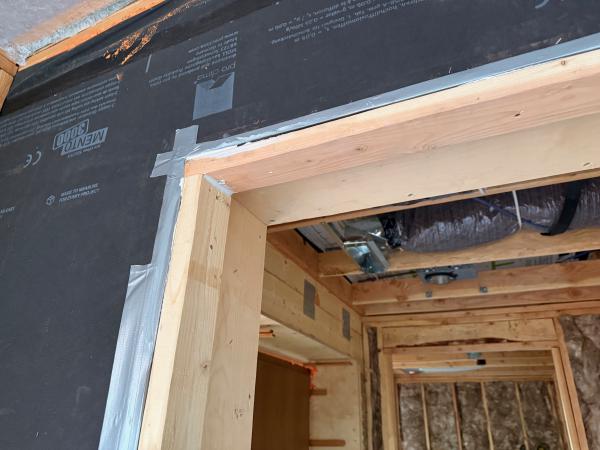
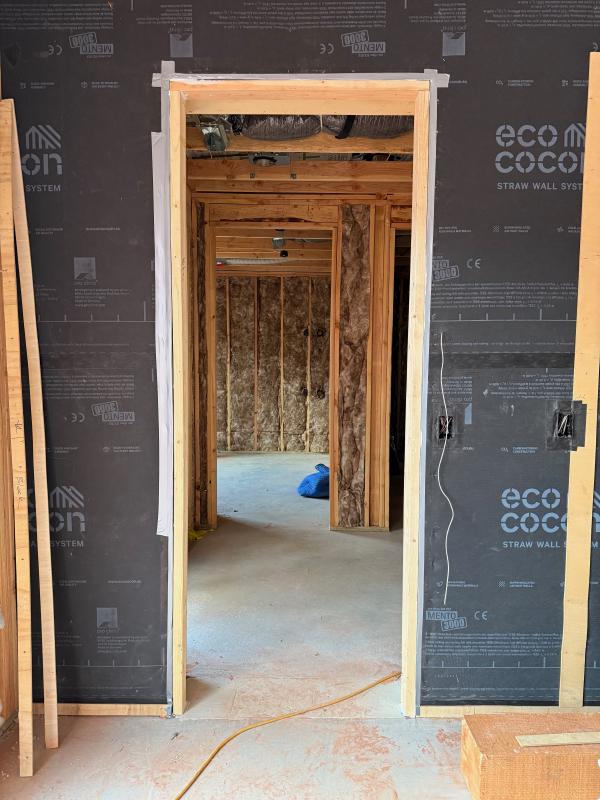
The builder added a temporary jamb in the door to the garage so that the blower door would have something to seal against.
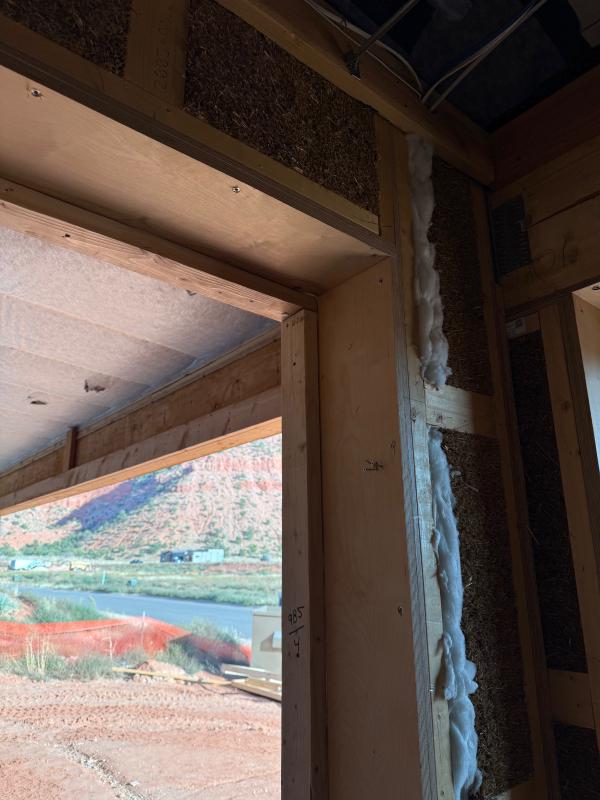
Around the garage door, there was a possible leak between the airtight barrier and the door frame. More tape to the rescue.
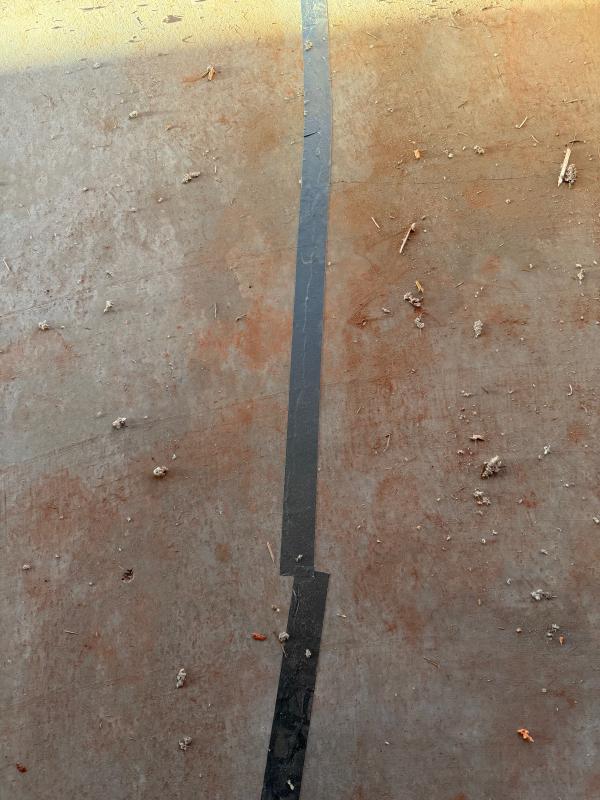
We taped over some of the larger hairline cracks in the floor.
We checked the roof penetrations of the sewer pipes and ventilation, those looked good.
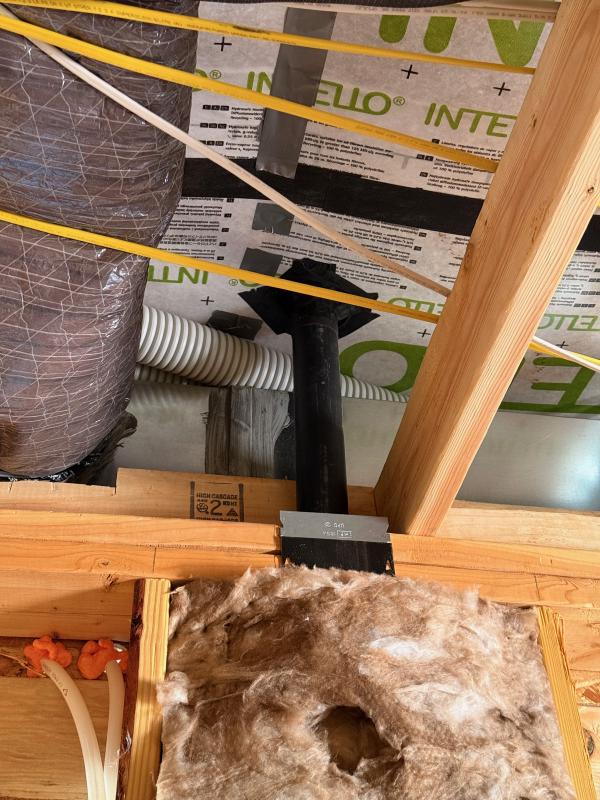
We installed handles on the doors to patio and backyard, but the doors were still not adjusted quite right.
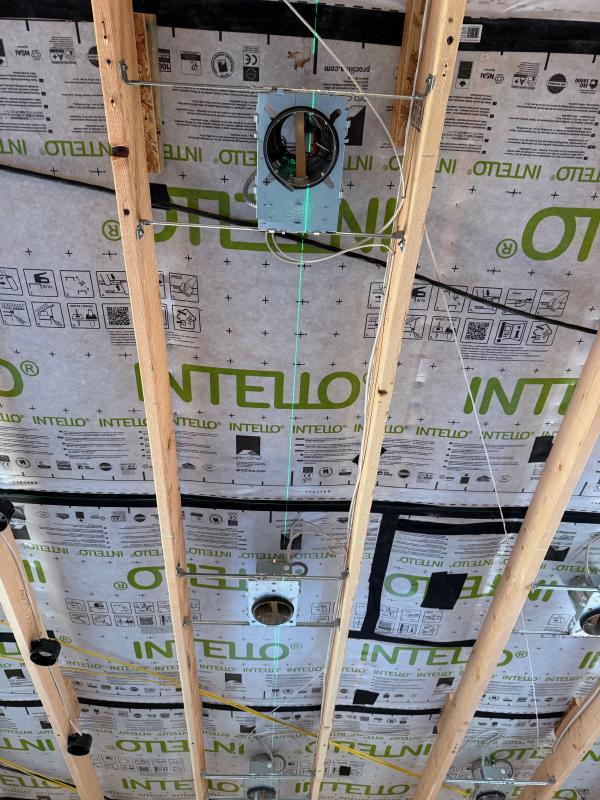
The builder and his crew had added a bunch of tape in the ceiling to fix holes and to strengthen the membrane where it was stapled to the wood.
We got a replacement glass for one of the large window panes (there was an unsightly bulge in the seal, but not a leak). When that new glass gets installed, they’ll add silicone in the corners, and then do the same in the other two panes (this was missed when they first put in the glass). The corners of those windows were taped up during the test.
During the test
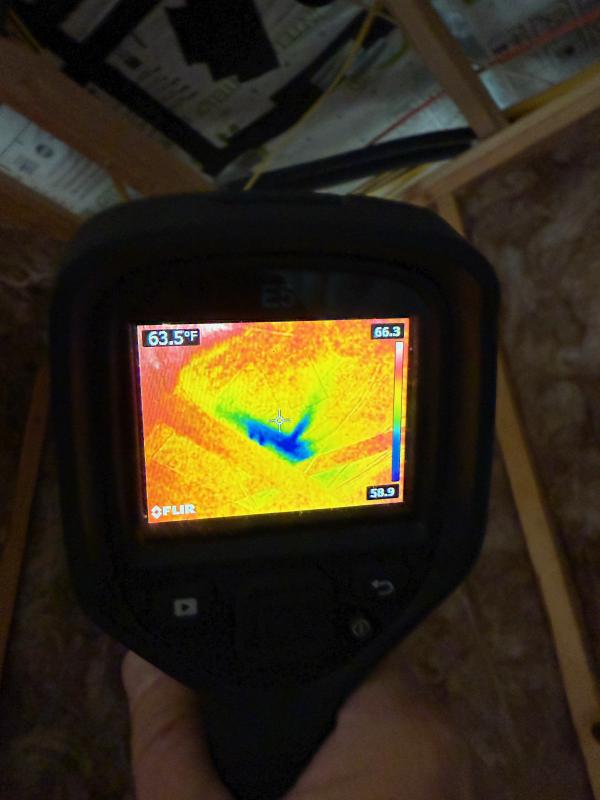
That morning, it was pretty cold outside (38F?) and warm inside (65F?), so we could really see the temperature differences on the infrared camera. (Even with a gaping hole where the door to the garage is going to be, you can already feel an immediate difference in temperature and sound level as you step inside the house.)
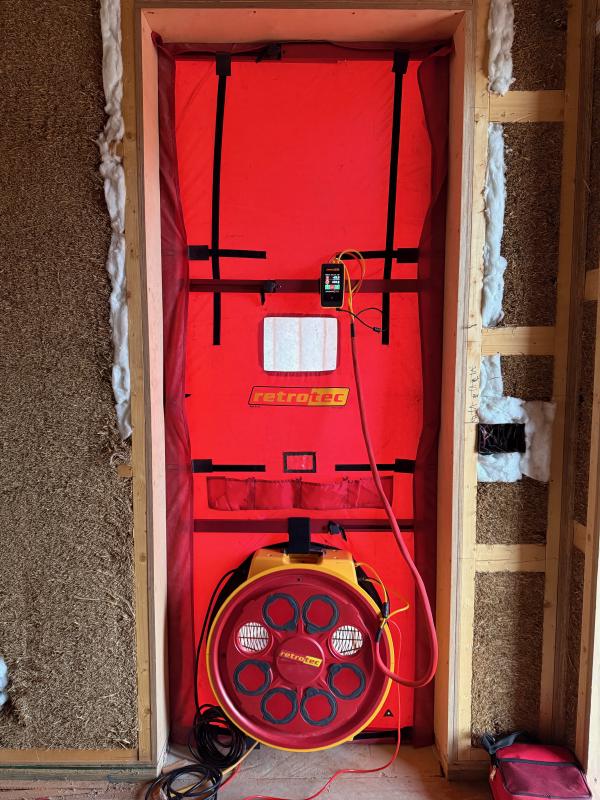
To reach 0.6 ACH50, we would need to get down to 154 cfm (cubic feet/minute). Think of a cubic foot as a basketball. We got down to 285 cfm (when depressurizing), which works out to about 1.1 ACH50.
We ran both depressurization and pressurization tests, and pressurization was about 15 cfm better, likely due to the doors pushing against the seals, possibly also the windows. Manually pushing on both doors to seal them tighter also gained about 15 cfm.
We noticed a small leak at the top of the blower door, but otherwise it looked very tight. If this happens in the final test, we can try to tape over it.
All the outlets in the garage looked good during pressurization, we could not see any leaks (they had all been siliconed and re-taped).
We could not see or feel any hint of a leak from the remaining cracks in the floor.
The windows looked good from the inside. We noticed just one small leak right next to a window; if that’s the source of leaks, it’s very distributed.
We looked around the whole outside during the pressurization test, but found just two tiny issues, nothing big. Walls and windows looked good.
We did find two small electrical conduits (to patio lights and lights over backyard door) that had been sealed around the pipe, but not inside the pipe. The builder added silicone inside those during the test.
We found and fixed a number of small leaks in the ceiling, but most of those did not seem to make a dent. Fixes in one area did gain us about 15 cfm, though.
Unfortunately, we ran out of time while we were still fixing some issues in the ceiling. So there is likely a bit more to be gained there.
Where are the leaks?
It’s a mystery where the remaining leaks are. Likely, there are a number of small leaks that are hard to find or impossible to get to. Some leaks might get plugged as flooring and sheetrock get added.
Here are the main suspects:
-
Doors to patio and backyard: These need to be adjusted properly so they seal tight.
-
Holes in the ceiling membrane: We know there were a few small issues left when we had to stop the test. The builder will be doing some more work there. However, sheetrock won’t help much, as air will just flow through the light cans in the ceiling. (All the lights and electrical are installed below the membrane.)
-
Leaks at top and bottom of the walls: The airtight barrier goes underneath the base plate at the bottom of the wall and over the wall at the top. If there are any holes in the membrane there, air might leak through the straw and out, and we no longer have access to those areas. Sheetrock may help slightly, but air will find a way through light cans, electrical switches, and outlets.
-
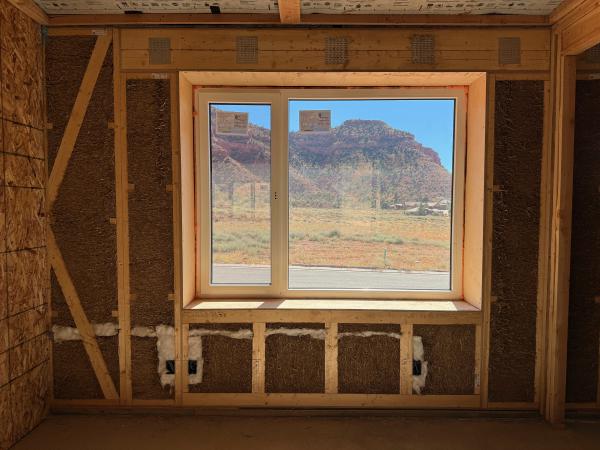
Leaks around the windows: We found only one spot where air leaked around the window frame, but there might be tiny leaks that add up (we have about 300 ft of window frame). There is foam around the windows, but while that helps insulate, it doesn’t do as well with airtightness over time as it hardens. Taping the inside of the windows should fix that. Drywall will also help seal those areas, but airtightness is not the focus of the drywall installers, and the gypsum “mud” used to fill cracks can shrink when it dries, so taping those areas first will help.
- Cracks in the floor: We didn’t see any indication of air coming in through these. We’ll use glue-down flooring, so that will help seal off those cracks.
At this point, we don’t know what we’ve missed. Lots of diligent work has gotten the airtightness close, but it doesn’t look like we’ll achieve 0.6 for passive house. Hopefully, we’ll at least get down to 1.0, which would let the house be certified as a low energy building. Certified or not, the house will be comfortable and use very little energy.
